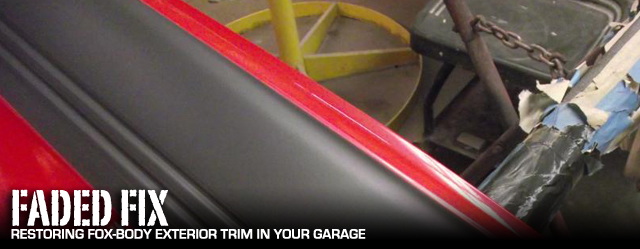
With age comes fatigue . Even the most cared for Fox-body can suffer from fatigue, and one of the most common areas to suffer is the exterior trim. We have all seen it, the body side moldings go from a gorgeous charcoal to an unsightly grey on the 85-86 cars, the side view mirrors go from a nice satin black to a bleached out piece of plastic on the 87-93 cars. The good news is that it is fairly easy to correct minor issues with exterior trim right in your own driveway.
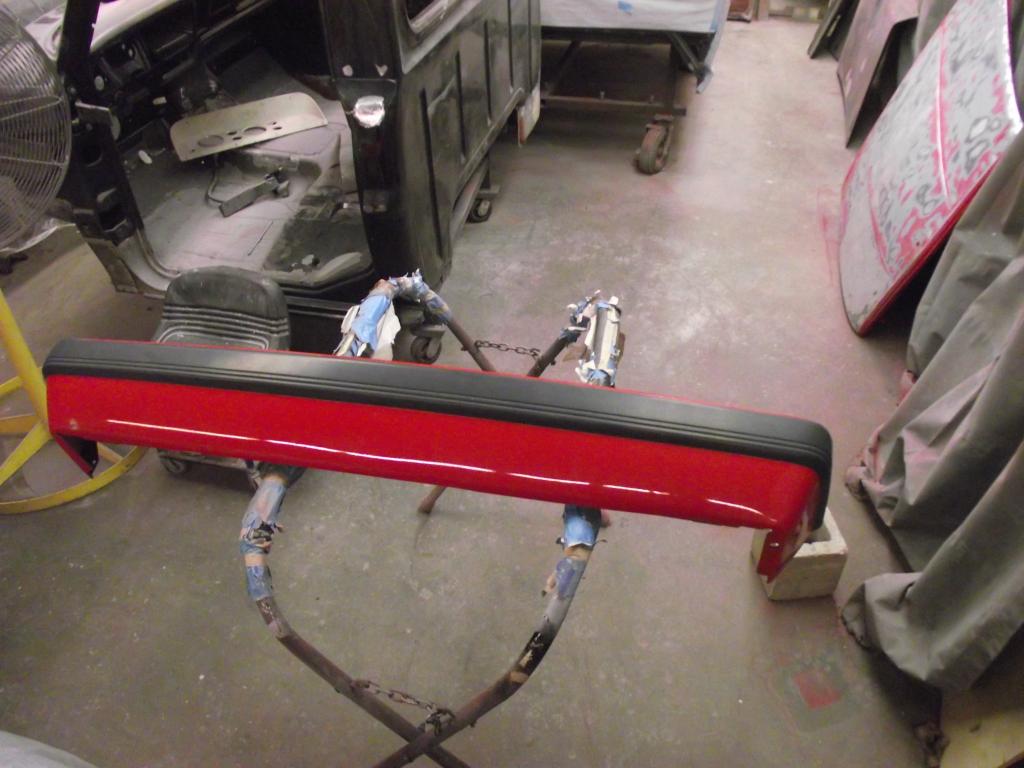
We contacted Chris Mikos with Midwest Mustangs, Inc. to show us the correct way to repair exterior trim at home with tools and equipment that the average DIY’er has. The goal is to show how you can vastly improve the exterior appearance of your Fox on a weekend, in your driveway or garage
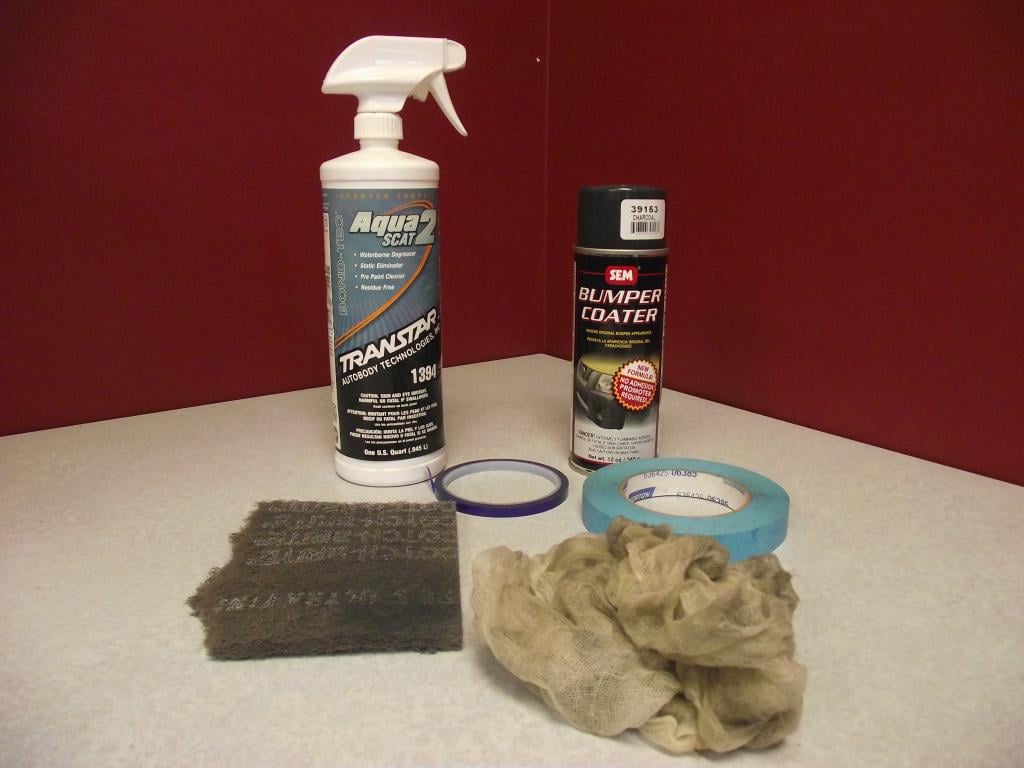
As with any project having the right tools is essential. Mikos likes to use SEM products on exterior projects such as this. SEM Bumper Coater #39153 is a great match for the 85-86 cars. If you’re working with a car that has black trim, SEM Bumper Coater #39103 is recommended. You will also need some 3/4-inch masking tape, a grey scuff pad, 1/4-inch vinyl fine line masking tape, masking paper, a tack rag, and a pre-cleaner. If you do not have a professional grade wax and grease remover, isopropyl alcohol can be used . “If it’s not clean, the paint is not going to stick,” says Mikos. Prep is key with any paint and body work project.
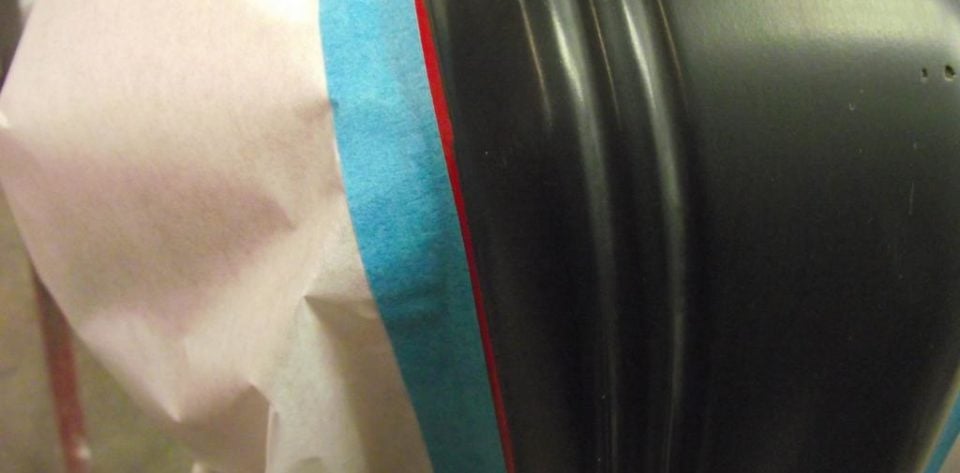
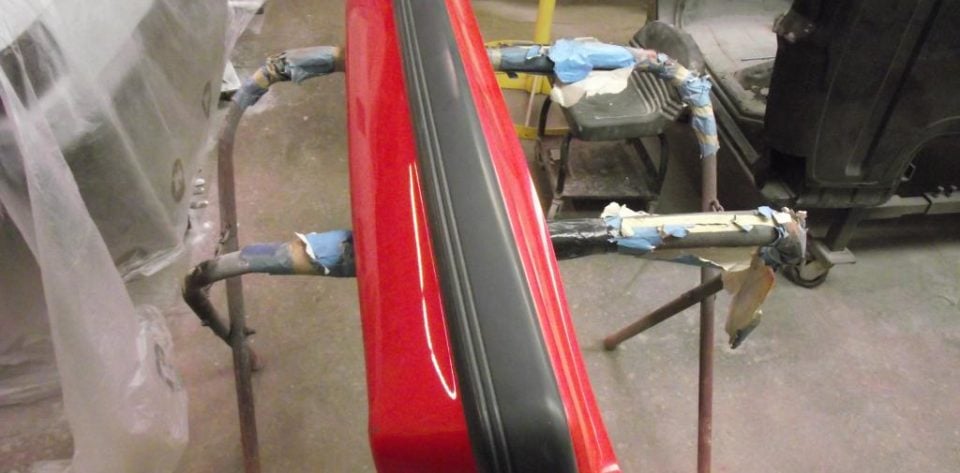
Before you begin, clean the part to be worked on with dish soap and water, then dry. This will remove traces of wax and any other silicone product. Silicone is the leading cause of paint mishaps. “Silicone products can cause fish eyes, you won’t know you have a silicone problem until the first coat goes on.” Says Mikos. Clean it, and clean it well. Once the part is clean, mask off the rest of the part that is not to be scuffed or painted. This will allow you to scuff right up to the edge without the fear of ruining the surrounding paint. Don’t be concerned with wasting tape, tape is cheap, repainting the entire part due to a large scratch is not. With the part masked off, take your grey scuff pad and scuff thoroughly. You want to make sure you get enough “tooth.” The surface should have a nice uniform scratch pattern to it.
Left: The bumper properly masked for scuffing the trim. Right: While it's difficult to capture in a photograph, you need to scuff the trim surface enough to give the paint something to adhere to.
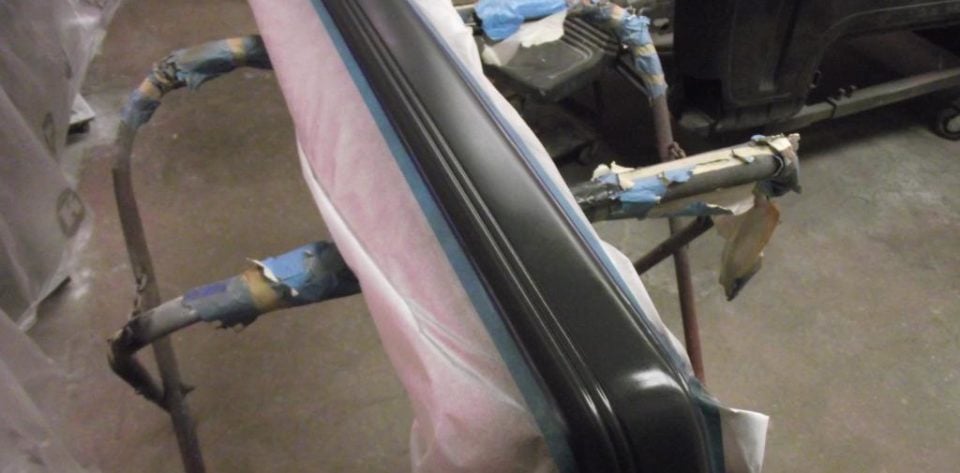
With the part still masked off and scuffed, take the pre-cleaner and clean off the residue left over from the scuffing process. Don’t worry if its not 100% perfect, as you will do a final clean right before you apply your color. Mikos suggests using a two towel method. Using a lint free towel, wipe the cleaner on with one towel, and wipe off with the other. This ensures you get all the contaminates off the surface. Using only one towel can simply just smear dirt and not actually remove it. With the part scuffed and cleaned, it is time to remove the masking tape that was used to protect the surrounding paint. With the tape removed, it is time to start masking for the color application.
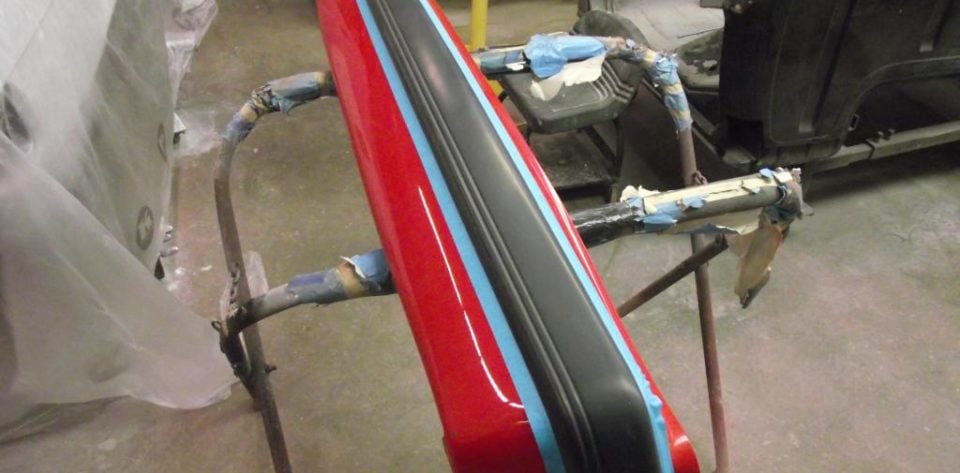
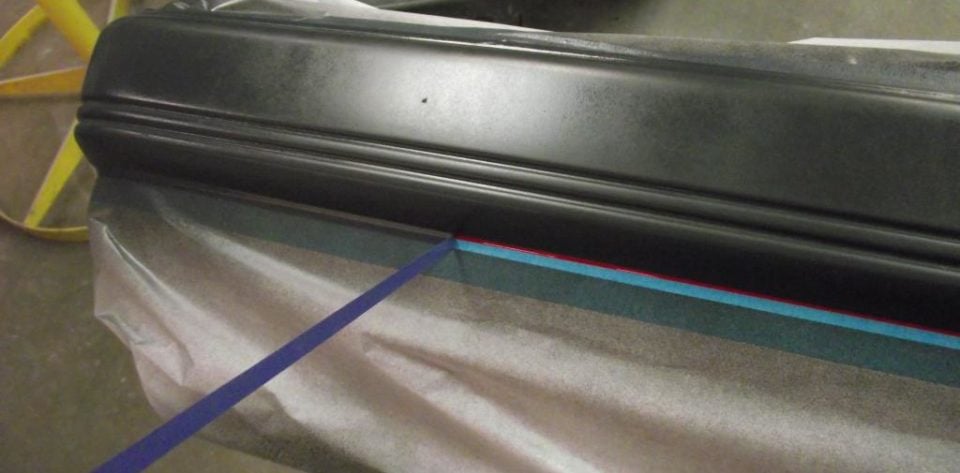
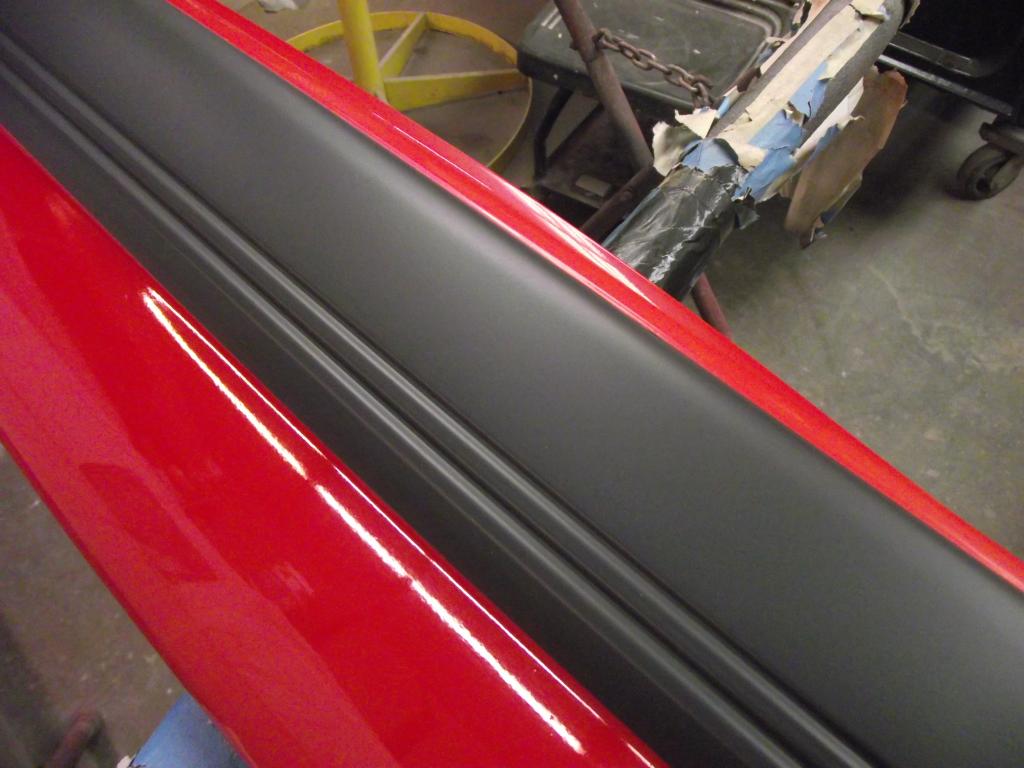
Left: The trim is masked to within an 1/8-inch leaving room for the fine line tape. Right: The fine line 1/4-inch fine line tape is then applied.
Begin with putting a piece of 3/4-inch masking tape down, leaving approximately 1/8-inch of the underlying paint exposed. The 1/8-inch area will later be masked with the 1/4-inch fine line tape. With the 3/4-inch tape in place, attach your masking paper of choice to the 3/4-inch mask. Mikos suggests avoiding using newspaper if possible, as the ink in the paper can sometimes be transferred the surface. With the paper attached, lay the 1/4-inch vinyl fine line tape down. Make sure you get a nice straight edge on the molding, and cover the edge of the 3/4-inch tape. Double check your masking. If you see any exposed paint, be sure to tape it off. Otherwise you will have paint where you do not want it.
Left: Apply the paint in two to four light coats. Right: While the final coat is wet, pull the fine line tape.
Take your pre-cleaner and again using the two towel method, clean the part to be painted. Cleanliness is the key to a successful refinishing job. Shake the can per the instructions. Test the spray pattern out to ensure the nozzle is spraying properly. “Light, even coats are the key,” says Mikos. You do not want to apply it too heavy or it will run. Remember you are only trying to put enough material on to restore the original color. Most of the time this is accomplished in 2-4 coats depending on the size of the part.
On the last coat of color, while the paint is still wet, carefully pull the 1/4-inch fine line tape off. This helps keep the paint from pulling and lets the paint “lay down” without causing a hard edge. Let the paint dry for 20 minutes or so, then pull the remainder of the masking paper and tape.
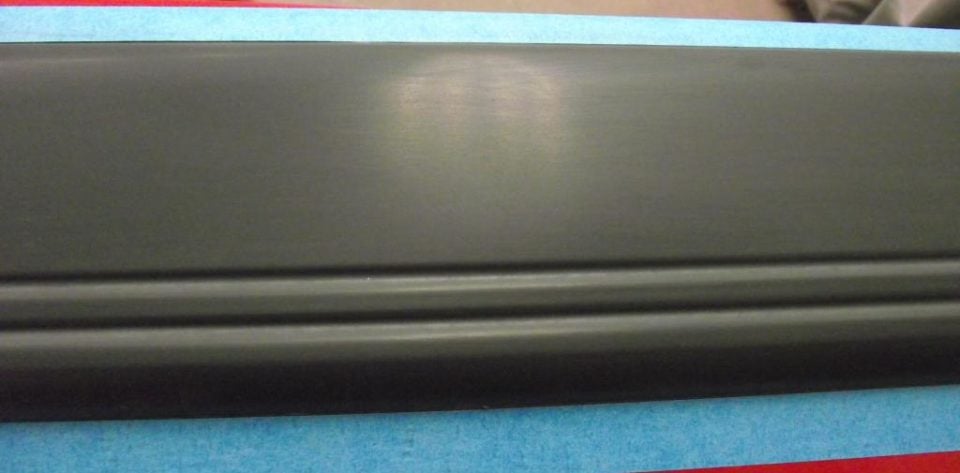
Left: Before. Right: After
Stand back and admire your work. Its amazing the difference freshly painted trim makes on a Fox body. The methods outlined in this article can be applied to mirrors, window trim, quarter windows, cowl covers, wiper arms, and more.