The Ford SVT F-150 Raptor is no less than a phenomenon in the automotive world. The people “upstairs” at Ford Motor Company probably thought it was going to be a good idea when they brought about the out-of-the-box off-road wonder back in 2010 (it was introduced in late 2009 as a 2010 model). It sported the 5.4-liter V8, seven inches more track width than a standard F-150, FOX shocks, 12 inches of wheel travel, 35-inch BFGoodrich tires, and 4.10:1 gears, but we’ll bet they never imagined that it would become a legend in its own time.
The more powerful 6.2-liter V8 came as an option, and boosted the horsepower and torque numbers considerably. Then in 2011, the 6.2-liter became the standard issue and only powerplant offered in the Ford Raptor up until its temporary discontinuation after the 2014 model year. A new Raptor will be coming as a 2017 model, and although this re-invention of the dirt dragon will be powered by a V6 EcoBoost engine, there are thousands of Ford SVT F-150 Raptors with the 6.2-liter V8 engine out there prowling the deserts and forests from California to Connecticut.
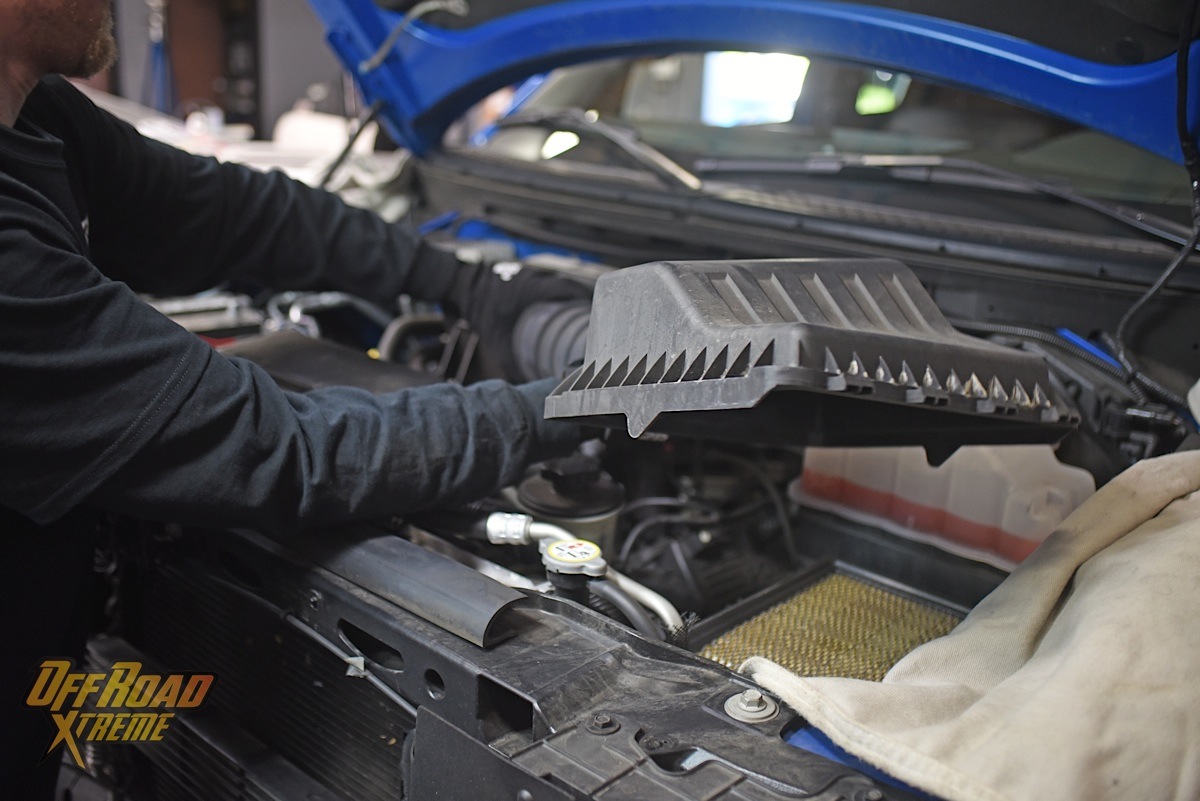
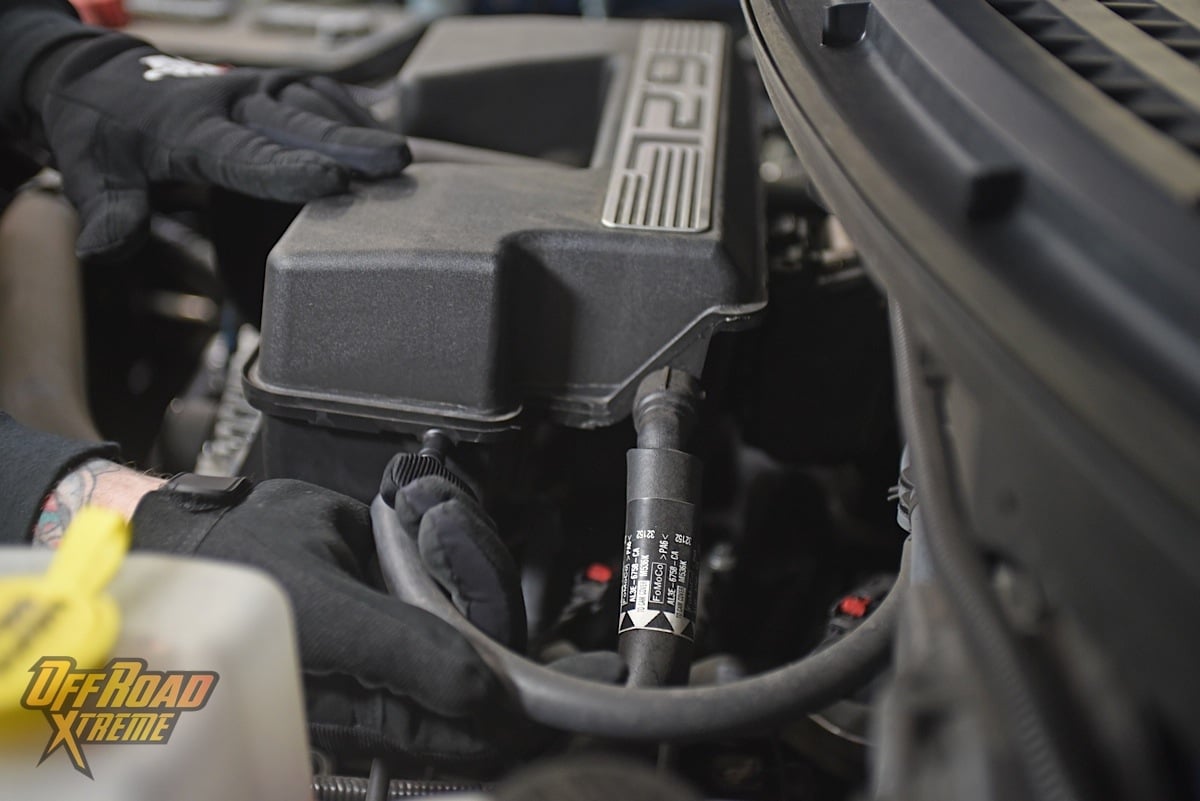
We removed the factory intake tube and upper air box (top). The EVAP and the crankcase vent hose (lower left) were disconnected, then the radiator hose was unclipped from the intake plenum (lower center), and the plenum removed.
As with most automotive enthusiasts, Ford Raptor owners are always on the hunt for more power, and one of the easiest and most economically viable methods of gaining more power is to open up the air intake of the engine. That’s where K&N Engineering can help. K&N has been designing and manufacturing top quality performance air filters and air intake systems for decades, and offers kits for the Ford SVT F-150 Raptor that can help it develop horsepower and torque gains by allowing it to breathe easier.
Lucio Tapia at K&N Engineering told us, “With all the Raptors out there and as wildly popular as the truck is, engineering an air intake upgrade was something we knew we should do.” Not only does the K&N air intake system help smooth out the flow into the throttle body, but as Tapia said, “Our filter creates a better barrier between the engine and dirt and dust. That’s something very important to the Raptor owner, because that truck typically sees a lot of off-road use.”
Easy Install
Tools Needed
- Flat blade screwdriver
- Ratchet, extension, metric socket set
- Metric wrench set
- Metric Allen wrench set
- T-20 Torx
We found the job relatively easy. It took us about an hour, and required no cutting, but we did need a socket set, wrenches, a flat-blade screw driver, and a T20 Torx driver. Tapia echoed our impression, “One of the design criteria for our intake and filter systems is ease of installation.”
The very first step in the installation process is to disconnect the negative (-) battery cable. Be warned, this can erase pre-programmed electronic settings in your truck’s systems such as audio and alarms (some radios require a anti-theft code), so write them down or have them handy for when the installation is completed. You may have to contact your truck dealership to get the radio code if it’s not in your owner’s manual.
Our filter creates a better barrier between the engine and dirt and dust. – Lucio Tapia, K&N Engineering.

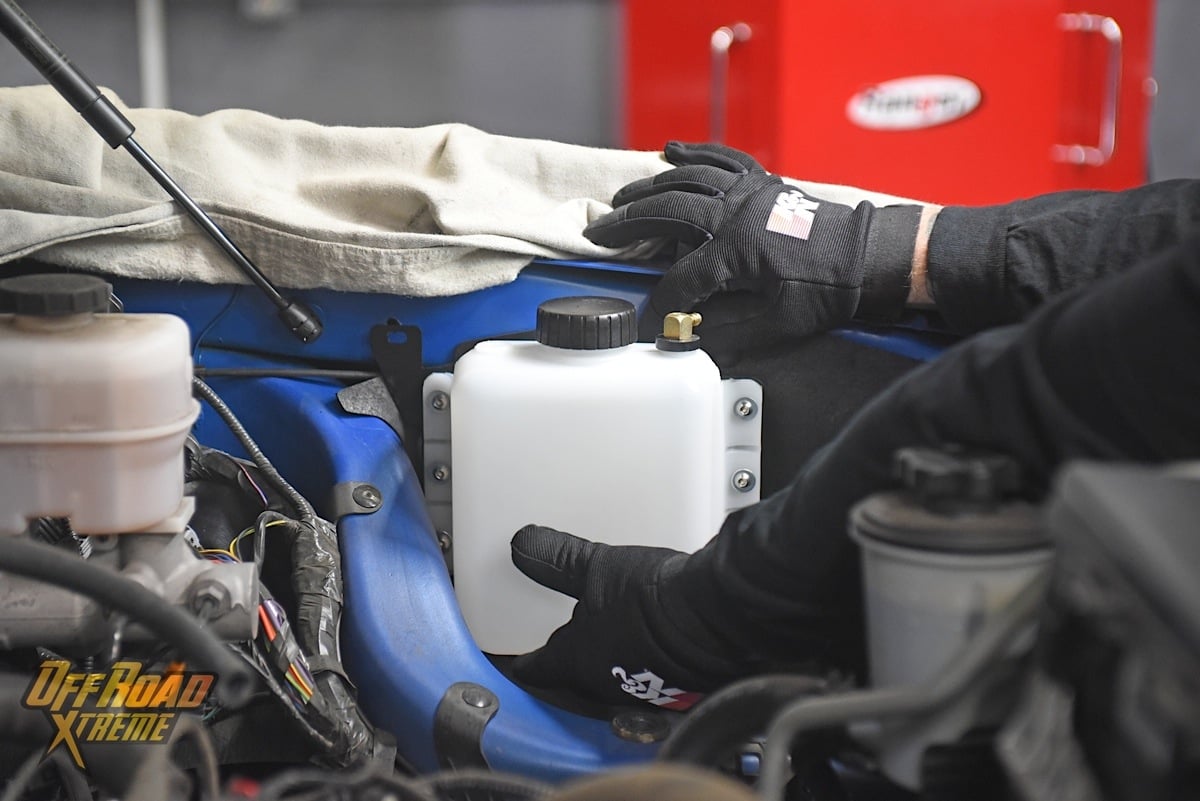
The lower air box and coolant reservoir assembly was carefully removed (top). The K&N coolant bottle was attached to its new mounting bracket (lower left), and mounted to the inner fender (lower right).
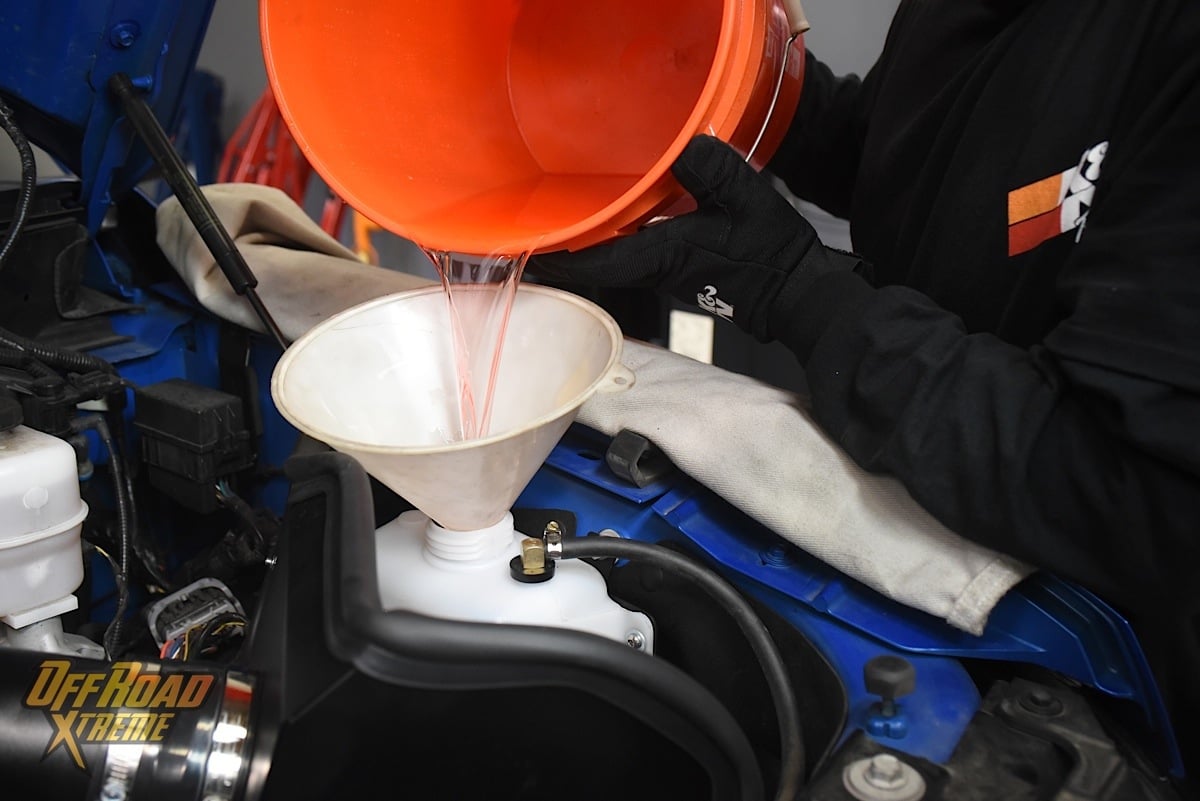
Get A Bucket
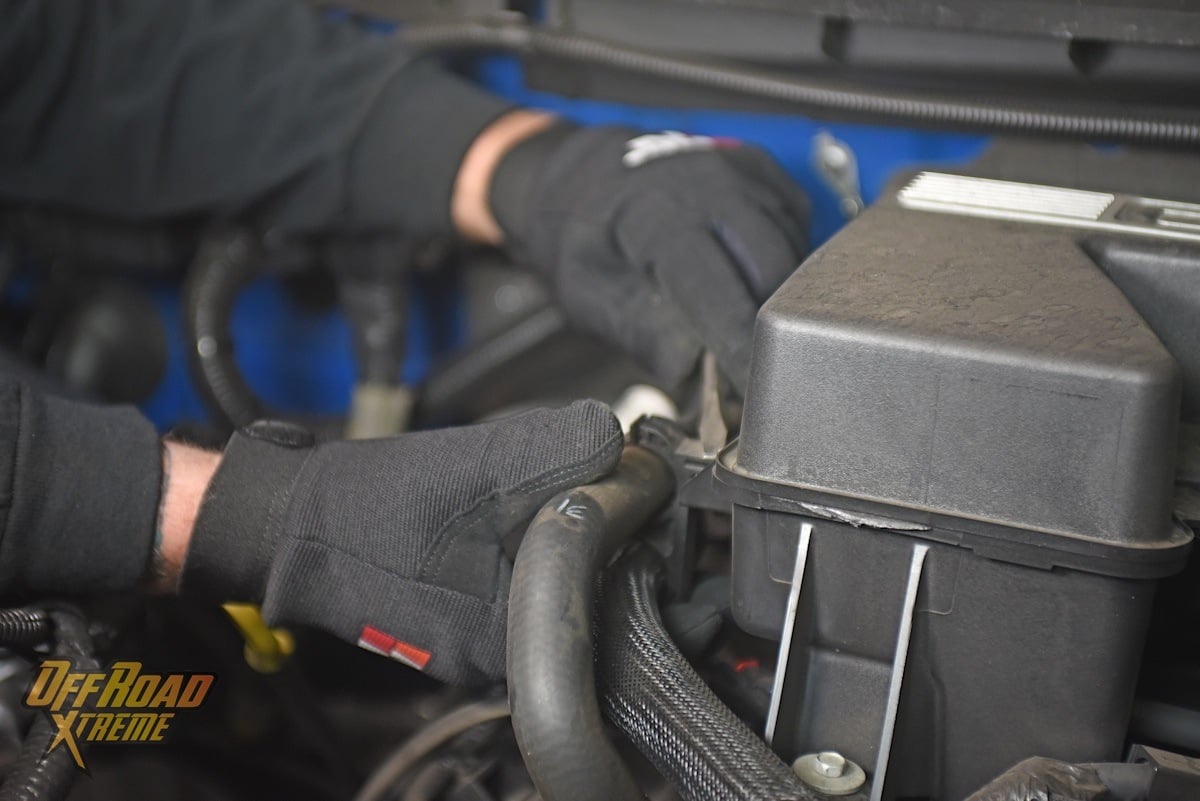
The entire lower air box and coolant reservoir must be removed, and that required the removal of the two bolts holding it to the inner fender. Once that has been accomplished, the lower air box and coolant reservoir can be lifted out. As that is being done, the entire assembly must be leaned toward the engine, and the coolant transfer hose disconnected from the reservoir. We used a clean bucket to store the coolant from the reservoir, as it will be used later.
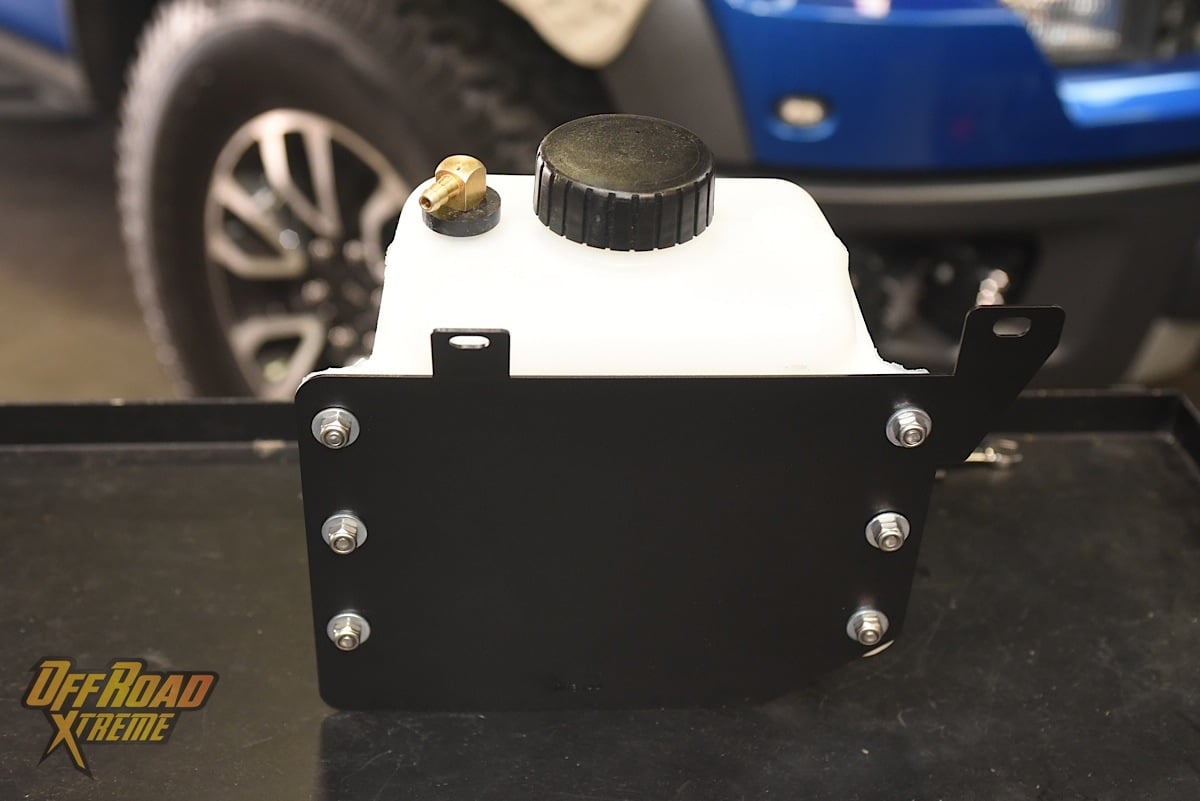
The K&N kit included a replacement reservoir and mounting bracket. The two were put together using hardware supplied in the kit, and then the coolant bottle assembly was bolted up to the inner fender well. Only the front of the coolant bottle bracket was mounted at this time, because the rear mounting location is shared with the heat shield. After attaching the filter adapter, a mounting bracket, the rubber edge trim, and nut inserts to the heat shield, it was ready for installation.
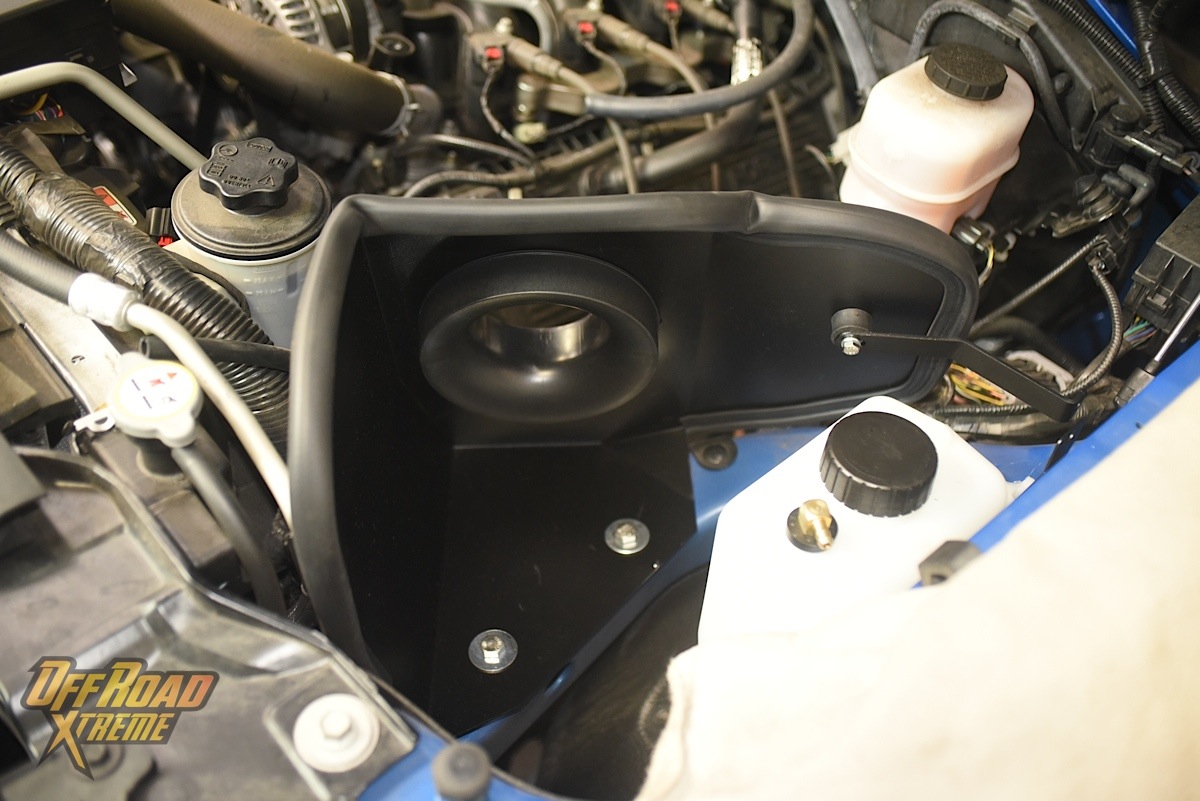
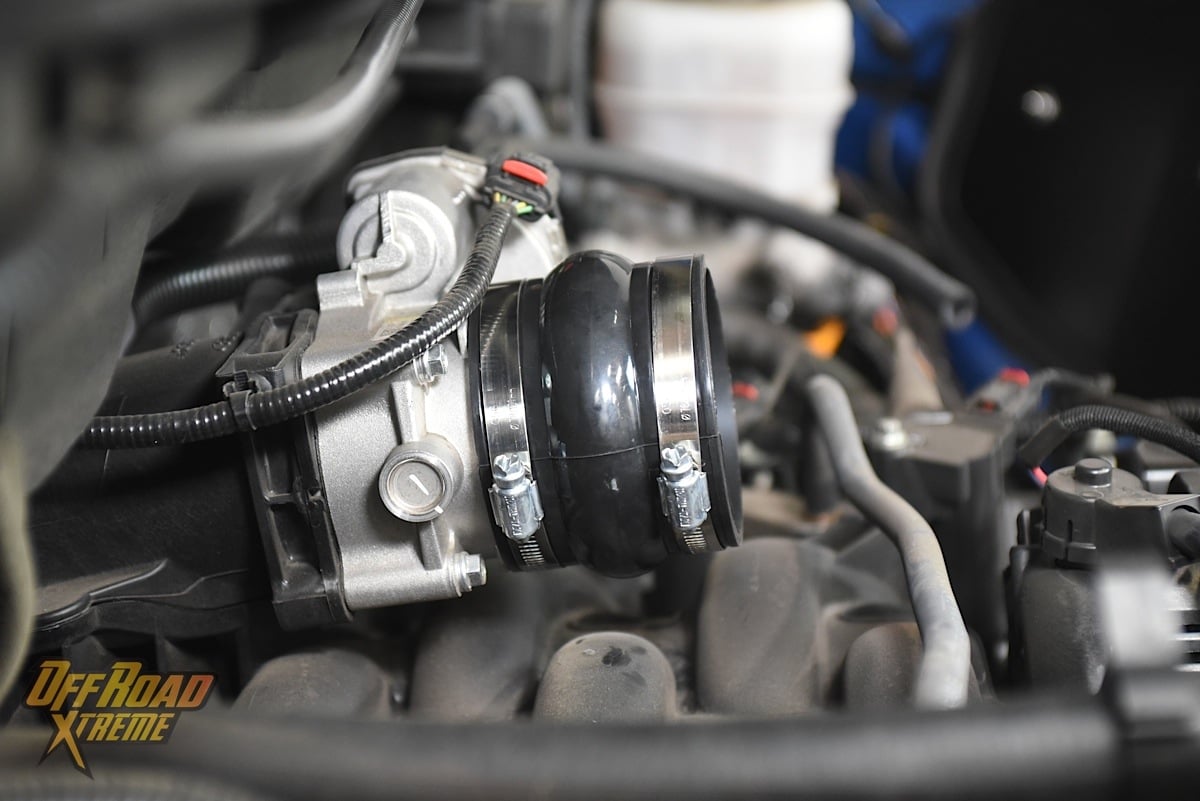
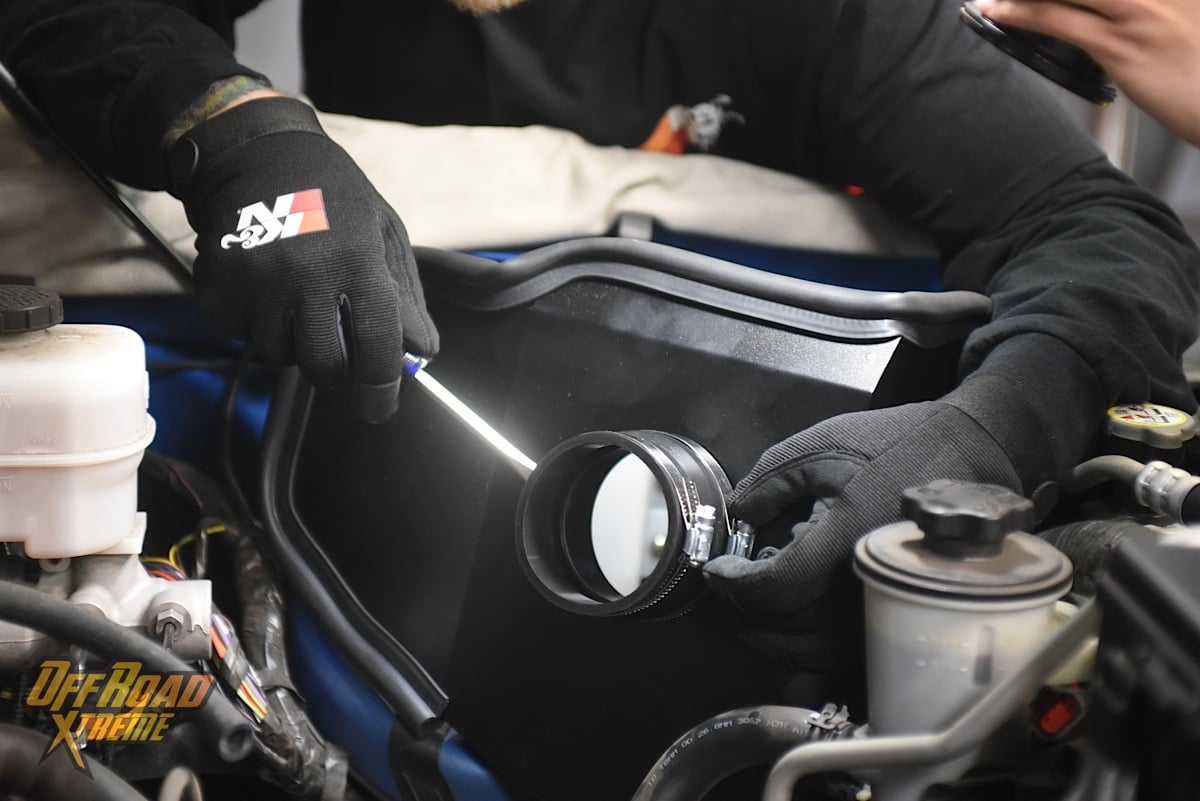
The assembled K&N heat shield was partially mounted (top), then the new silicone hoses for the throttle body (lower left) and air filter adapter (lower right) were installed.
Two mounting grommets in the passenger’s side inner fender brace (underneath the factory lower air box/coolant reservoir assembly) had to be removed. Then the new K&N heat shield assembly was lowered into place so that its inserts went into the holes where the rubber grommets were. The heat shield mounting bracket was then secured to the inner fender through the coolant bottle’s rear mounting hole, and the two nut inserts secured the heat shield to the inner fender brace below it.
We then reattached the coolant hose to the coolant bottle, installed the kit-supplied silicone hose to the throttle body, and attached the other kit-supplied silicone hose to the outside of the filter adapter in the heat shield.


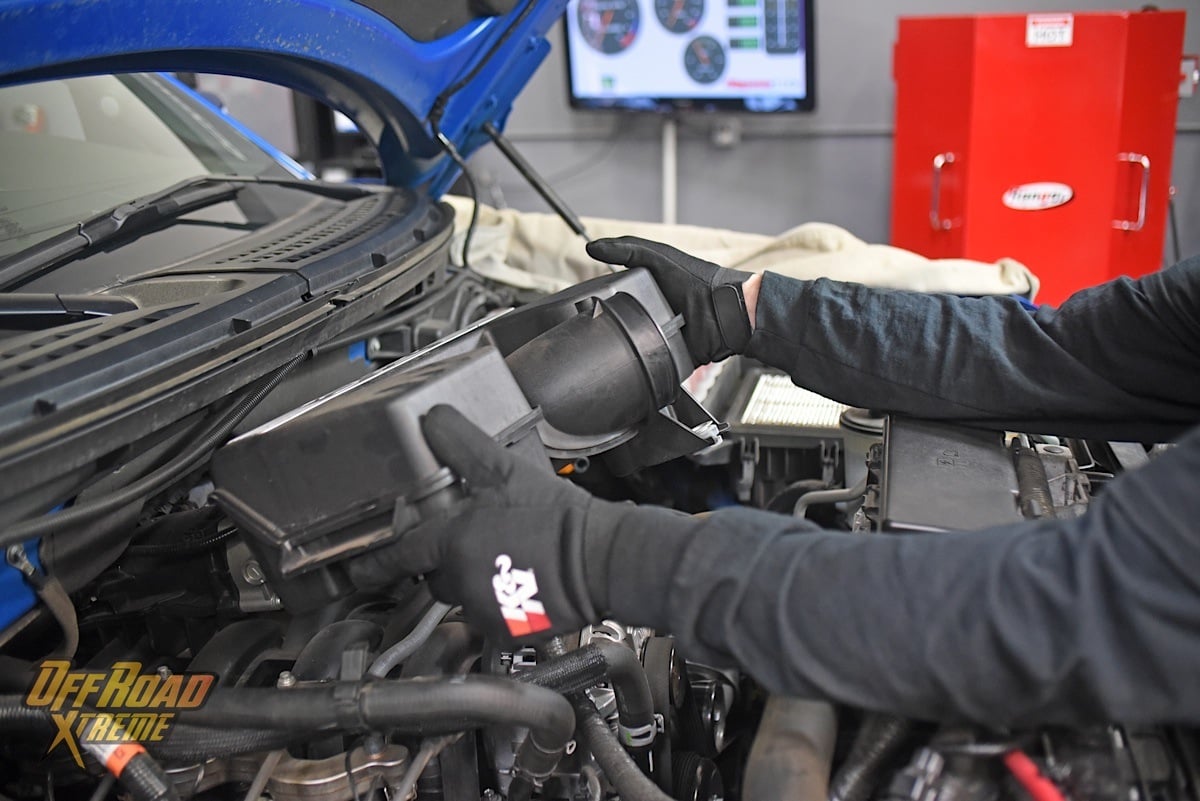
Once the mass air sensor fitting (top left) and two new hose fittings (top right) were on the K&N air intake tube (bottom), the tube could be installed.
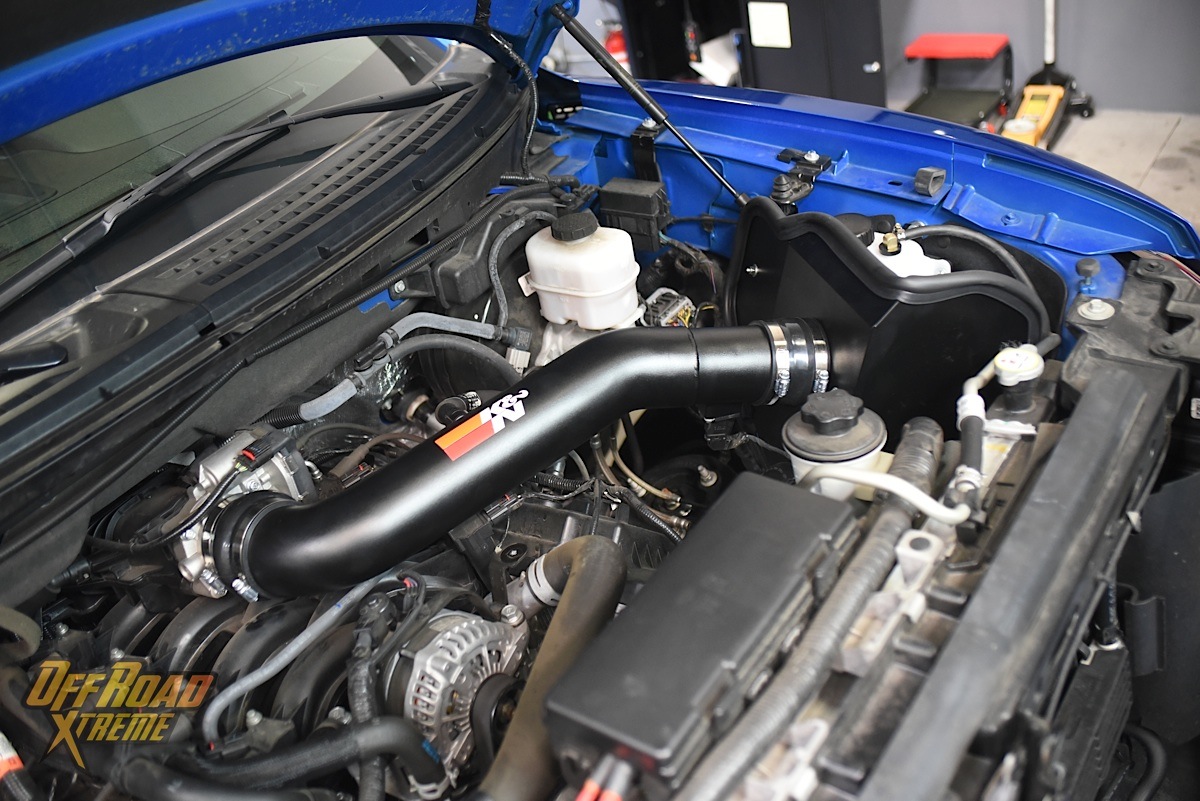
Totally Tubular
The sweet-looking all-aluminum K&N replacement intake tube needed to be fitted with the mass air sensor plug, quick-disconnect fitting, and 1/2-inch hose fitting (the fittings are included in the K&N kit) prior to installation. Care must be taken when installing the plastic fittings, as they can be easily cross-threaded. Once that was accomplished, one end of the new intake tube was attached to the silicone hose on the filter adapter, and the other end fitted to the silicone hose on the throttle body.
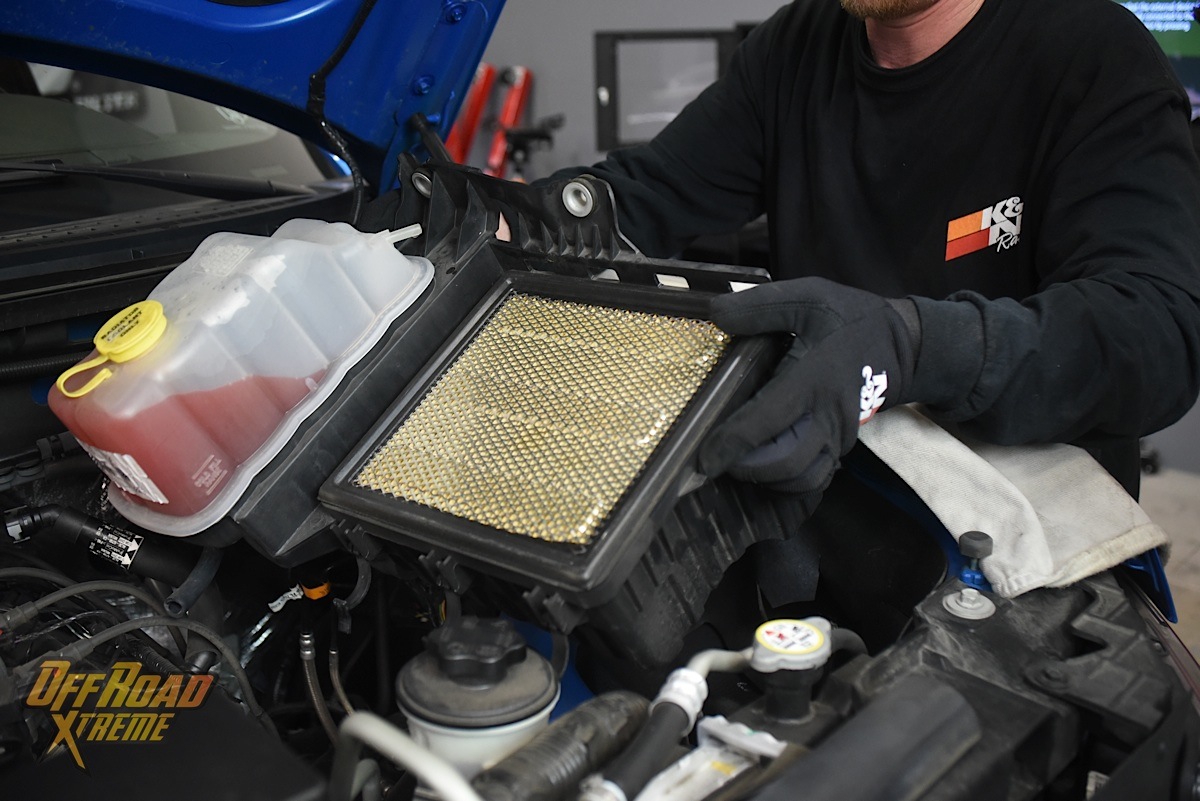
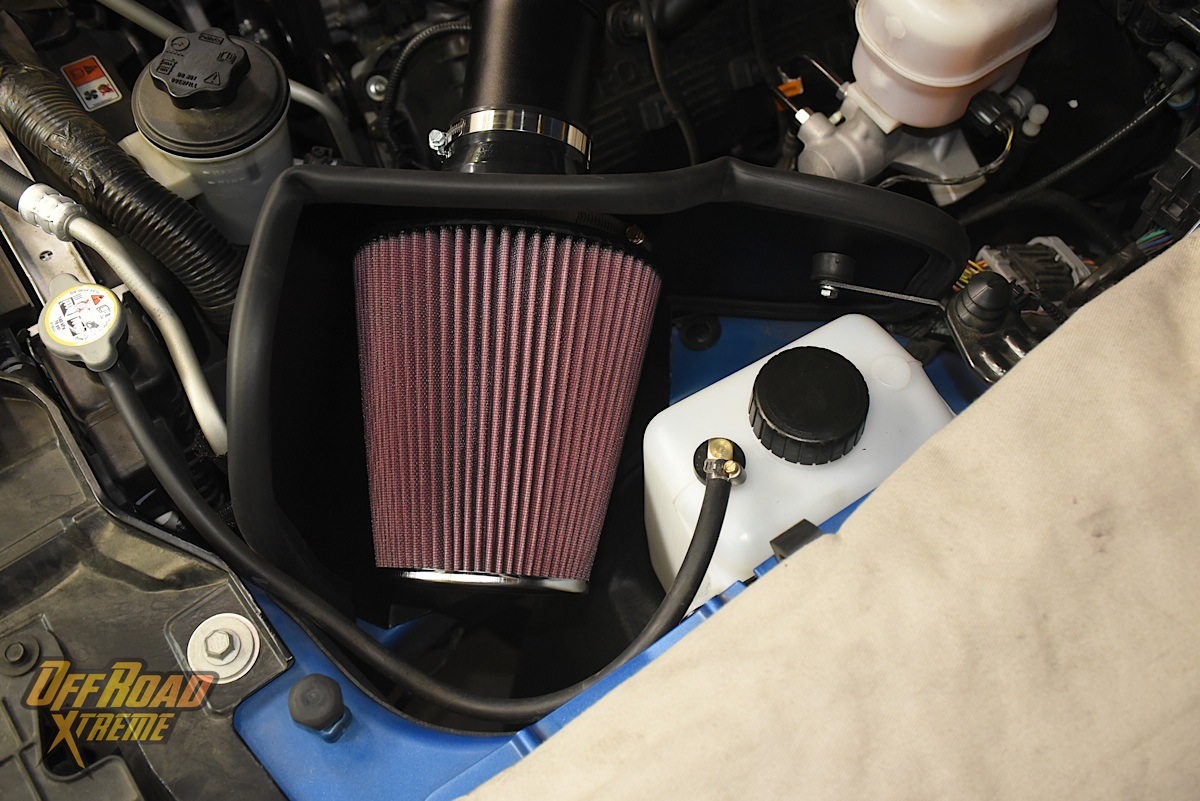
The crankcase vent hose and EVAP hose were connected to the plastic fittings in the K&N intake tube, then the mass air sensor was plugged in, and its electrical connection was re-attached. We mounted the cone-shaped K&N filter onto the side of the filter adapter inside the heat shield next. We also transferred the coolant gathered and stored during removal of the factory reservoir to the newly installed K&N coolant bottle.
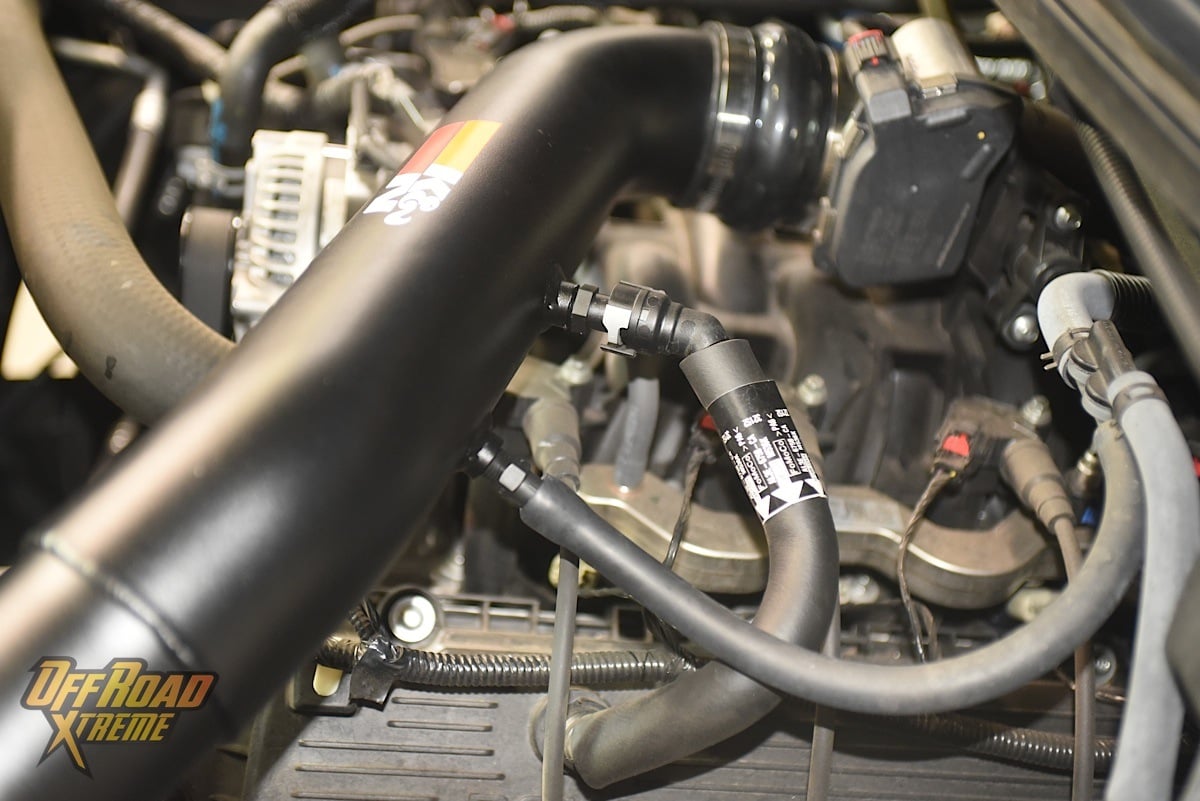
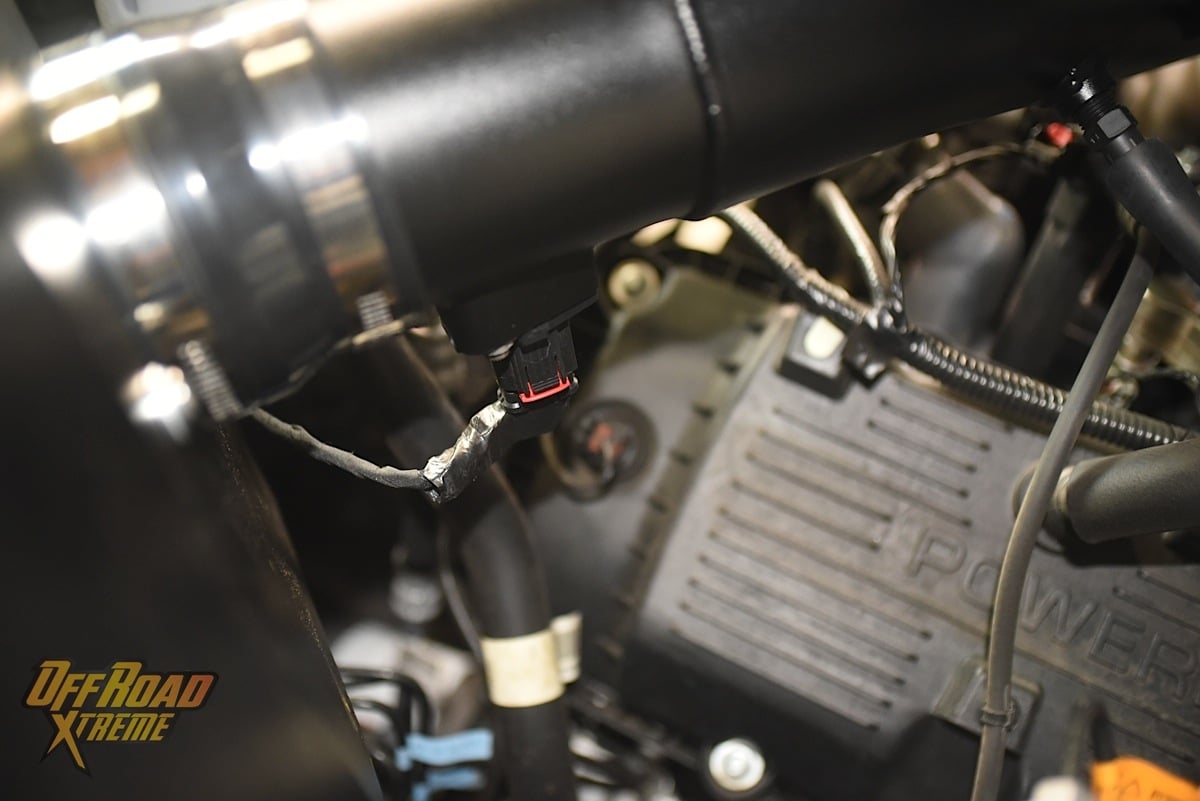
The EVAP and crankcase vent hoses (top left) were installed, the mass air sensor (top center) plugged in, and the saved coolant (top right) poured into the new coolant bottle. Lastly, the K&N cone-shaped filter (below) was installed.
Before checking all the connections and hardware to make sure they were tight, we hooked up the negative battery cable again. K&N recommends that the intake system be checked over periodically for alignment, clearance, and to make sure everything is still buttoned up. The company also makes it clear that the new intake system will be louder. Considering the typical Raptor owner’s activities, we don’t think they will mind more exhaust sound.
Power Numbers
Speaking of power gained, how did the K&N intake system work on the Raptor? Well, as you can see in the chart at bottom, it was tested on our in-house Dynojet dynamometer before the installation, and we recorded pretty typical numbers for the stock GM 6.2-liter V8. We saw peaks of 336.1 hp and 368.4 lb-ft of torque. Once the K&N air intake system and filter were in place, we recorded peak gains of 8.1 hp and 4.8 lb-ft, for a total peak output of 344.2 hp and 373.2 lb-ft of torque at the rear wheels.
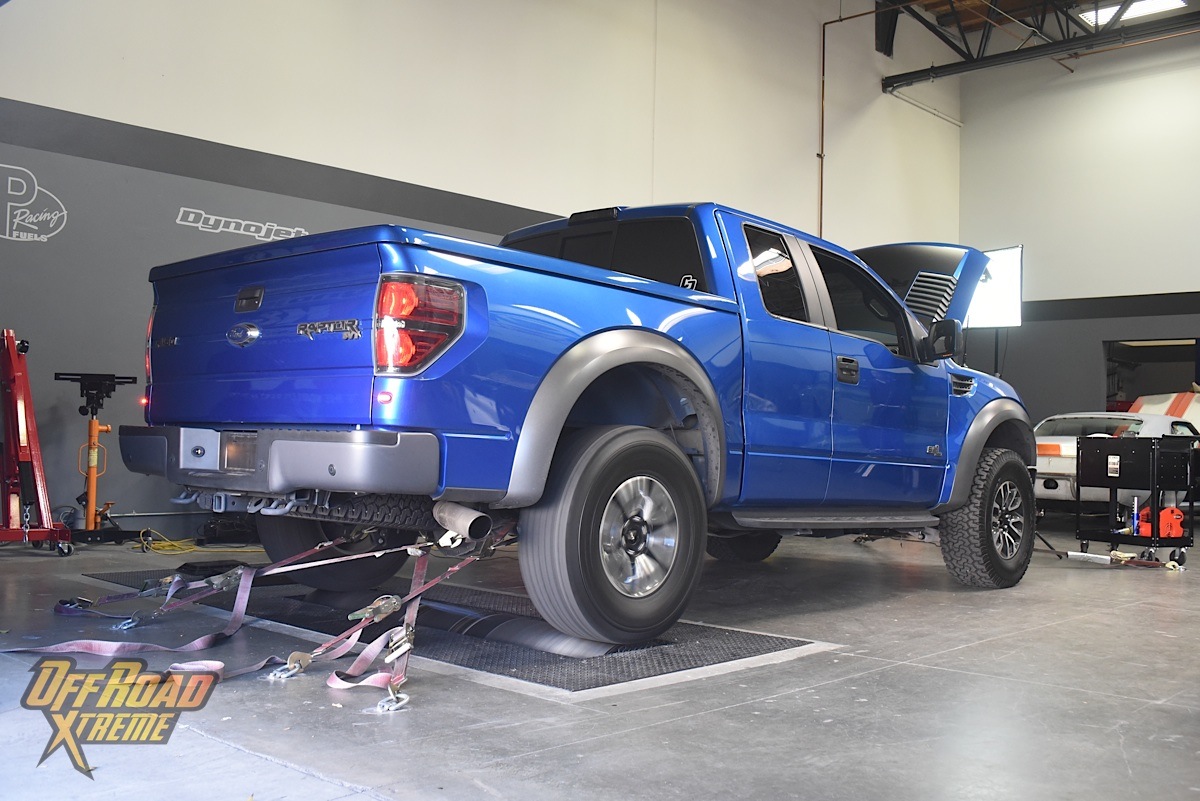
Before and after installation dyno runs were performed on our in-house Dynojet dynamometer.
Some final notes on the installation and use of the K&N air intake and filter system: The company says that the filter needs to be cleaned every 100,000 miles, but for use in dusty or off-road environments (where else would you use a Ford Raptor), it will require more frequent cleaning. Inspection of the filter is recommended every 25,000 miles, and if the screen on the filter is no longer visible in places, then it’s time for cleaning. A cleaning and re-oiling kit is available from K&N.
The last thing we recommend after you finalize your K&N intake and filter system installation is to get out and really enjoy your truck. After all, you didn’t buy a 4×4 to keep it clean all week, did you? For more information on all the filter and air intake products available from K&N Engineering, check out its website or call (800) 858-3333.