Whether it is for aesthetic or performance reasons, lowering a Mustang with aftermarket springs is one of the first mods on many owners’ lists. Some want that just-right stance. Others want to carve up the corners with less body roll. Either way, it’s a pretty straight-forward endeavor. Pick your preferred springs and install them. You could turn to a pro, but it’s a task that is totally doable in a home garage.
The video above provides an easy-to-follow visual guide for installing Maximum Motorsports’ rear springs and bump-stops into your 2005 to 2014 Mustang. The car receiving the springs is a Shelby GT500, but the process should be the same across all the model years compatible with these parts.
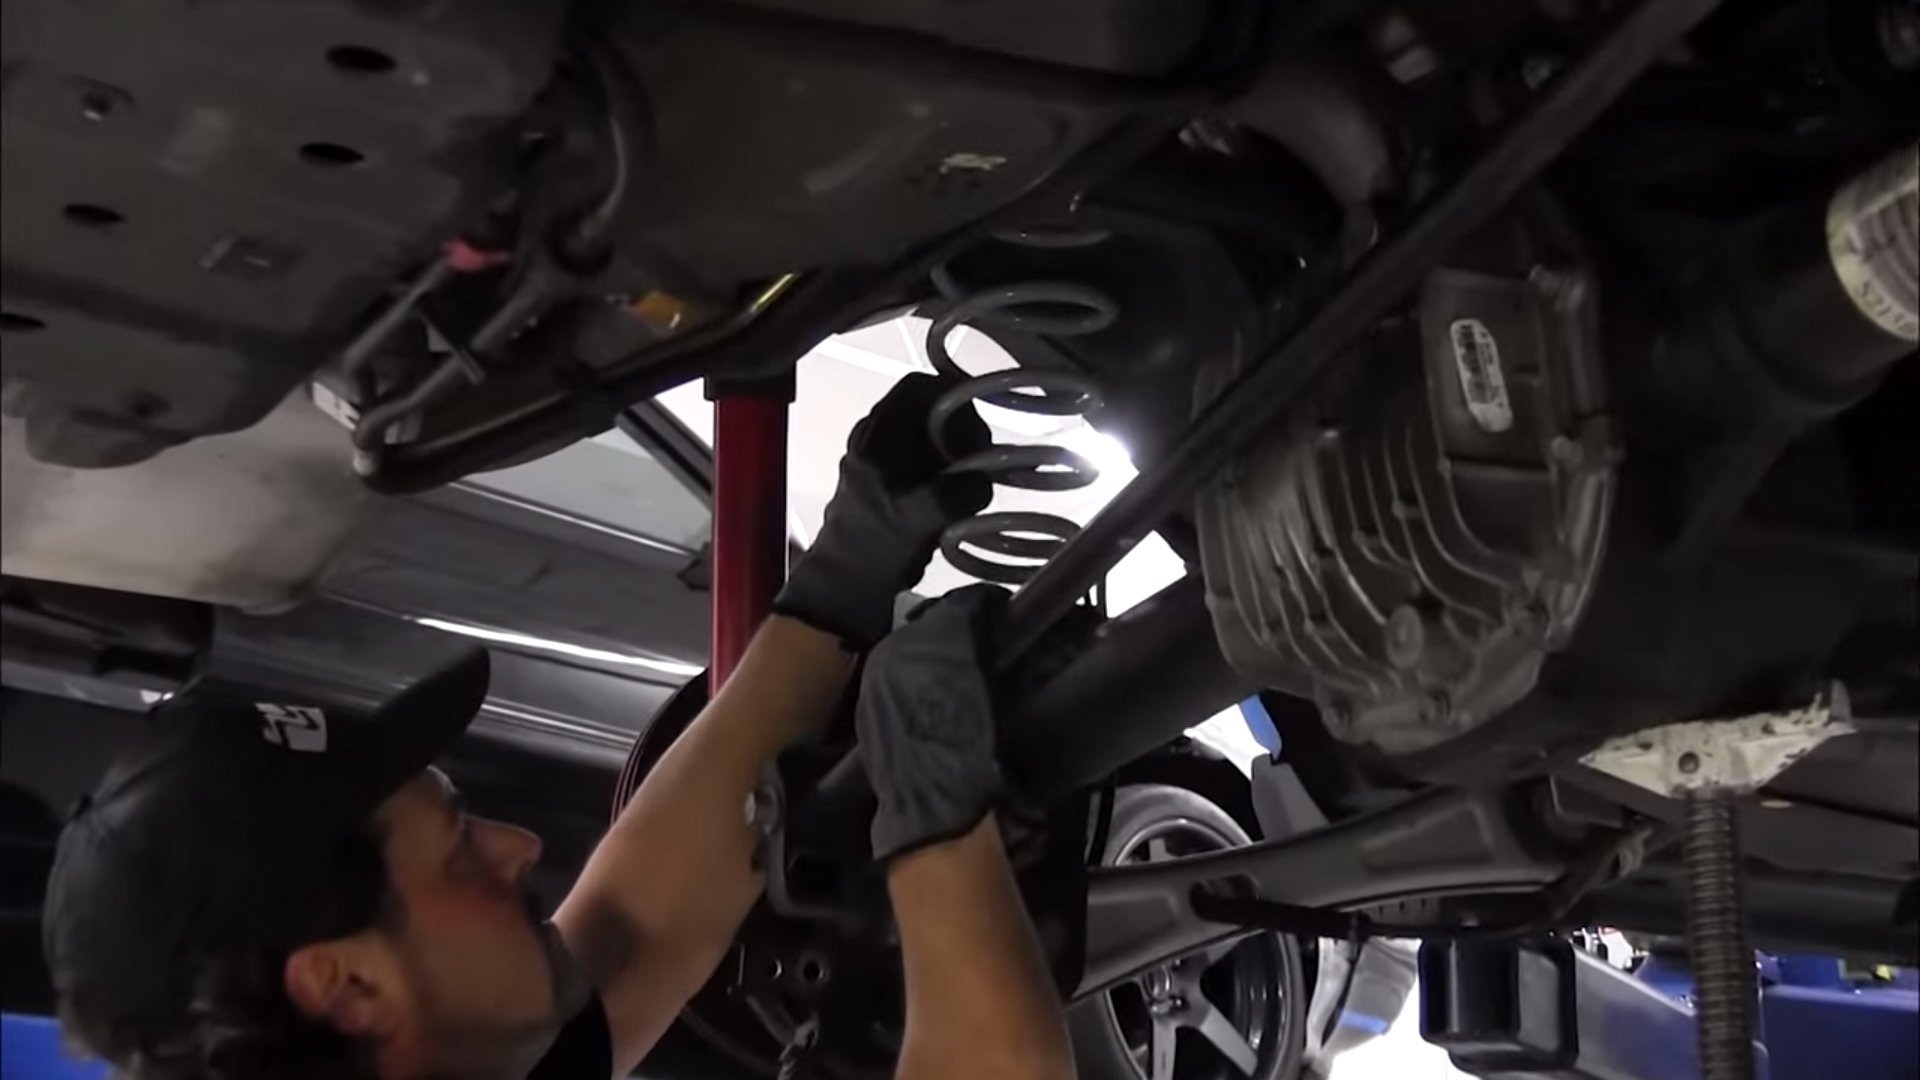
These are the parts being installed above. It’s a simple package, and it’s actually easier than you might think to install. Before you start, it’s a good idea to measure ride height before and after you do the install so you can see how much ride height was affected by the install.
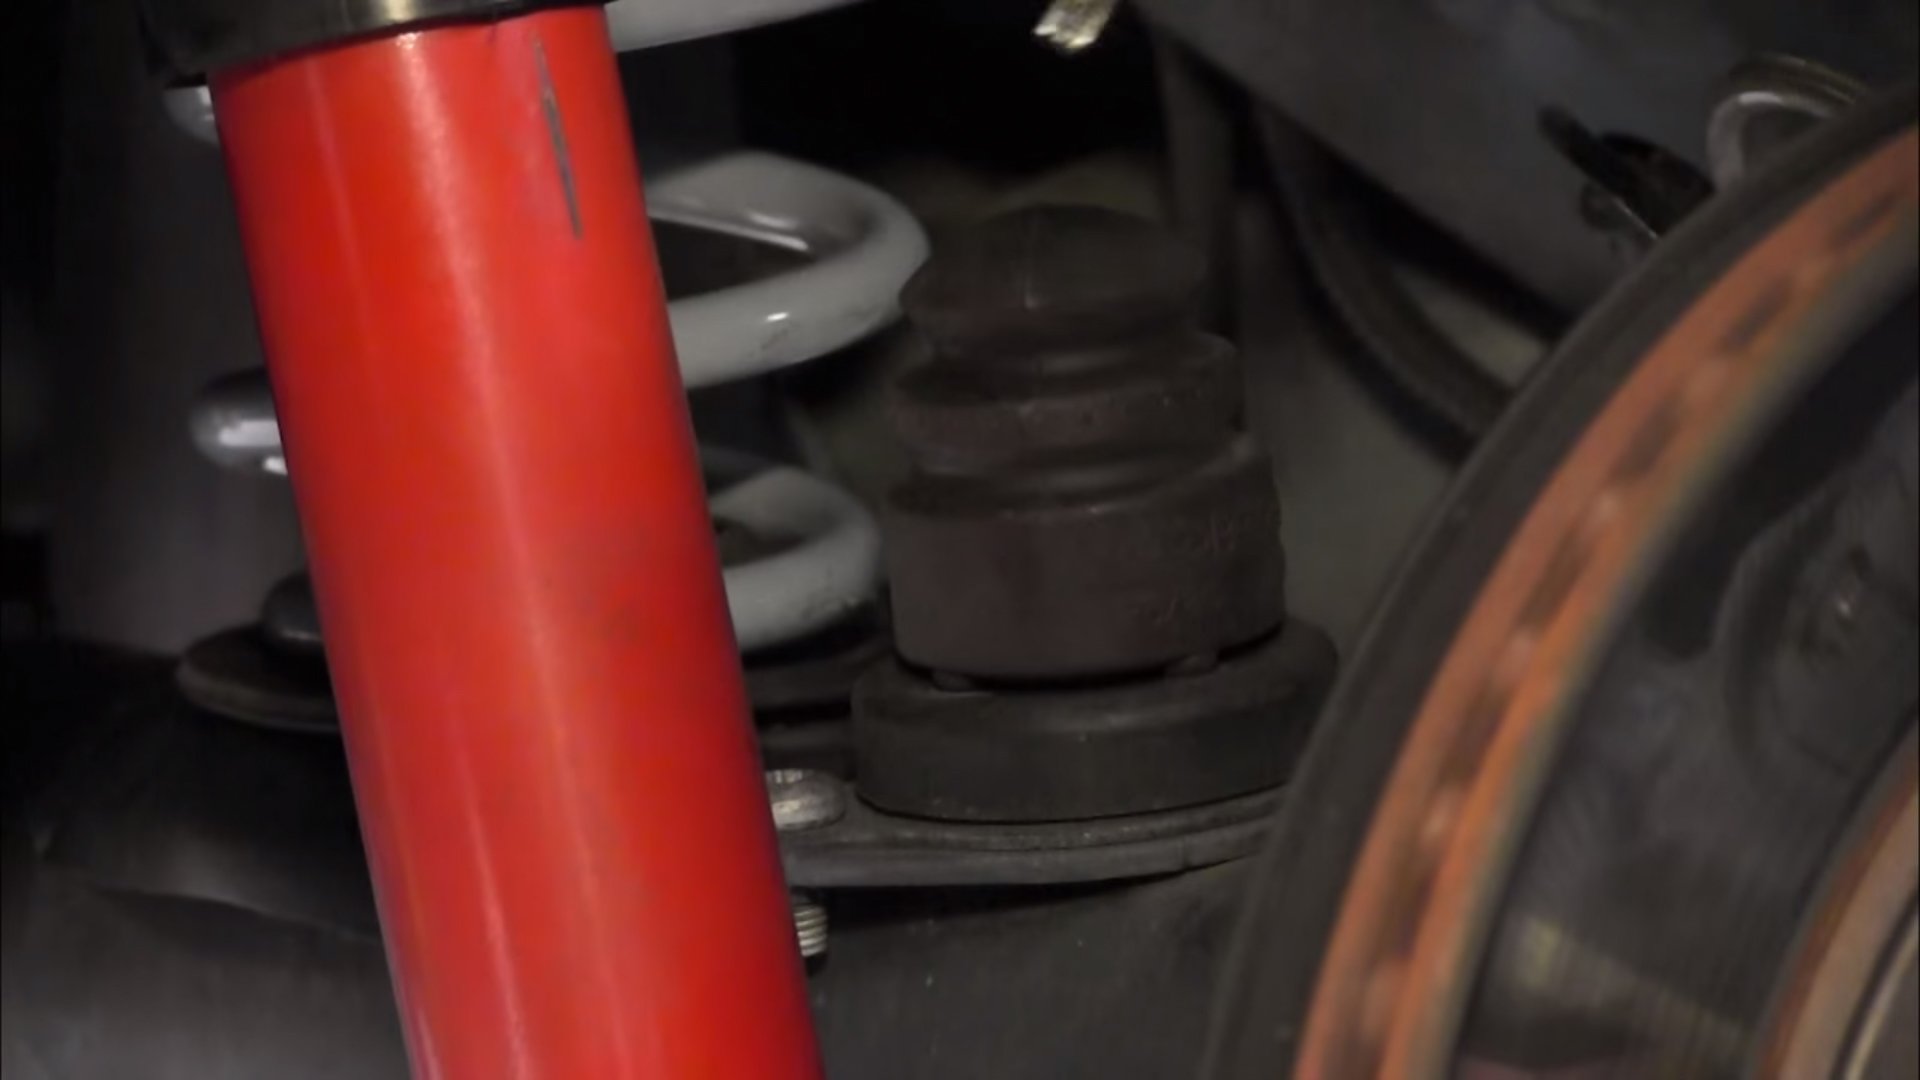
“This modification not only lowers the rear by one inch, but improves appearance by reducing the excessive rake of stock ride height,” the narrator explains. “We will also be replacing the factory bump stops with the lower Maximum Motorsports bump stop kit.”
The Maximum Motorsports bump-stop kit (PN Mm5BSR-2), includes a cellular foam stops that rapidly increase in rate as the suspension bottoms out, cushioning impact at the end of bump travel.
To get started, with the car at ride height, take a measurement between the center of the wheel and the edge of the fender. At the end take this measurement again to see how much of a difference the springs made in ride height.
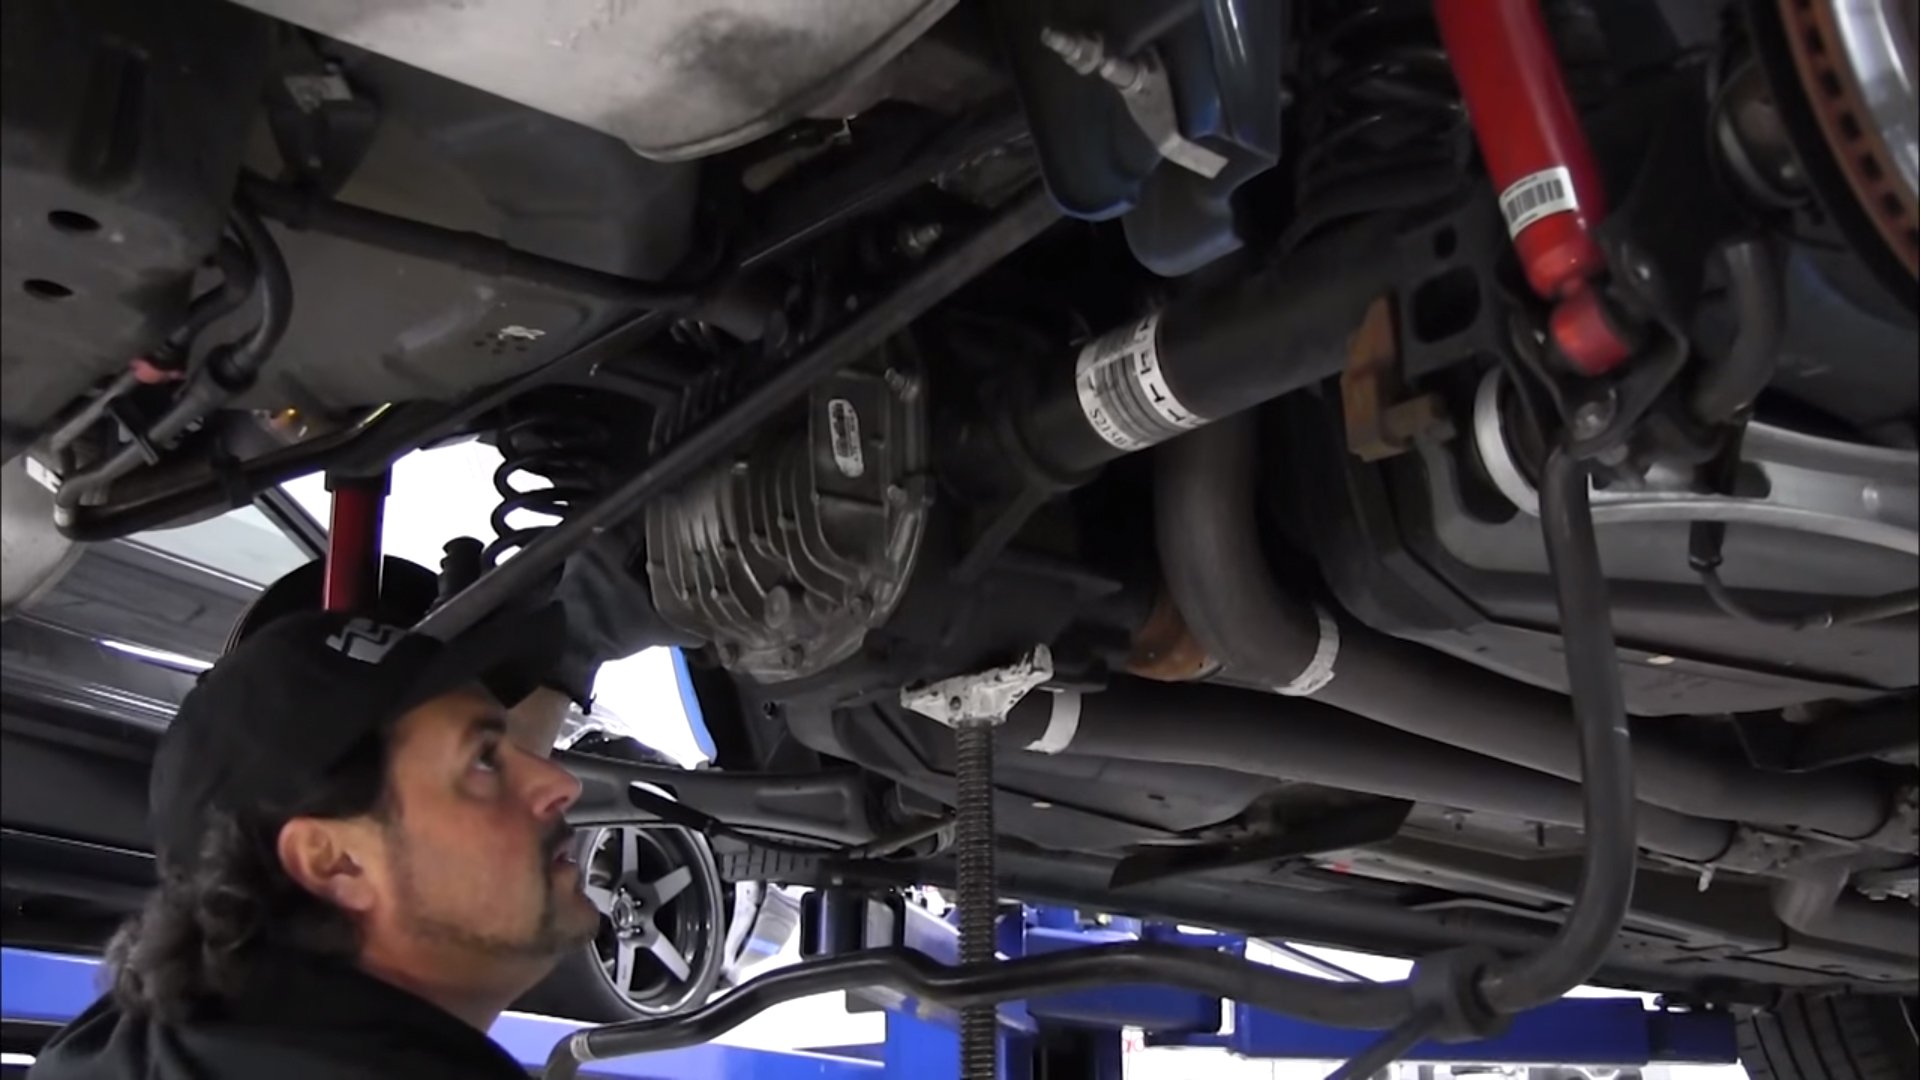
If you follow along with the video on a laptop or smartphone out in the garage, the install will be a breeze.
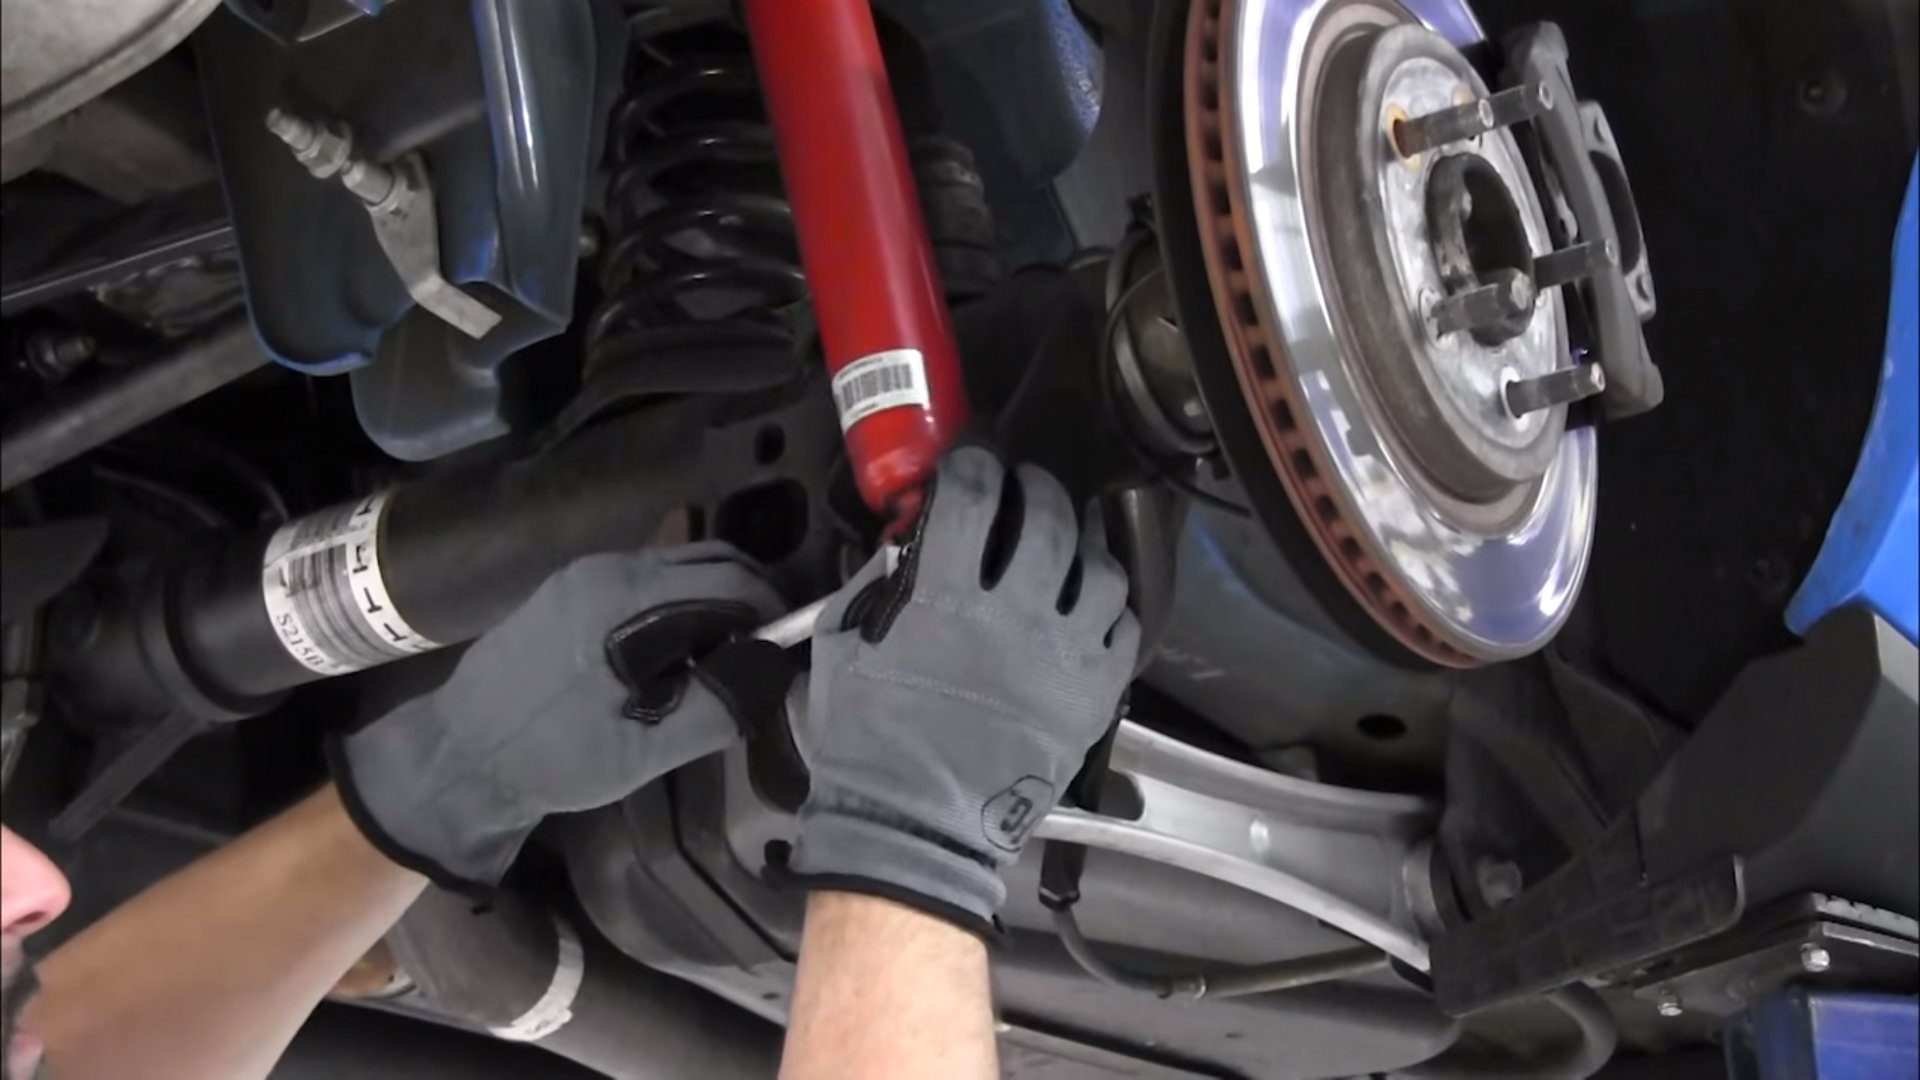
Now that you have the new springs in, remove the stock, rear passenger side stock bump stop with the T40 Torx bit. With the bump stop removed, take the stock rubber bump stop out of the sheetmetal bracket and force the Maximum Motorsports cellular foam bump stop into the factory bracket. With the MM bump stop in the bracket, reattach the assembly back in place on the rear axle. Repeat the same steps to remove and replace the driver-side bump stop.
Before and after with the old, OE bump stop and the new, cellular-foam Maximum bump stop.
With the new springs and bump-stops in, put the wheels back on, lower the car, and take your measurement again from the center of the when to the edge of the fencer so you can compare your ride height from before and after the installation. You should see about an inch difference as described in the beginning of the video. Now the only thing left to do is take your Mustang out for a cruise and test our your new rear springs.