The 2010-14 Mustang’s SYNC entertainment system is a solid piece as installed from the factory, but it’s lacking a pair of items that many new cars have coming off the showroom floor – a solid GPS and a backup camera – unless you order the super-pricy factory navigation system, that is.
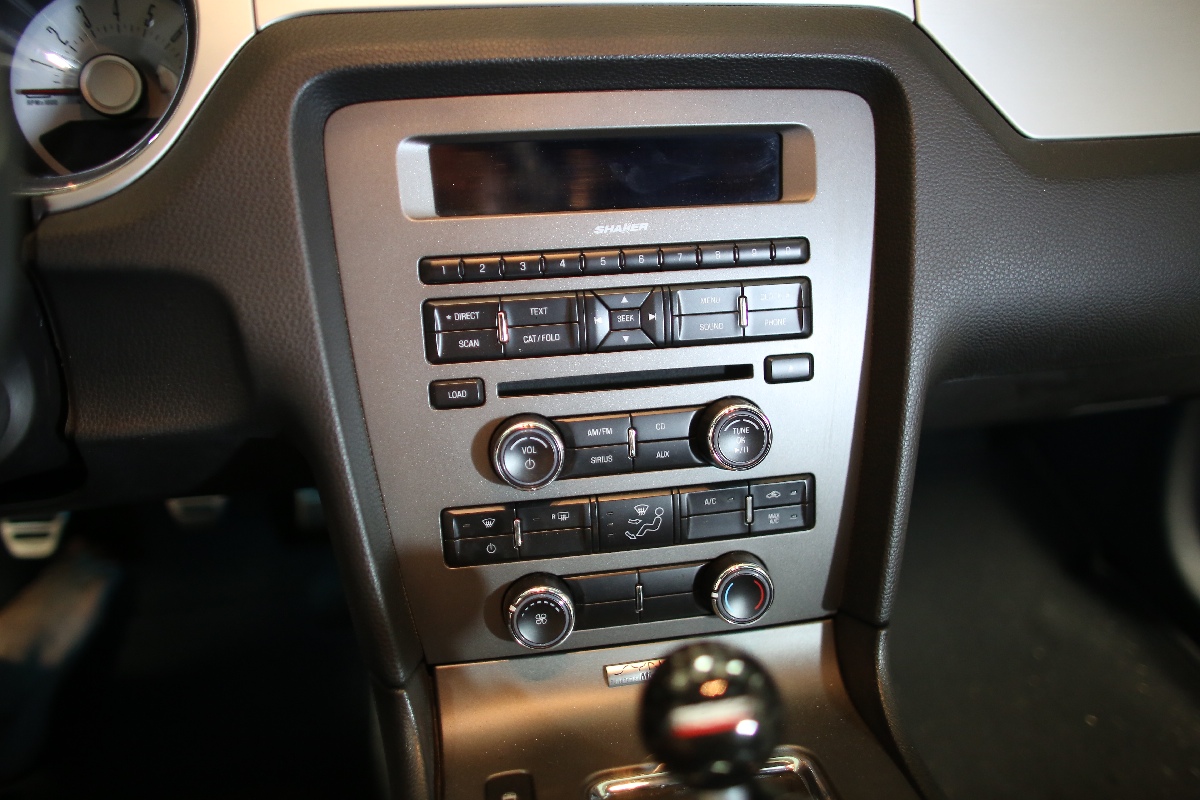
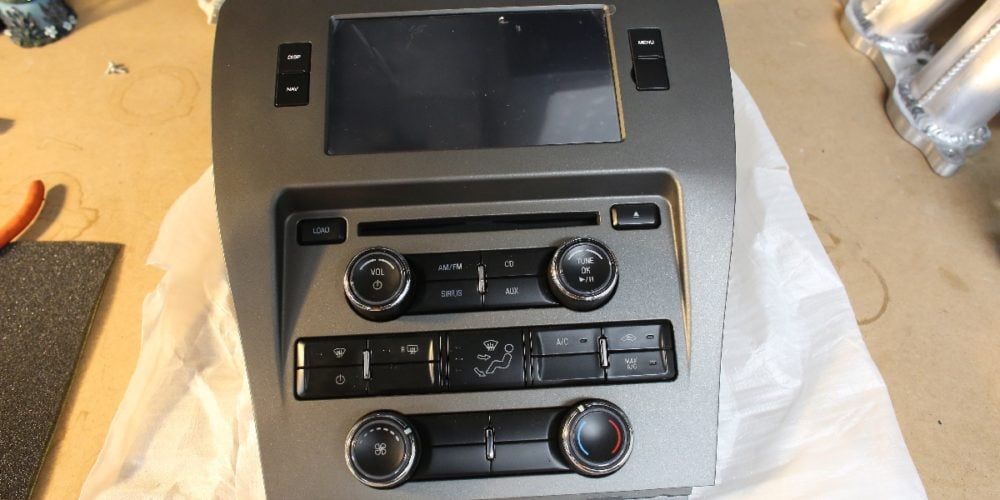
Starting with the factory SYNC dash panel, you can see the SYNC display at the top, the CD and HVAC controls below. The Raxiom screen doesn’t alter the order of the factory components, but removes the SYNC display and shifts the position of the rest down to make room for the new display.
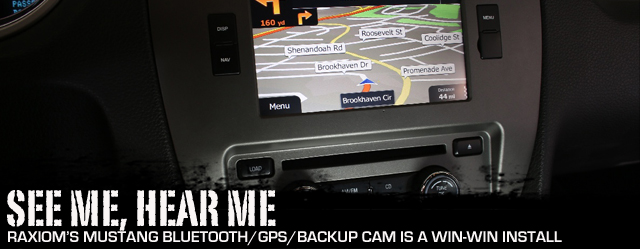
Thankfully, the folks at American Muscle and Raxiom have solved the issues by introducing an OE-style all-in-one unit that retains the use of the SYNC system along with providing a sweet 7-inch touchscreen-operated Navigation system and an integrated backup camera, all for a much lower price than the optional Ford unit. Not only is the Raxiom piece a sweet system that takes advantage of all of the SYNC features, but it updates the dash of the Mustang with a much better, full-color high-def LCD display.
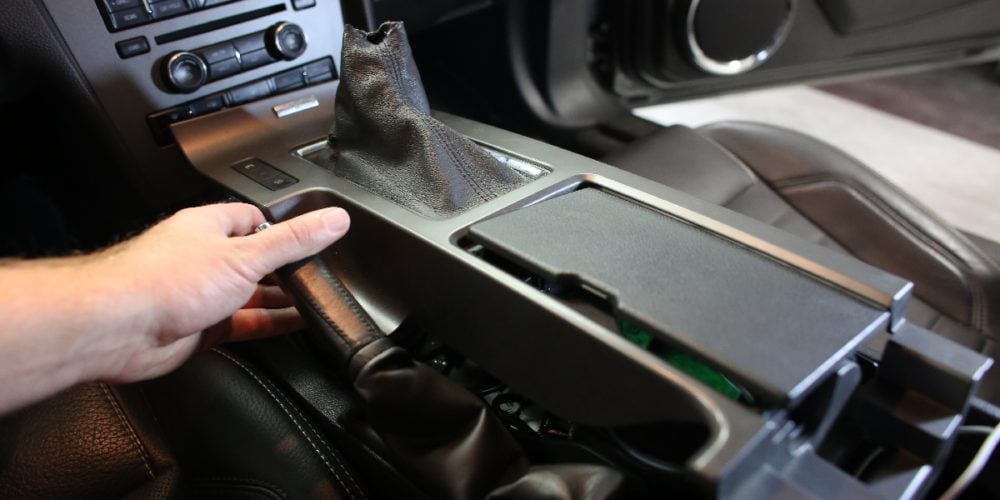
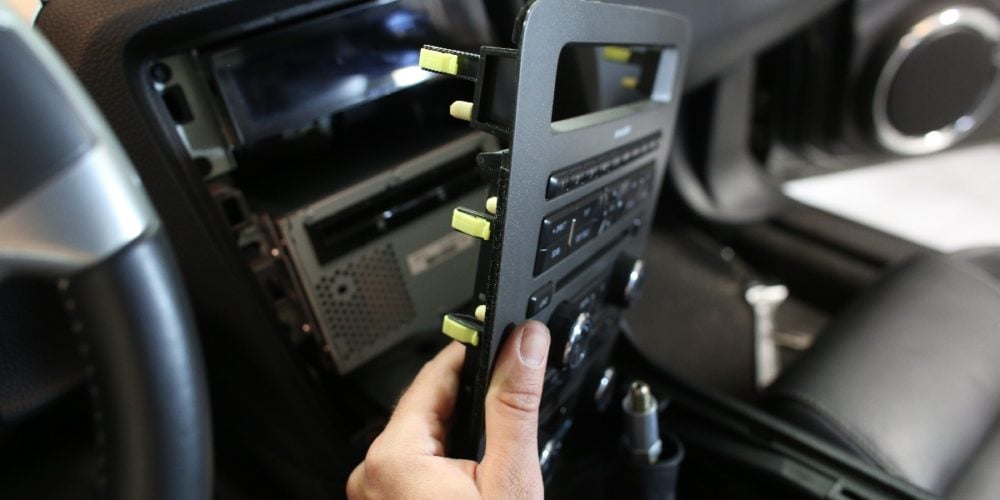
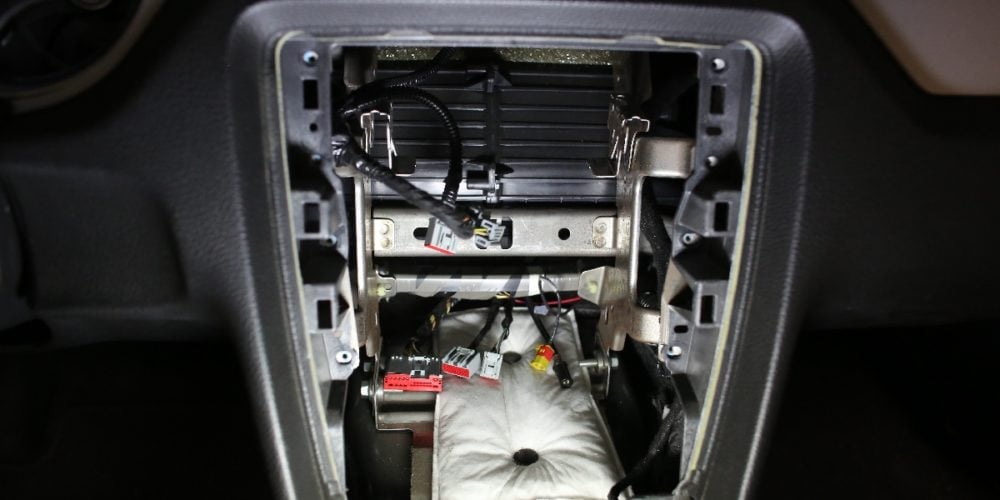
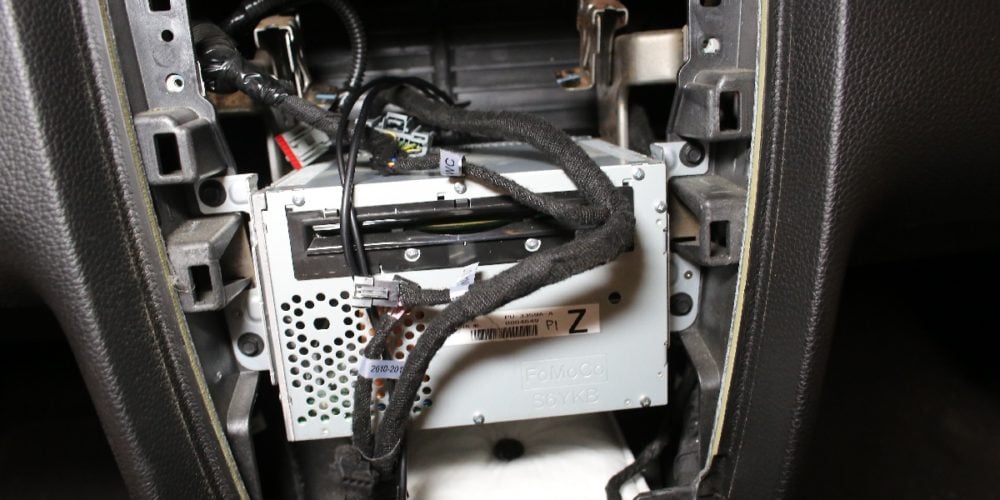
Left: First off, before you even get to this step, make sure you disconnect the negative battery terminal. Make sure you take care when removing the trim panel at the rear the center console that you get any harnesses unclipped before lifting it out of the way. Left Middle: Remove the fasteners from the bottom of the factory radio surround. We found that you can work your fingers around the surround to remove it easily - it unclips. Right Middle: Here you can see the surround removed, along with the factory CD changer behind the panel. Make sure to unplug the HVAC controls by unplugging the small connector on the bottom right rear of the panel. Right: Next up, you remove the four mounting bolts to remove the SYNC display, remove the bolts from the SYNC display brackets, and set the brackets and display aside separately - you don't re-use the brackets.
We recently installed one into our Project Wild E. Coyote. You remember Wild E. – it’s the newly-turbocharged 2011 Mustang in our stable that’s been subjected to dozens of upgrades throughout it’s short life. We procured one of Raxiom’s units [PN 100300] to install and test out, and after a thorough flogging, we’re here to say it performs exactly as advertised.
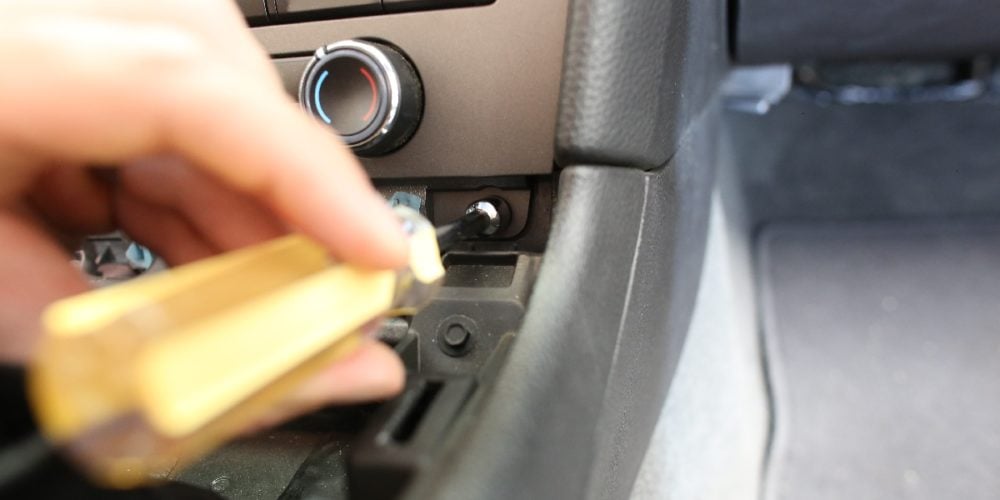
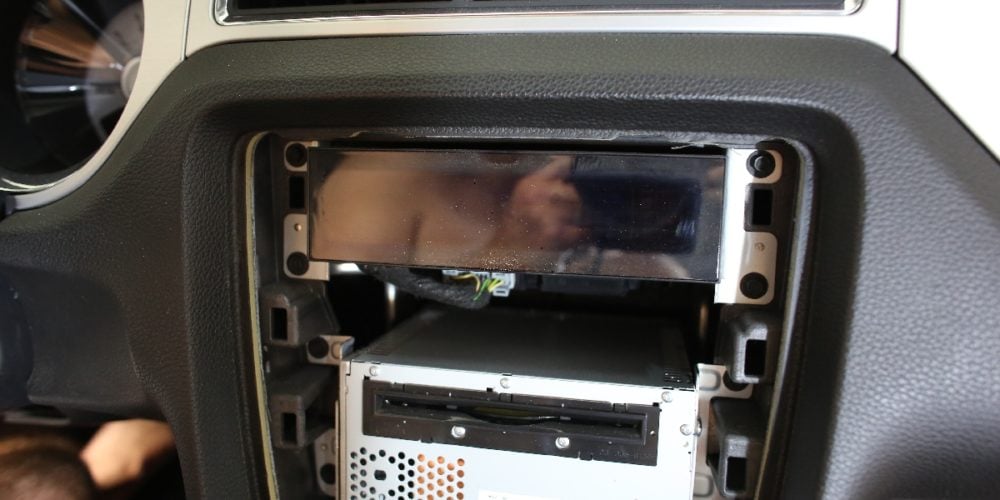
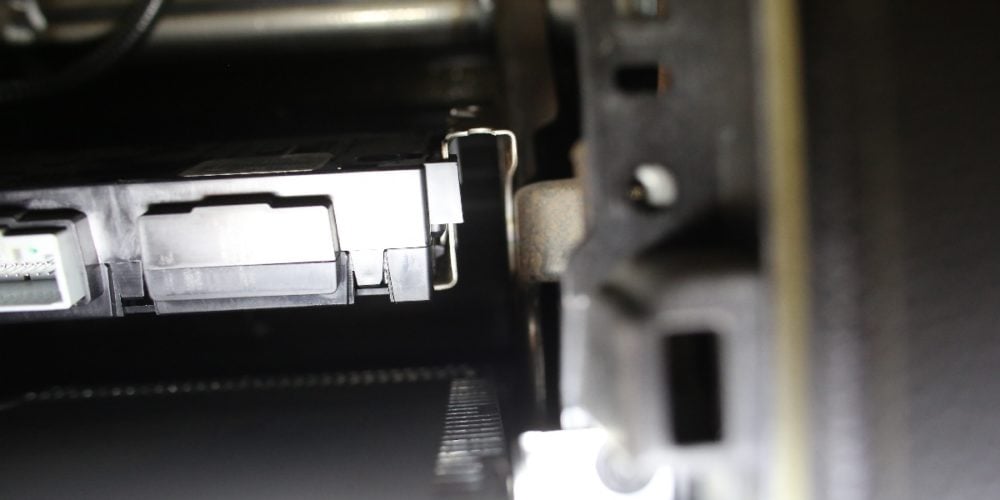
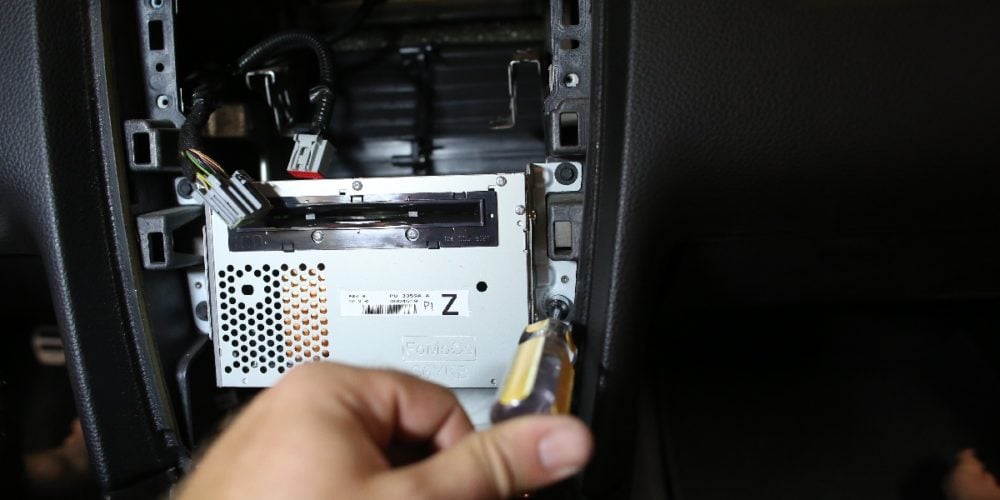
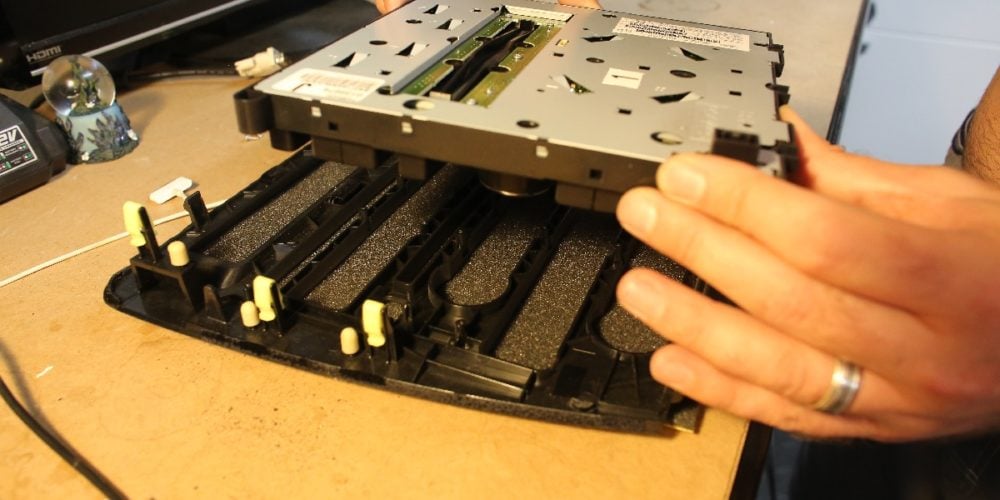
Left - The AC control unit is removed by using a screwdriver to release a couple of clips, then pull it out. Left Middle: Next up, four more screws to get the CD changer out. Make sure to unplug everything along the way - you may have to feel around in the back of the unit to locate the harnesses. Right Middle: The empty control bay. Right: You'll remove 15 Torx screws to separate the HVAC controls from the factory bezel.
The feature-set on the Raxiom piece is nothing short of awesome – it provides everything you could want right in the dash of your Mustang, plus the added benefit of an easy installation.
Features
- GPS navigation using iGO Primo 2.0 software
- 7-inch touchscreen
- Satellite Radio, iPod and MP3 player compatible
- Bluetooth hands free
- Supports steering wheel controls
- Back-up camera
- Five language options
- Retains factory SYNC functions
- 2 year warranty
It fits all 2010 to 2014 Mustangs equipped with SYNC, including V6, GT, BOSS, and Shelby GT500 models – except the 2010 6-Disc CD changer-equipped models. Assuming your Mustang fits in the aforementioned group (or you wouldn’t be reading this far down), let’s get to the nitty-gritty.
The Raxiom GPS system fits into the factory dash location and uses a stylish redesigned bezel to alter the location of the lower components and fit the new touchscreen in at the top, where the SYNC screen used to reside. The SYNC screen is then hidden behind the touchscreen as it needs to be plugged in to operate everything properly via the interface.
Left: Reinstallation of the HVAC controls to the new bezel is simple - lay them in place (they only fit one way) and reinstall those Torx screws from the last step. Right: Here's the new bezel, filled with the new screen and HVAC controls.
IGO’s Primo 2.0 software includes Text-To-Speech, voice, and visual turn-by-turn directions on-screen in 2D, 3D, and Green routing directions as well as 3D building views in many major cities. The 7-inch touchscreen features an HD LCD display that displays SYNC Radio and other SYNC-controlled functions, and has an auto-dimming mode so that your night vision doesn’t get wrecked.
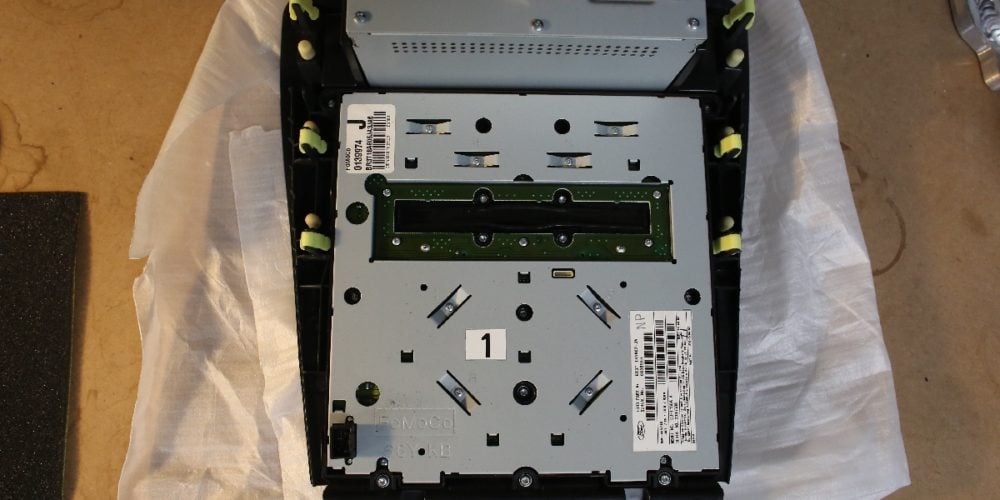
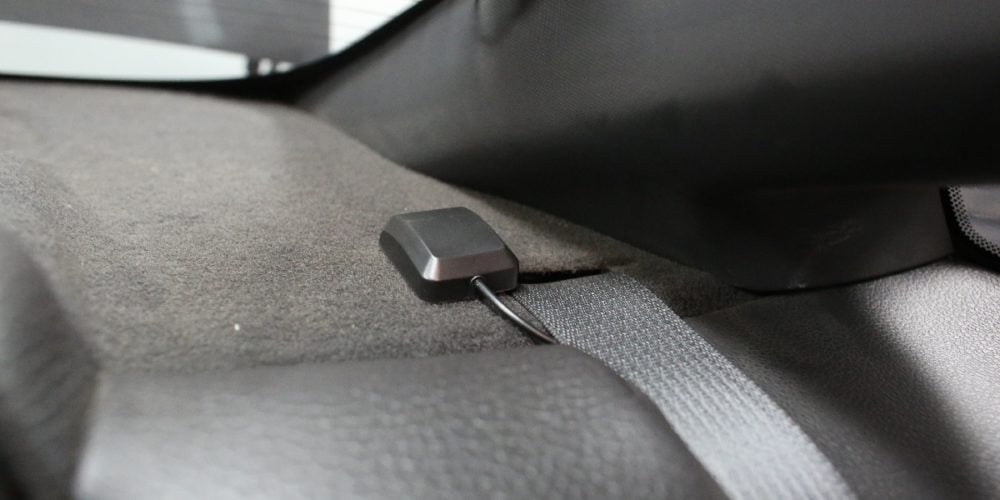
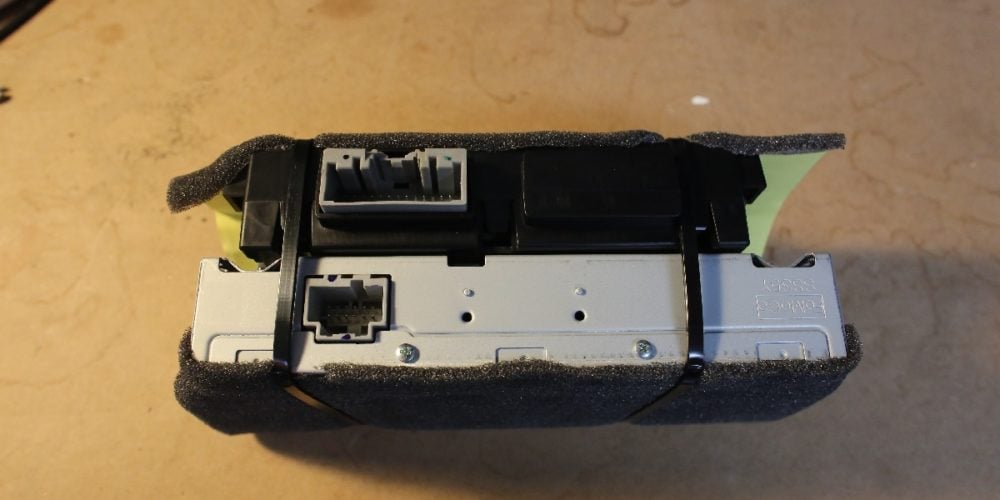
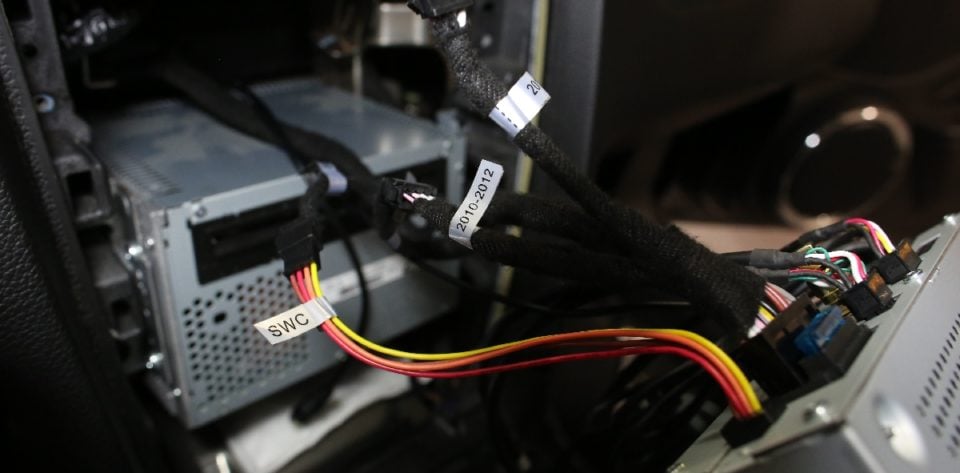
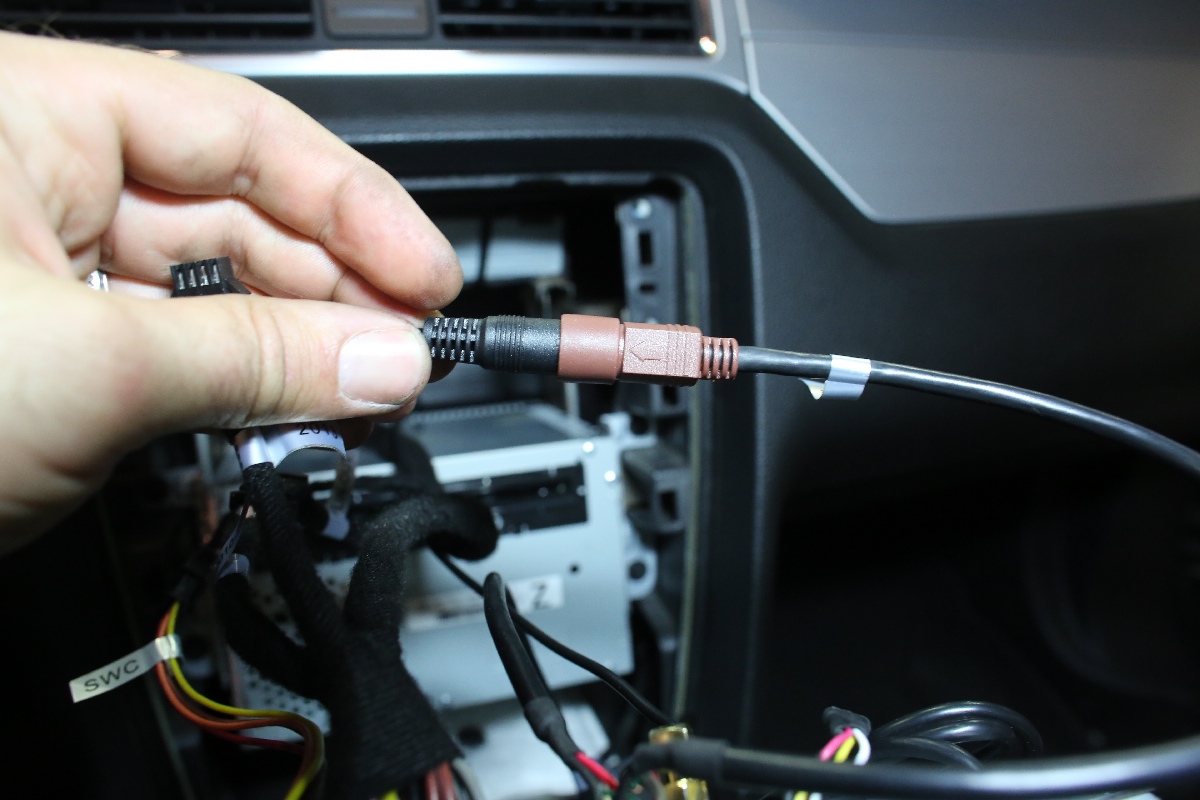
Left: While the unit is on the workbench, take the time to route the GPS/satellite radio antenna where desired. In the interest of a clean install, we routed ours along the driver's side kick-panel and side rail before mounting it by the driver's side rear seat-belt. We've driven it like this for a while now and haven't had any reception problems. Left Middle: Before reinstalling the bezel and new components, take the time to lay all of the wiring harnesses atop the CD changer, otherwise there isn't enough length to reconnect everything. Right Middle: The SYNC screen must be reinstalled in the dash - the new Nav system needs to interface with it. Make sure to leave the rear of the SYNC display and HVAC module clear of the supplied foam, or you won't be able to reconnect the harnesses to the backs of those units. Right: The Raxiom system comes with an interface harness to work with 2010-2012 Mustangs, along with 2013-14 Mustangs. Simply select the correct pigtail for the appropriate model year; the other end just gets tucked back in behind everything. Make sure the SYNC module is tucked back in there as far as possible for clearance, our installer said that was the single most difficult part of the install.
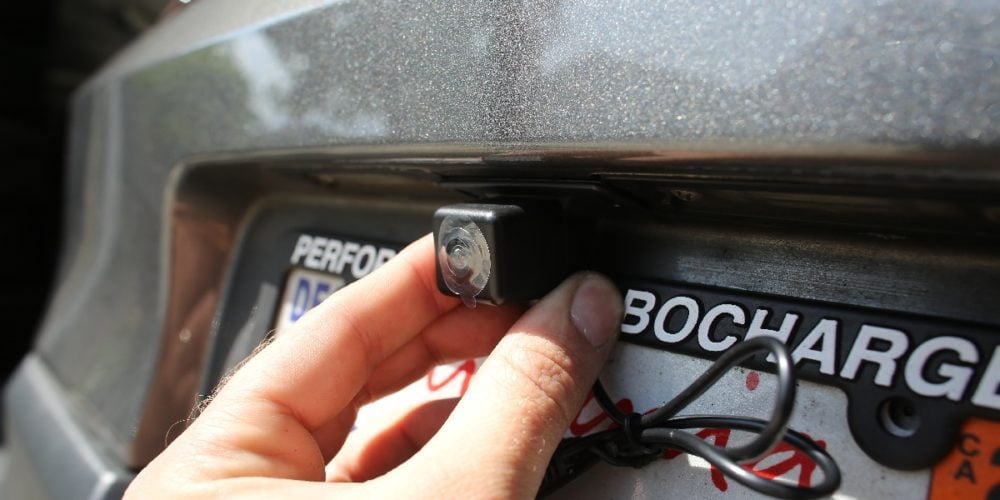
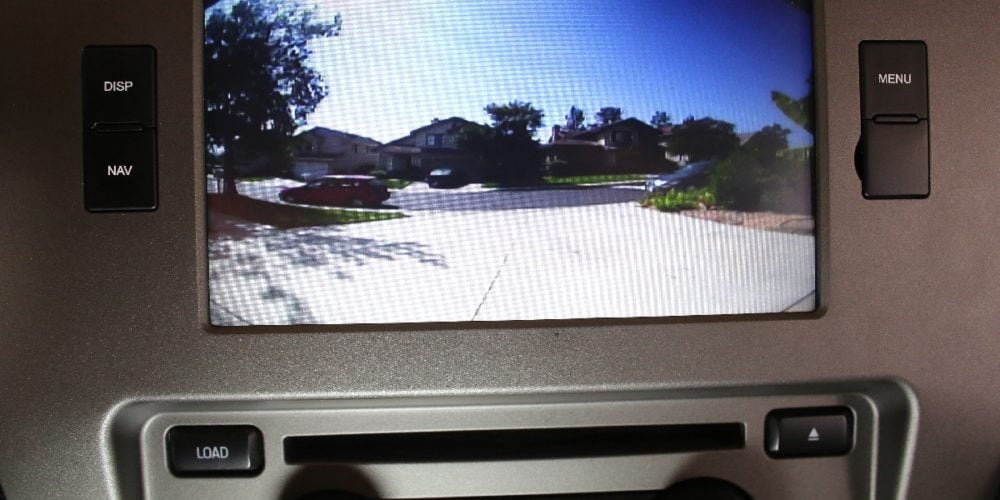
The Raxiom system’s backup camera is full-color and features an Instant-On mode that turns on the reverse view when the gear selector is placed in reverse – no more running over small children in parking lots! It also retains all of the factory voice-controlled SYNC functions, like AM/FM/Satellite radio, CD/iPod audio, and Bluetooth hands-free systems.
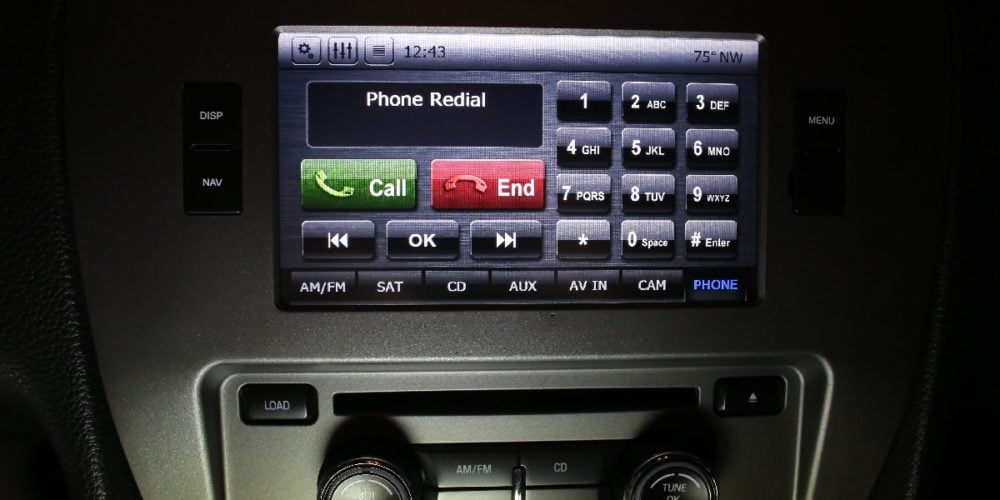
Top Left: Backup camera mounts in the center of the license plate bracket. Bottom left: Crystal clear view, now there are no excuses for running into the neighbor's car. Top Right : The system is so advanced it can tell you how much fuel drivers are using on a particular trip and even estimate how much carbon-dioxide your Mustang is putting into the atmosphere. Bottom Right: Hands-free calls are simple, or tap in a number from the touchscreen.
American Muscle provides a great set of installation instructions, and we learned a few things during our own installation that can help to make yours even easier. Jam-packed full of features, this new piece from Raxiom is sure to be a winner.