Adapting numerous digital music options to a classic vehicle without disturbing the vintage appearance of the dash is now an easy upgrade, thanks to the new Slidebar radio system from Custom Autosound.
iPods, MP3 players, smart phones and other digital music devices are the norm these days when it comes to enjoying one’s favorite tunes. Hardly any audiophile still uses CDs in a vehicle, and certainly no one has their playlists on a cassette tape. And, about the only time one turns on the radio is to check the weather or traffic, if he isn’t already doing that with a smart phone.
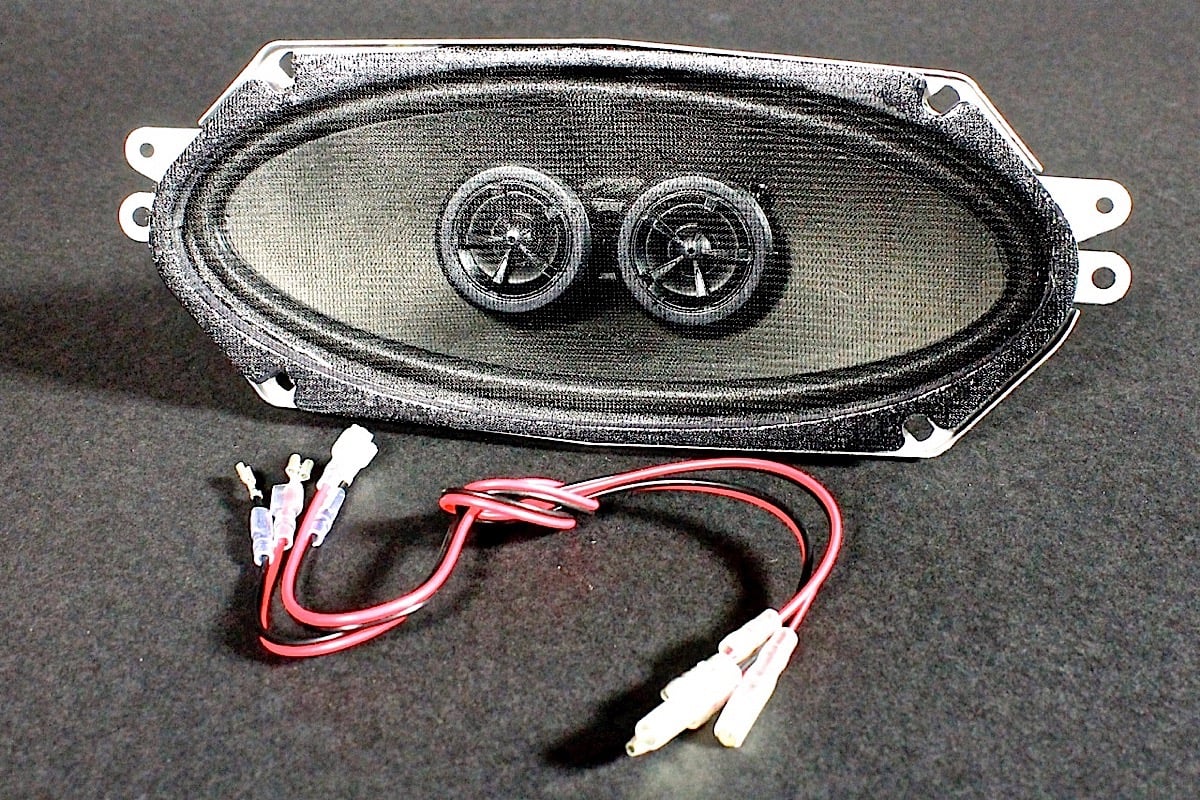
Custom Autosound components featured in this installation include a pair of kick-panel speakers (KMC-1), the Slidebar radio designed for the ’65-’66 Mustang (CAM-MS-SBR) and a 4×10 Dual Voice Coil speaker (3001).
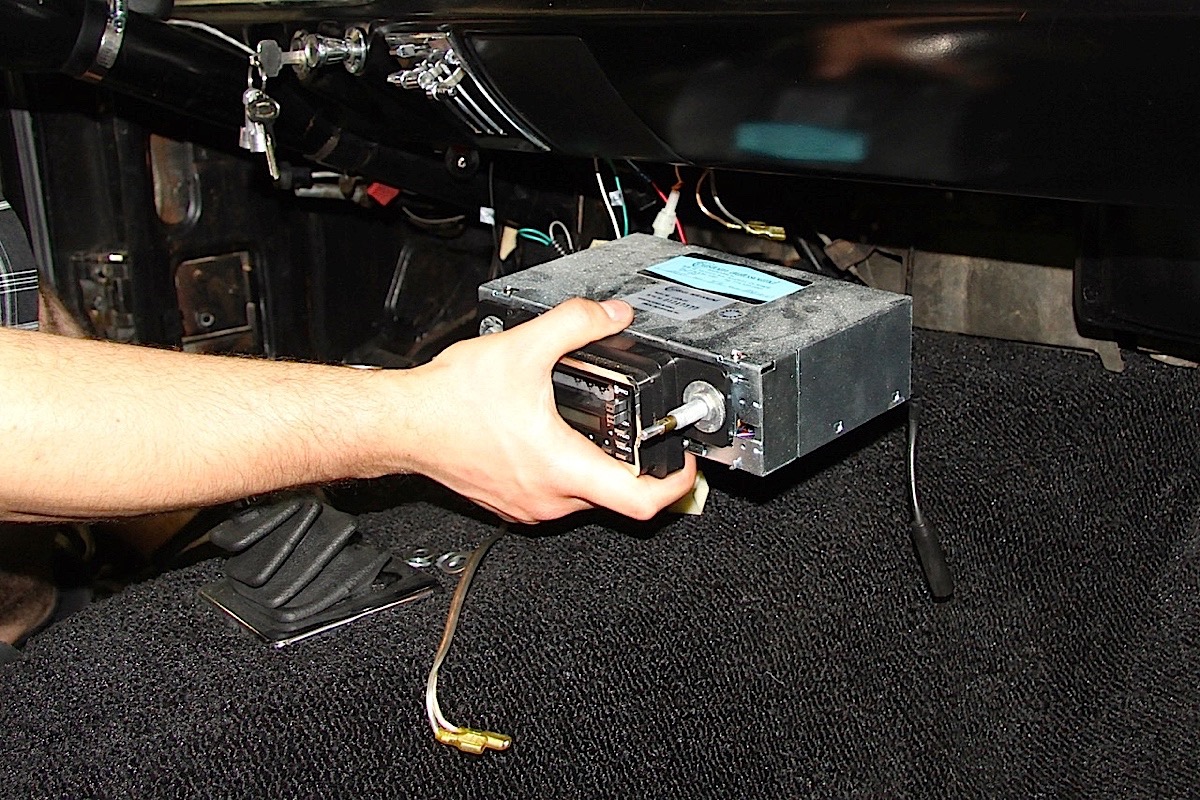
The owner of this ’65 Mustang fastback was trying to keep up with all the trends in early ‘90s by installing a Custom Autosound USA-3 cassette player in his classic car. That was leading-edge technology for its day, but now he has no traditional music sources in his collection—every tune is digital on a variety of iPhones and iPods owned by the family. Once again, the owner called on Custom Autosound for an upgrade, this time hoping for an added bonus of returning the dash to a completely stock appearance.
“The most important factors to the classic car owner are fitment, function and look,” stresses Ryan McDonald of Custom Autosound. “Function is the trickier part- because it’s difficult to predict what is important to folks and to measure that against the ever changing technology.”
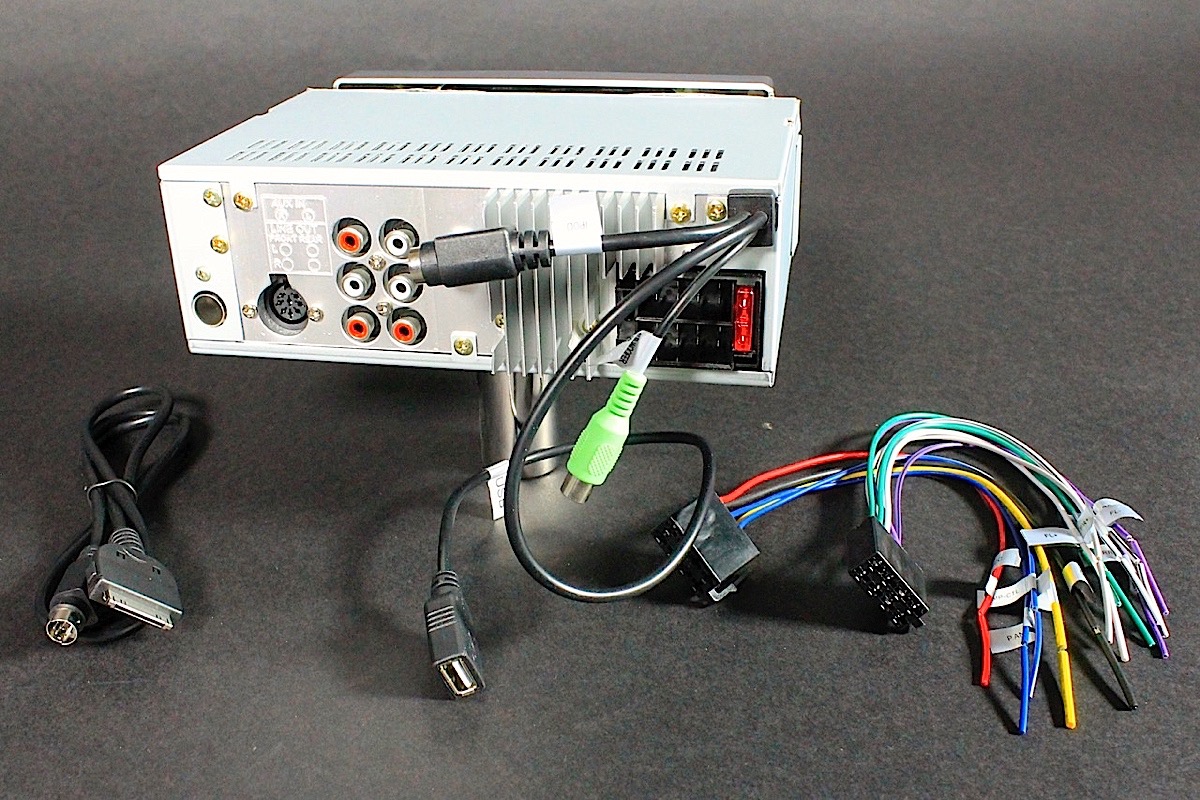
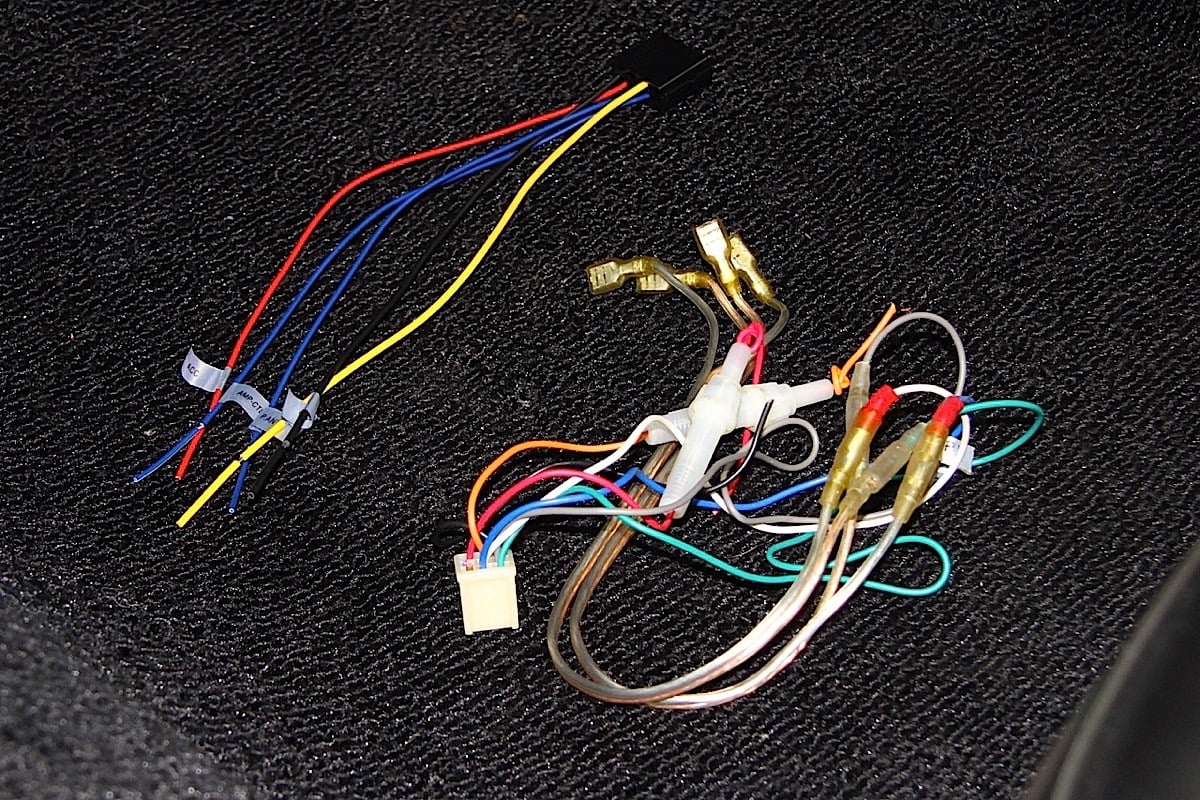
The Slidebar comes with the necessary power and speaker wiring harnesses, and it’s capable of supporting a CD changer, numerous auxiliary inputs, a subwoofer, Bluetooth and digital music players. The center speaker is rated at 140 watts while the 6.5-inch kick-panel speakers are rated at 80 watts. The speakers come with wiring ready to tap into the speaker harness.
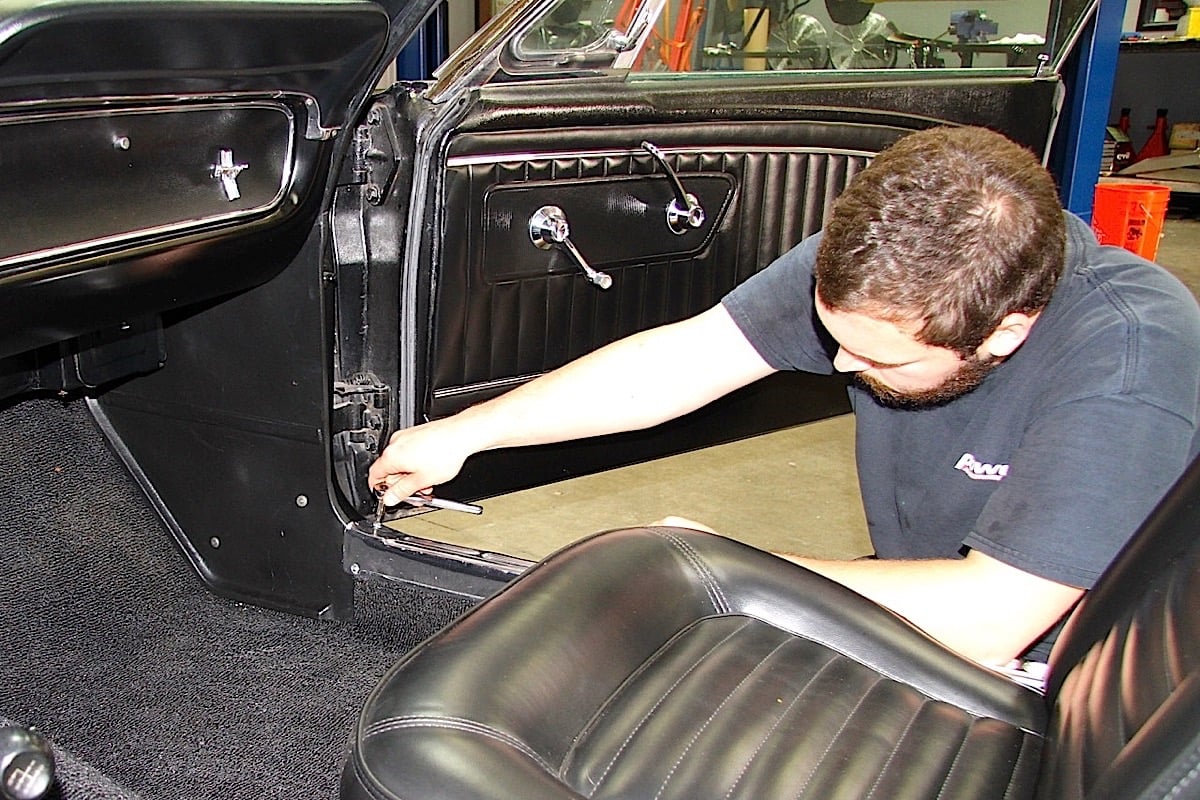
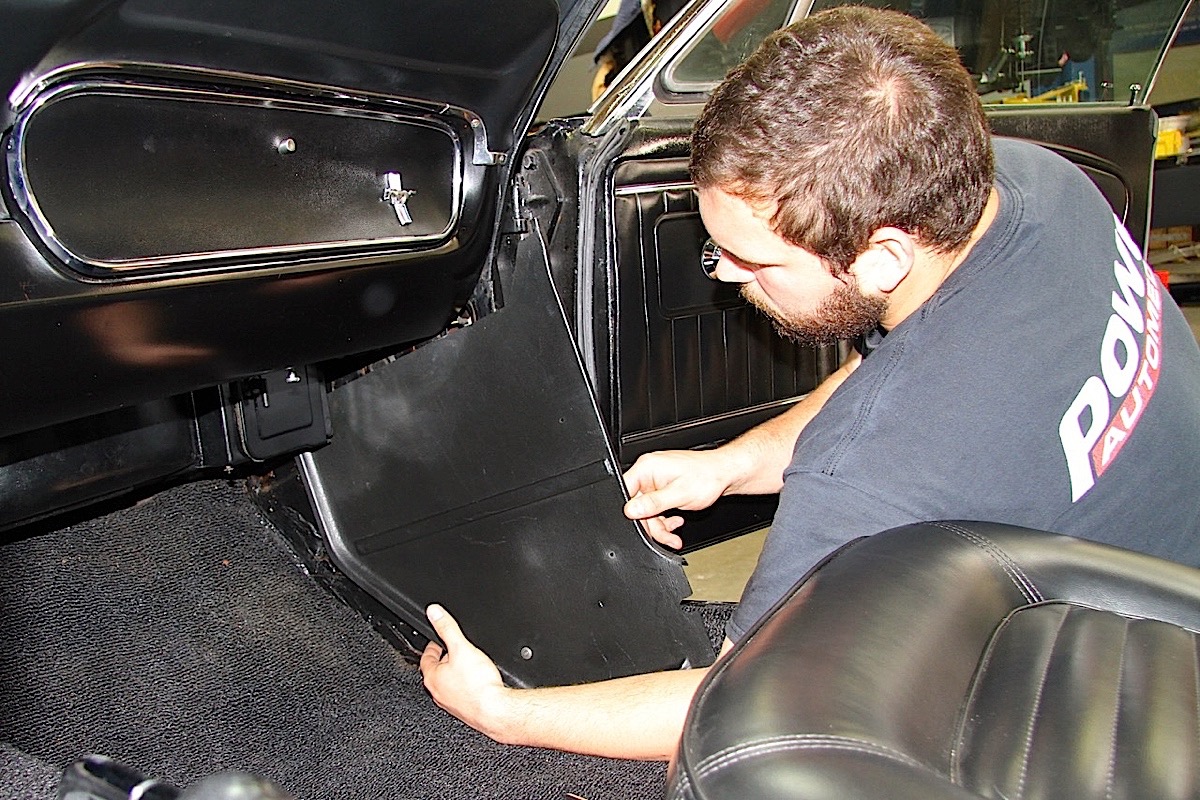
Always disconnect the battery before starting any project that involves the electrical wiring system. The first chore was pulling the stock kick panels. Both rocker panels have to be removed before the kick panels slide out. Keep track of all the hardware.
Customers wanted digital options
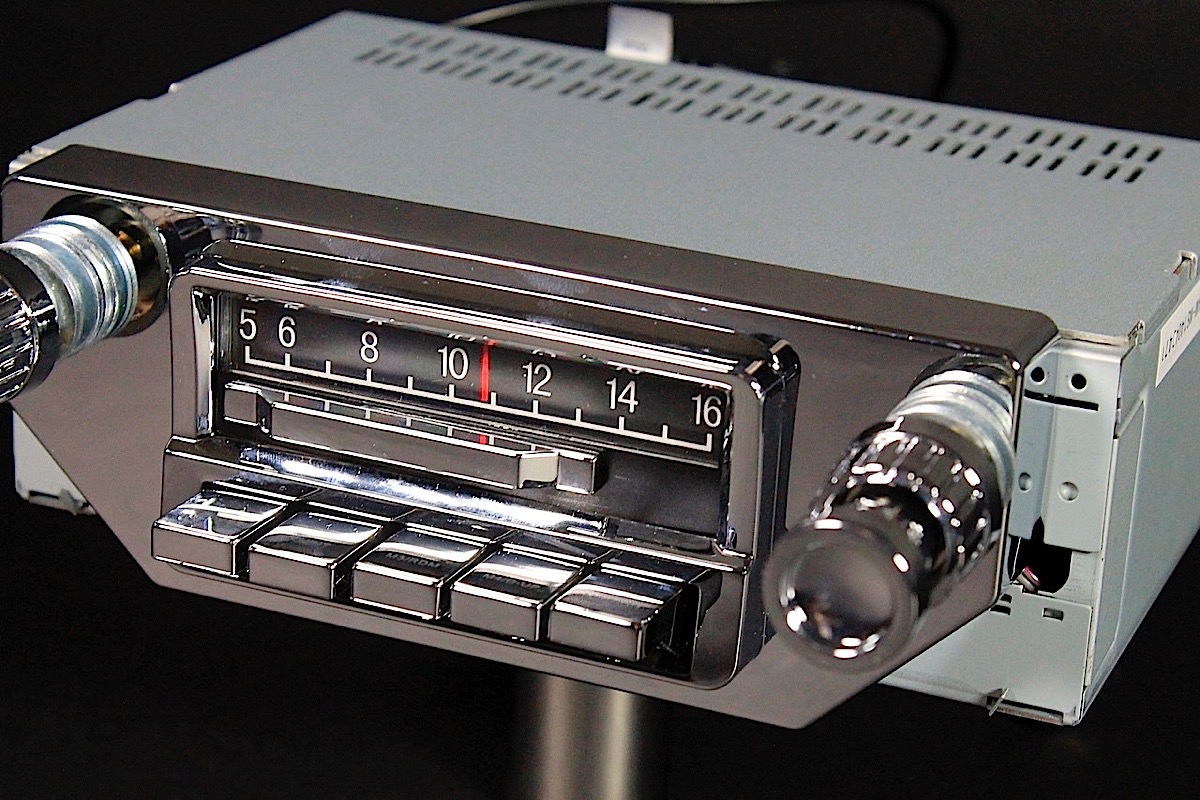
The new Slidebar is based on a 300-watt, AM/FM head unit with 25 pre-sets (15 FM, 10 AM). The slidebar function changes the display from a stock appearing AM radio dial to a digital display for adjusting the settings, viewing the clock and moving between modes, including those needed to play digital tunes.
“The public has been clamoring for USB, iPod dock, optional CD and optional Bluetooth,” says McDonald. “We also added a subwoofer line out for those who are running a serious system.”
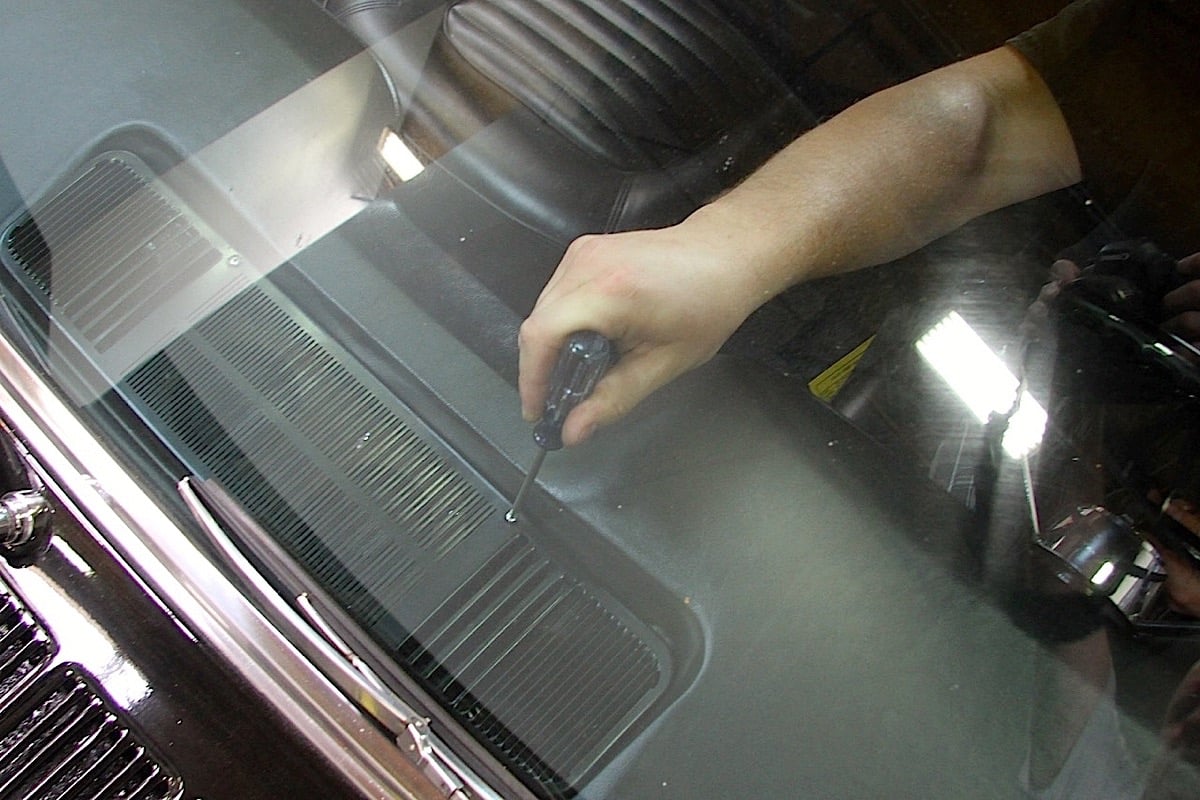
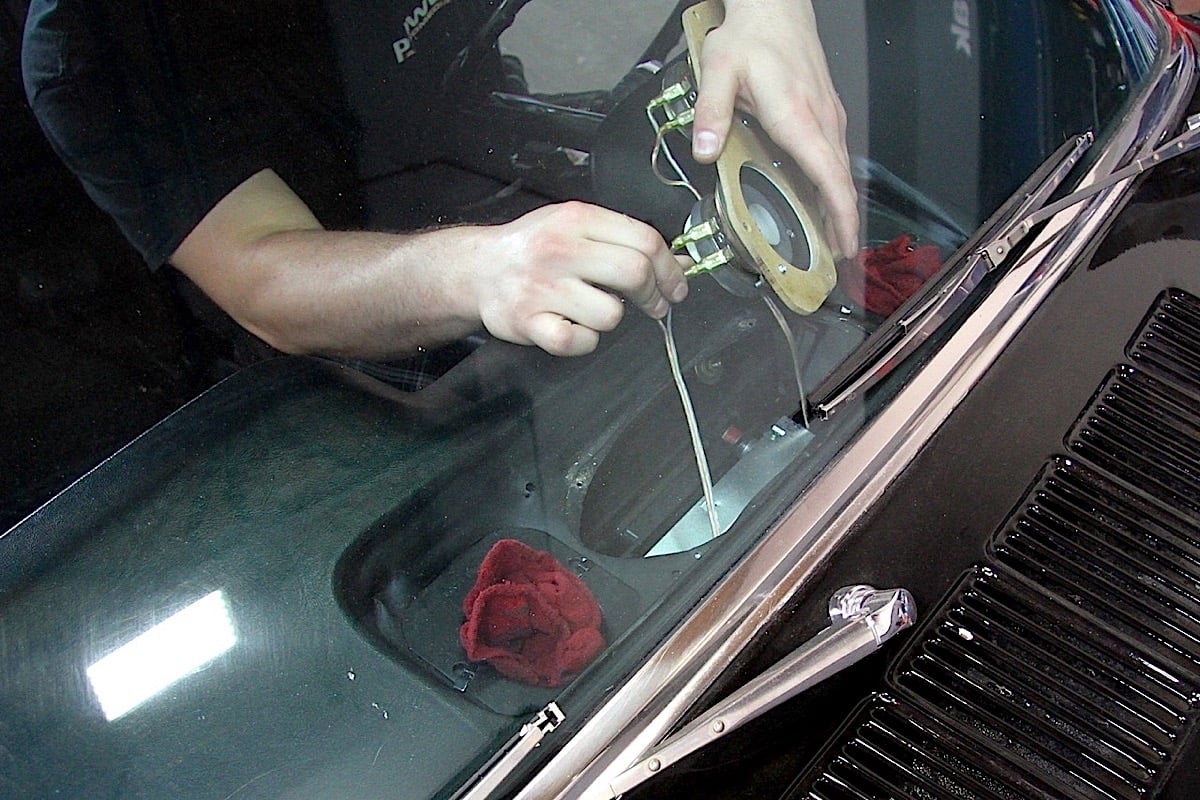
The previous Custom Autosound speaker came out easily by first removing the two screws securing the speaker grille. The defroster ducts are exposed when the grille is removed. It’s a good idea to plug them with shop rags before removing the speaker fasteners. Work room is rather tight under the glass, and it’s very easy to drop a screw or even a tool down the duct. If you’re dealing with a stock or other brand of aftermarket speaker, the wires may have to be cut instead of pulled off, as in our project.
There is no limit to the creativity of builders.–Ryan McDonald, Custom Autosound
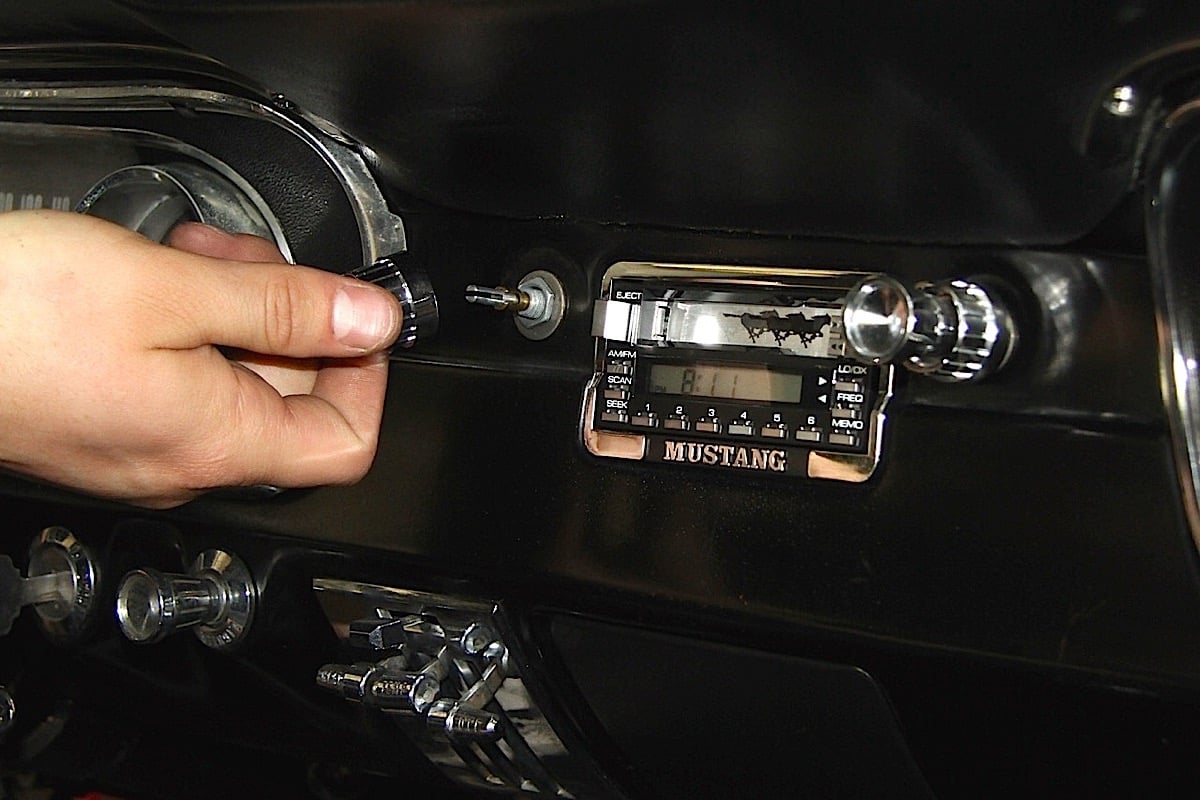
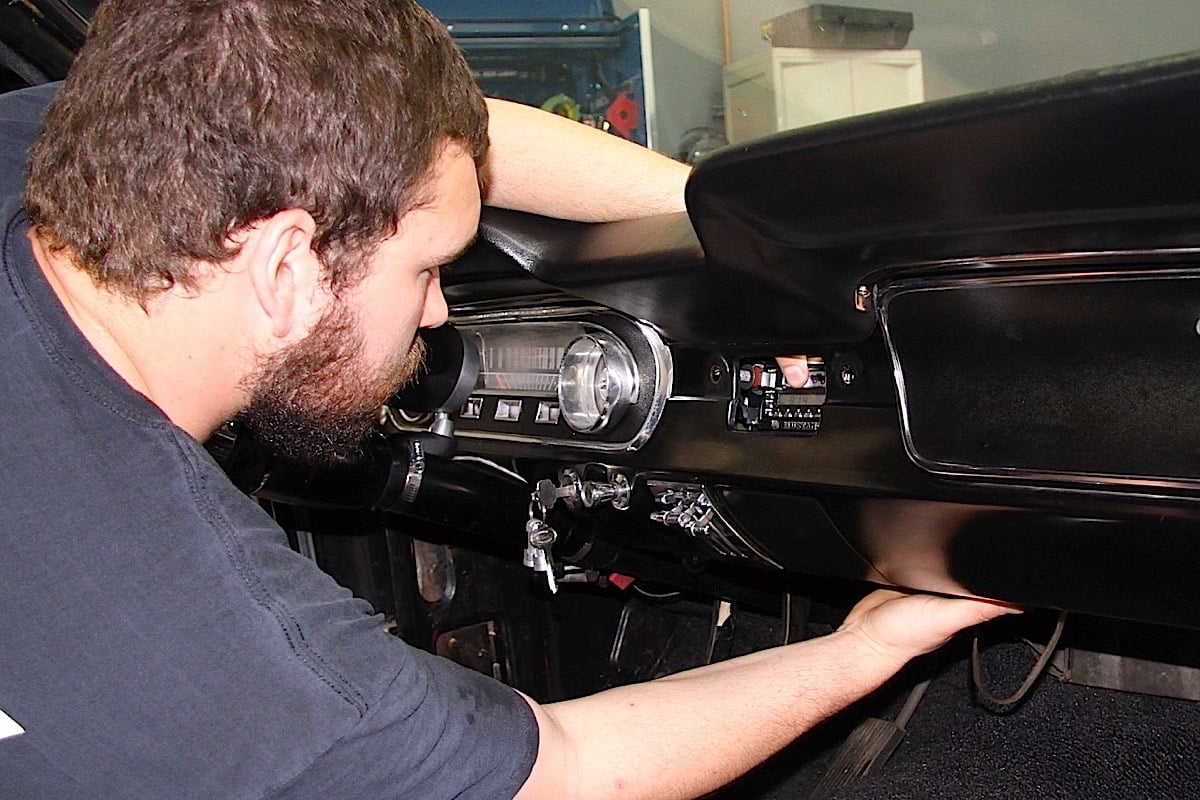
Pull the knobs off the tuning dials and loosen the nuts holding the head unit to the dash with a deep-socket wrench or nut driver.
There’s also a mounting strap supporting the head unit from underneath. When that’s unscrewed from the dash, carefully remove the head unit and disconnect the speaker and power wiring from the unit.
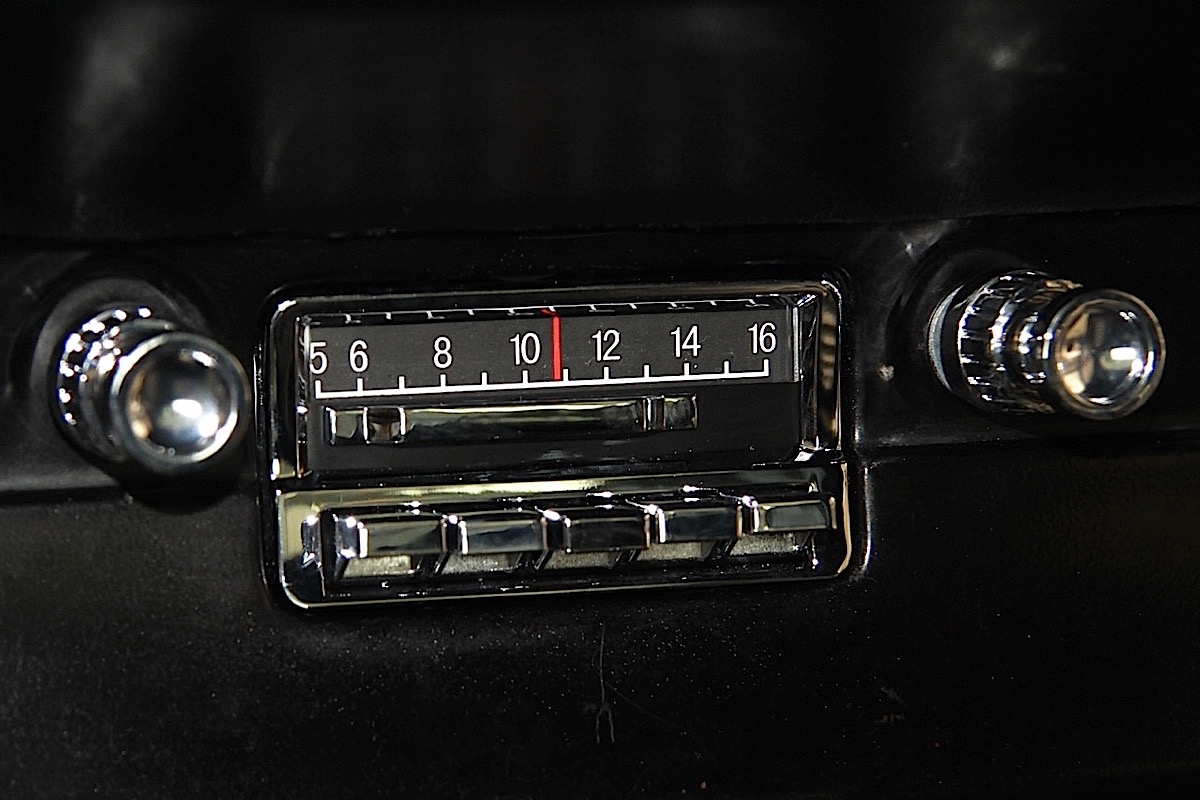
A closer look at the Slidebar and its stock-appearing analog AM display. When the control bar is slid to the right, a digital display appears. Don’t bother trying to adjust the AM tuner setting in this display, it’s just there for show.
Very sleek OEM resemblance
Satellite radio is even a possibility with RCA connections in the back of the radio head unit. Another music option is hooking up to a remote 6CD changer, and there’s an available Bluetooth kit for hands-free phone use.
While the knobs and push buttons have a spot-on resemblance to the OEM controls, there is a learning curve in getting used to the all the options available to the user. But a few minutes with the owner’s guide will get a novice user on the right track in no time.
Unneeded wiring from the previous harness is removed. When placed next to the new power harness, you can see how the new unit will help clean up under the dash. The 12V constant, 12V key-on and ground wires were identified and matched to the power harness.
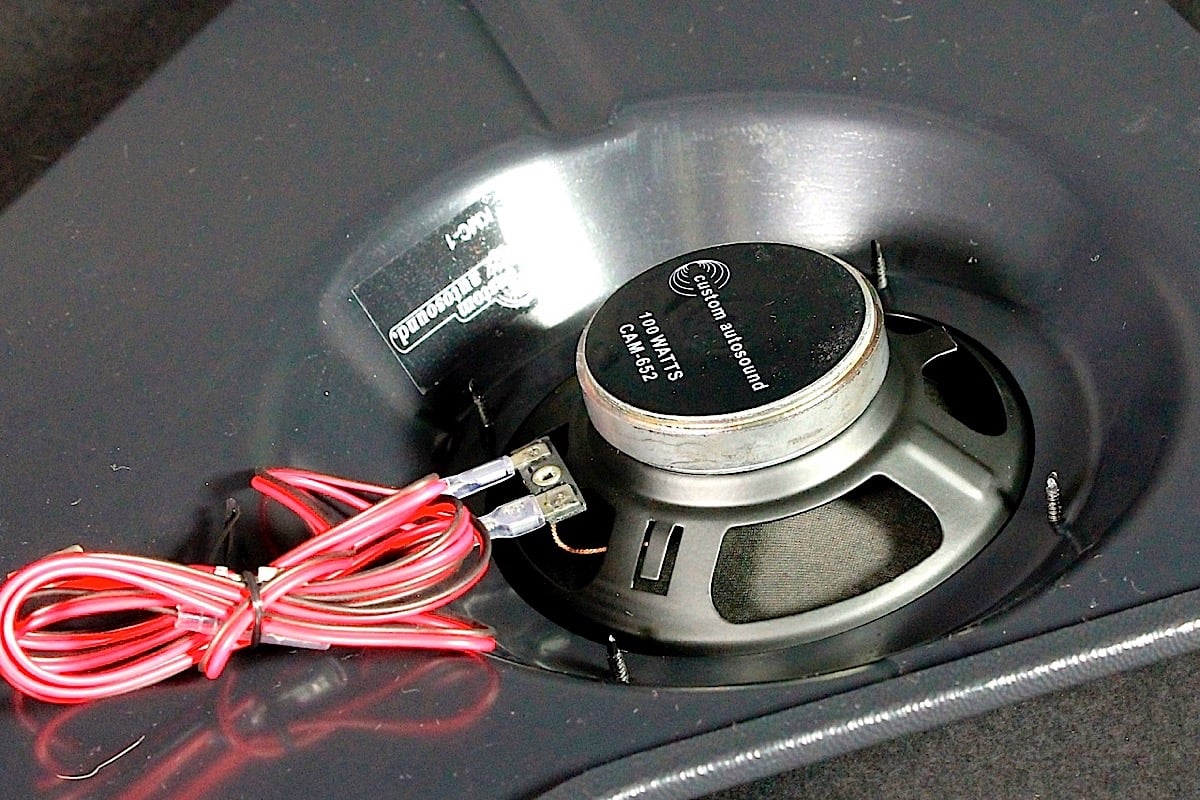
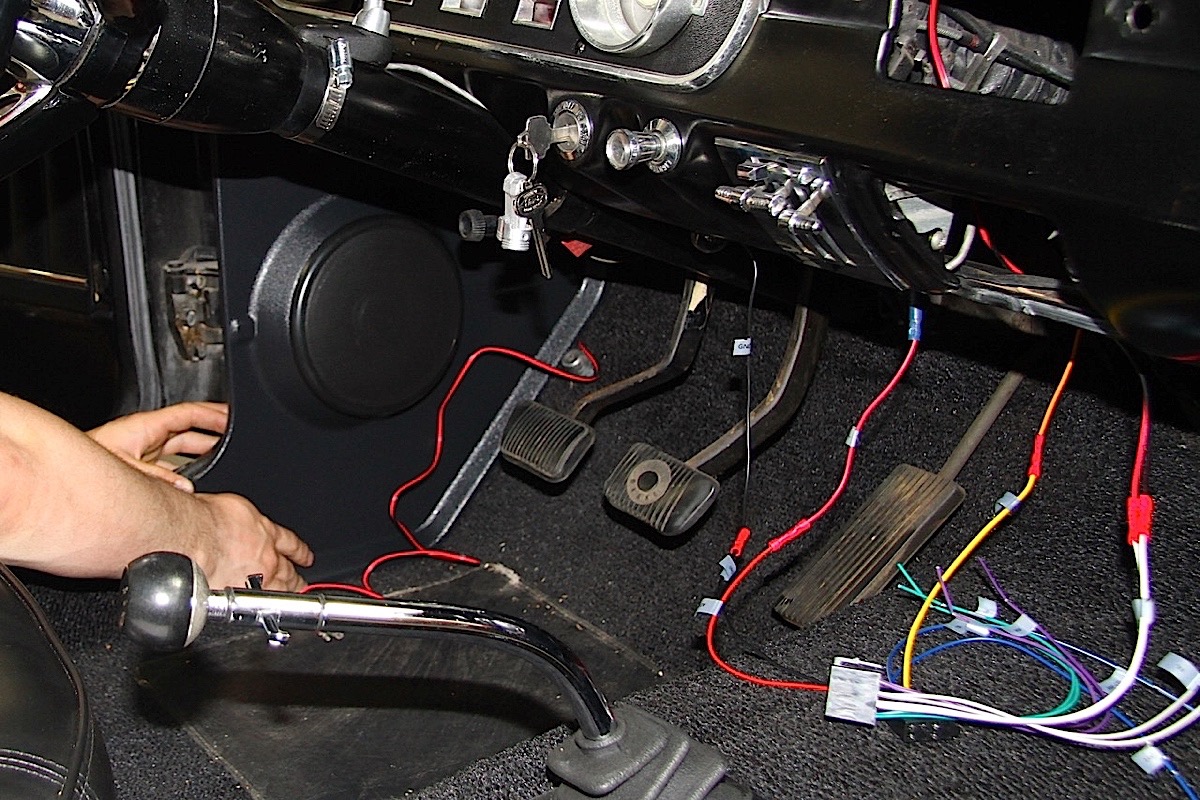
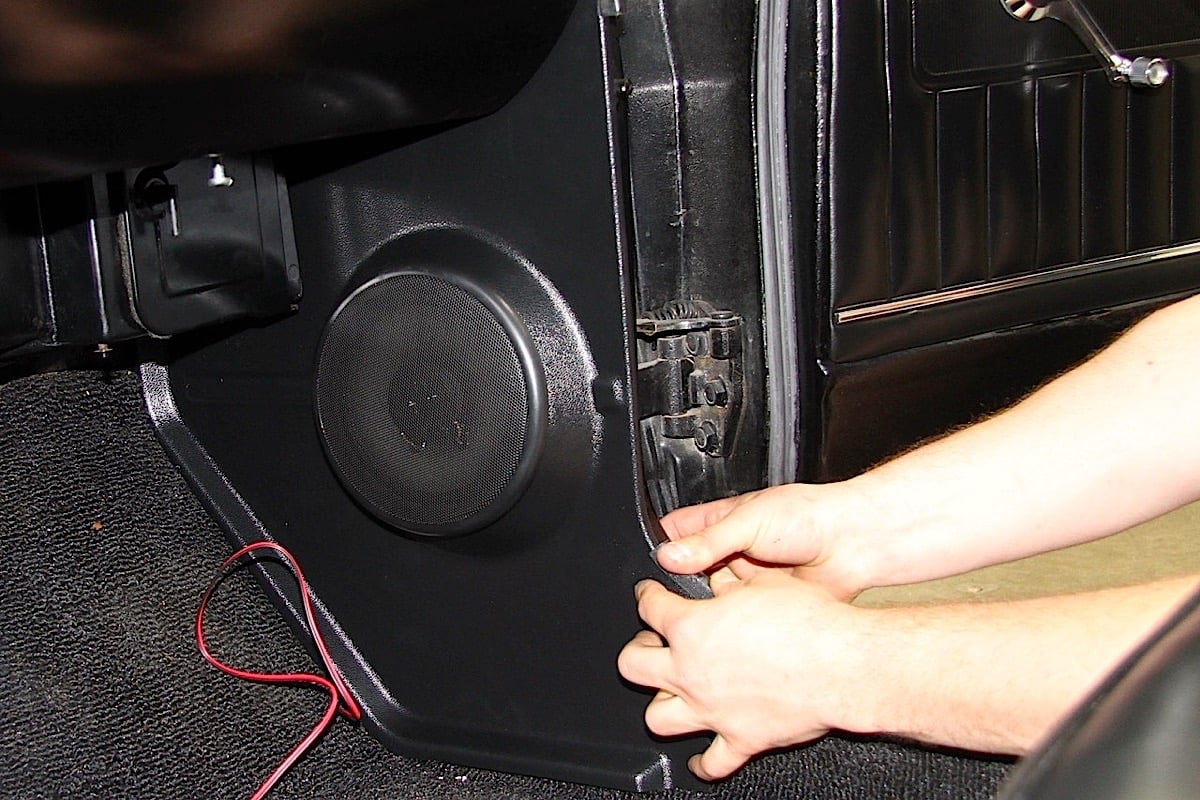
The center speaker and kick panels install just as easily as the previous units were removed. The wires were routed behind the carpet and under the dash as needed. A little filing on the edge of the left kick panel was required to clear the dimmer switch and sit flush on the thick carpet.
“We at Custom Autosound are car lovers, so we know that when you’re cruising in your classic you spend most of the time looking at the dash,” says McDonald. “That is why our products maintain that original look and feel.”
Custom Autosound also offers numerous speaker choices. There are three models for the center dash location, including a top-of-the-line Kenwood model. For this installation, the mid-priced dual voice coil unit was chosen for its stereo compatibility and power rating. Standard kick-panel speakers complement the main speaker.
The speaker wires were identified using the color-code chart in the instructions before hooking up the speaker harness. Making the job easy and quick was a solderless connector kit and crimping tool.
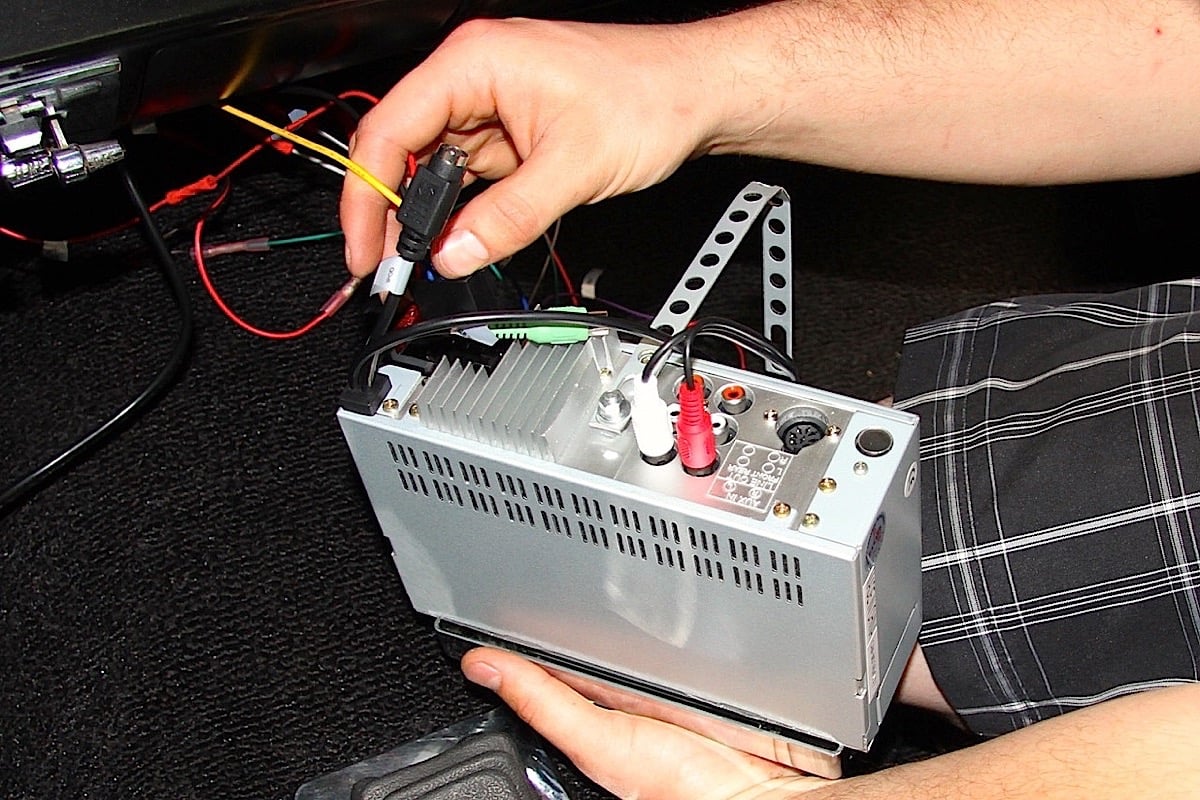
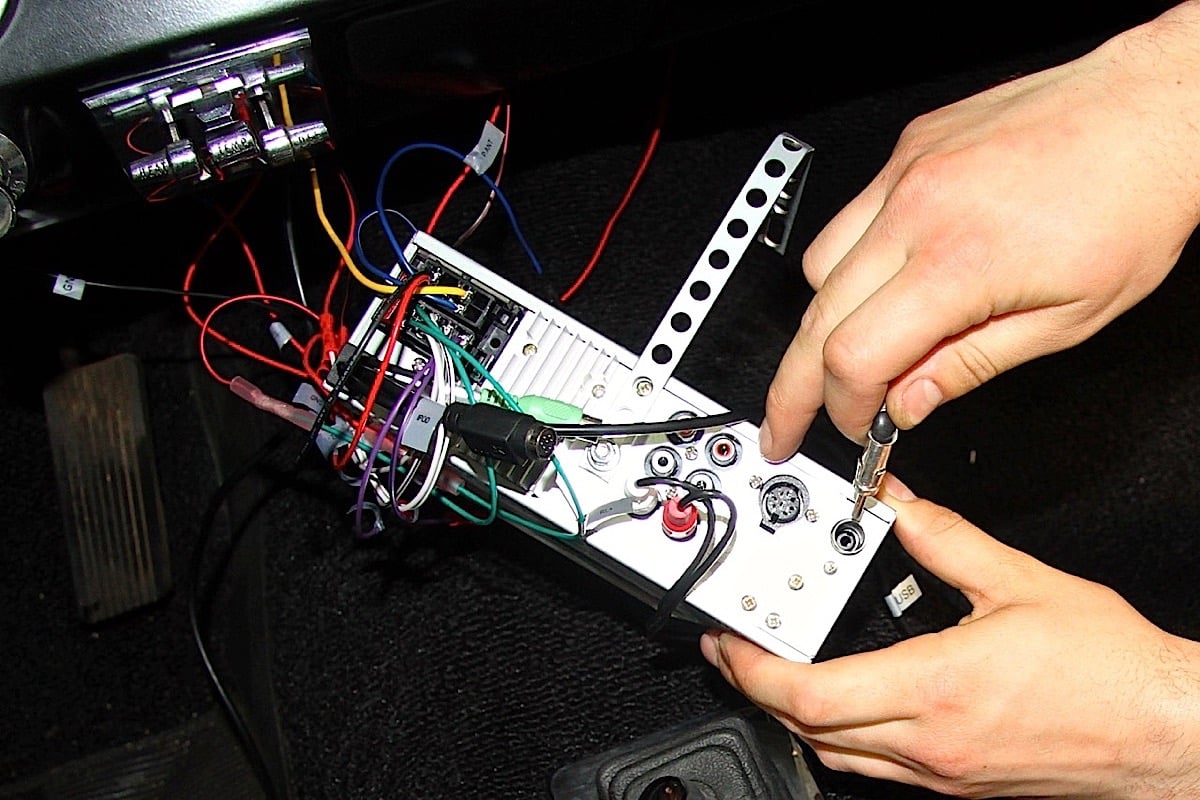
The instructions clearly identify the hookups in the back for the harnesses, antenna and digital player cords. Note that a new mounting strap is included in the kit.
The Slidebar head unit slides into place and secured with the mounting strap and lock nuts on the control shafts. Do not overtighten the nuts; just a little more than finger tight is sufficient. By the way, leaving off the mounting strap will void the head unit’s warranty.
More applications than just the Mustang!
As mentioned earlier, the Mustang already had a Custom Autosound update from 1991, so the three main power wires were already identified and tapped. That made splicing in the new power harness a breeze, and the stock antenna plug was also a straight plug-in chore. Most of the installation time was spent routing the speaker wires and hooking up the speaker-wire harness.
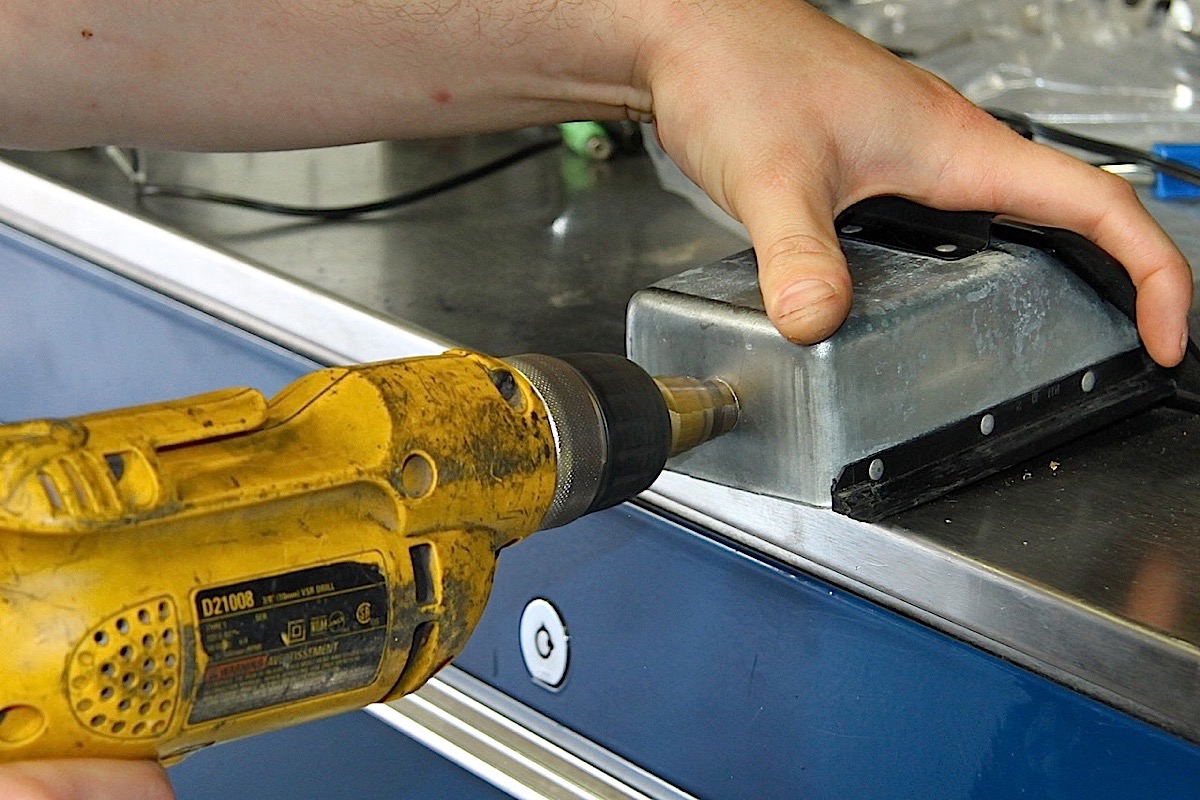
Once all the wiring is complete, the harnesses are plugged in along with the accessory leads and the head unit is ready for installation. The accessory leads were hidden in the ashtray. All that’s needed is a small hole in the back of the ashtray.
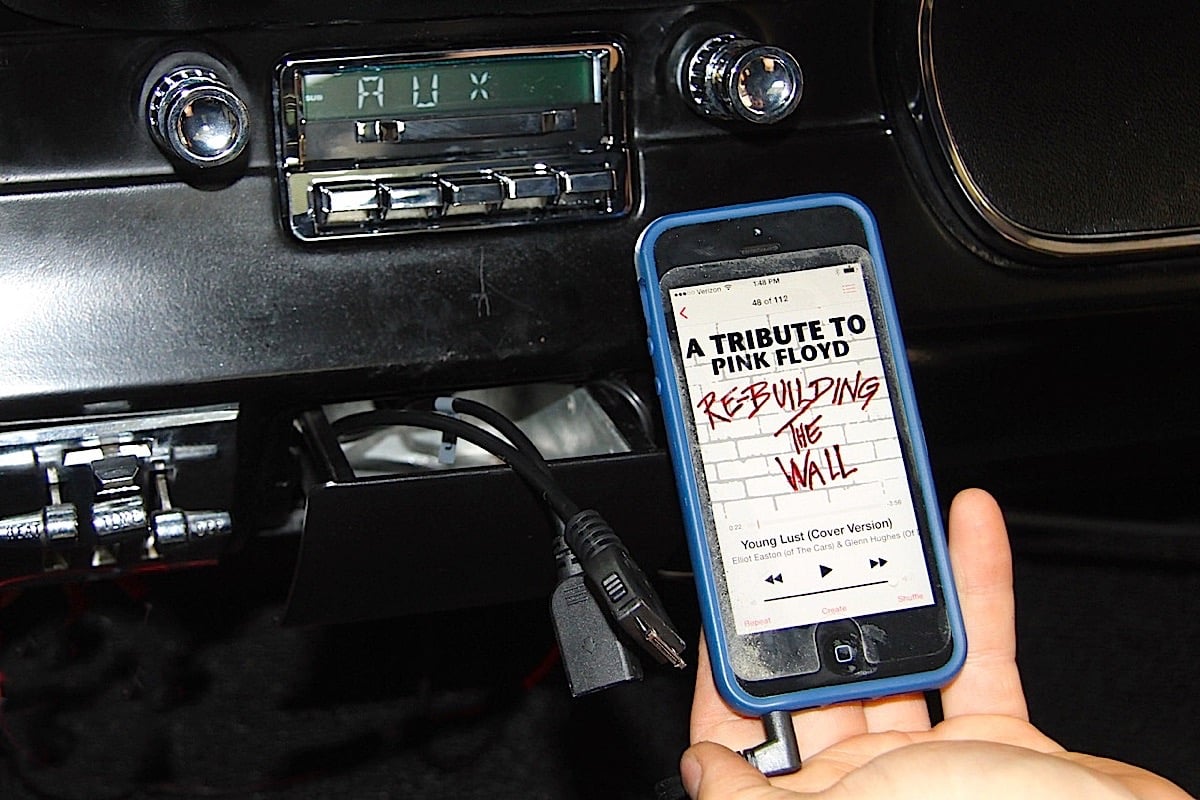
There are three leads to support digital music players, including a USB connection (thumb drive filled with music), an iPod and a mini-jack for playing through an earphone outlet. We ran all three through the back of the ashtray. The wiring does not support iPhone 5 or 6 connections, nor is an iPhone connection through the USB supported. So we used the mini jack for our iPhone 5, and it worked just fine.
“There is no limit to the creativity of builders,” adds McDonald. “I have seen everything from custom center consoles to adaptions to the glove box to under dash plug in ports. But, yes, the ashtray is a popular choice for hiding away the USB, auxiliary cable and the iPod dock.”
The entire installation took less than four hours with only a minimal number of tools required. We can’t emphasize how easy the morning went with the solderless connection kit and crimping tool. Don’t try to hand-twist the bare wire ends and wrap them with electrical tape. Small kits are available at most home improvement stores for a very small investment, and you’ll be surprised how often you’ll use them in the future.
Besides The ’64-’66 Ford Mustang/Falcon, the Slidebar system is available for the ‘67-‘73 Mustang/Mercury Cougar, ‘67-‘72 Chevrolet/GMC trucks, ‘62-‘65 Chevrolet Nova and ‘68-‘76 Chevrolet Corvette. Additional applications are under development, so check the Custom Autosound website often to see when your favorite vintage vehicle is listed.
Here’s the unit installed. There is a full list of sound and operating adjustments that can be made through the digital menu. There’s also a sub menu to control the LCD color display, dimmer and other functions.