The biggest thing to remember when shifting modern transmissions is to not force the shift with a death grip and yanking gears like it’s an old ’60s transmission. – Dale Dotson, Hurst Performance
Though the S197 platform is already more than a decade old, these cars have aged extremely well in the looks and performance department. With a few exterior modifications, and even some interior modifications like our new Hurst Performance short throw shifter, these cars can be quite the contender for the modern performance available today.
In the scope of this article (and as one of many installments to come), we install a Hurst Performance Billet Plus Shifter for the ’05-’10 Mustang GT equipped with a Tremec TR-3650 five-speed manual transmission (PN 3915201).
Talkin’ Tech With Hurst
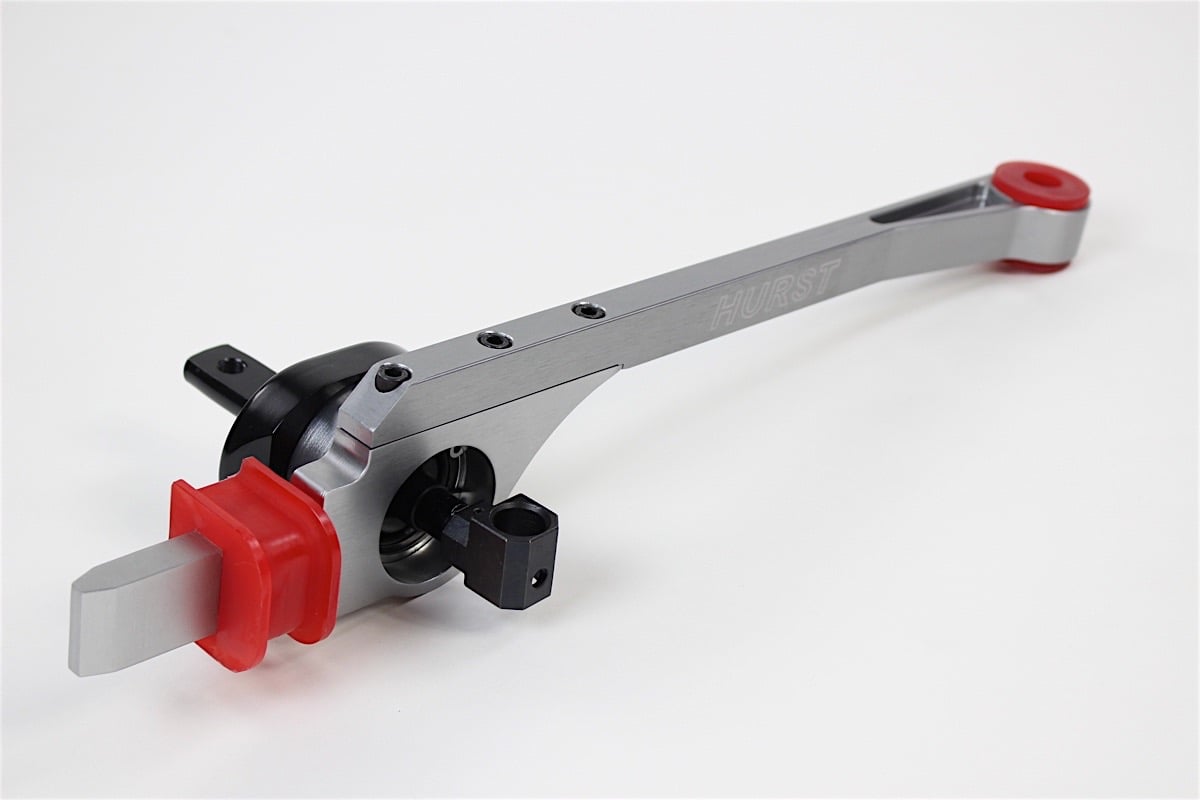
Hurst Billet Plus Shifter For The '05-'10 Mustang GT 5-Speed Manual
- Billet Aluminum Base and Stop Collar
- Steel Gear Select
- Adjustable Positive Gear Stops
- Stainless Steel Rotating Pivot
- Reduces Throw By 30 percent
- Includes Front and Rear Urethane Bushings
- Limited Lifetime Warranty
- PN 3915201
“The Billet Plus shifter is a stronger unit when compared to the Competition Plus shifter, since the billet aluminum virtually eliminates any potential flex of the shift carrier and pivot housing,” he explained. “The Competition Plus shifter is not made of cheap, thin wall tubing, and/or subject to flexing in all but maybe the most extreme racing cases. For most daily street-driven vehicles, the Competition Plus shifters are super strong and will provide you with very positive and short throw shifts, with very little maintenance over time.”
“The softer urethane bushing in the Comp Plus also keeps the transmission noise and vibration to a minimum,” Dotson continued. “On the other hand, the Billet Plus shifter is your choice if you like to take your car to the track, whether road racing or drag racing and want maximum performance, and you are not concerned with an increase in vibration or transmission noise. Because of the unit being so much more of an extension of the transmission with the harder compound urethane bushings, billet construction, etc, it will eliminate any chance of flex.”
Dotson said the advantage of using billet aluminum is that it nearly eliminates all possibility of flex from hard abusive shifting, and that this increase in strength allows for a firmer and more positive feel in the shifter.
Installing Our Hurst Shifter
Our ’05 Mustang GT is a bone-stock, low mileage example of the 4.6-liter three-valve V8 engine powered generation.
Installing our new Billet Plus shifter took about three hours total to complete using a hydraulic jack and jack stands in our buddy’s garage. However, with less joking around and an actual lift, experience tells us this install can be completed in around one to two hours at most.
The tools we used for our installation included:
- Flat-blade screwdriver
- Half-inch ratchet
- Half-inch extension
- 7/32-inch hex wrench
- 10 mm, 13 mm, and 9/16-inch open-end wrenches
- 10mm deep socket
- Pair of cutting pliers.
Hurst recommends you use a plastic trim tool for removing the factory shift boot as well.
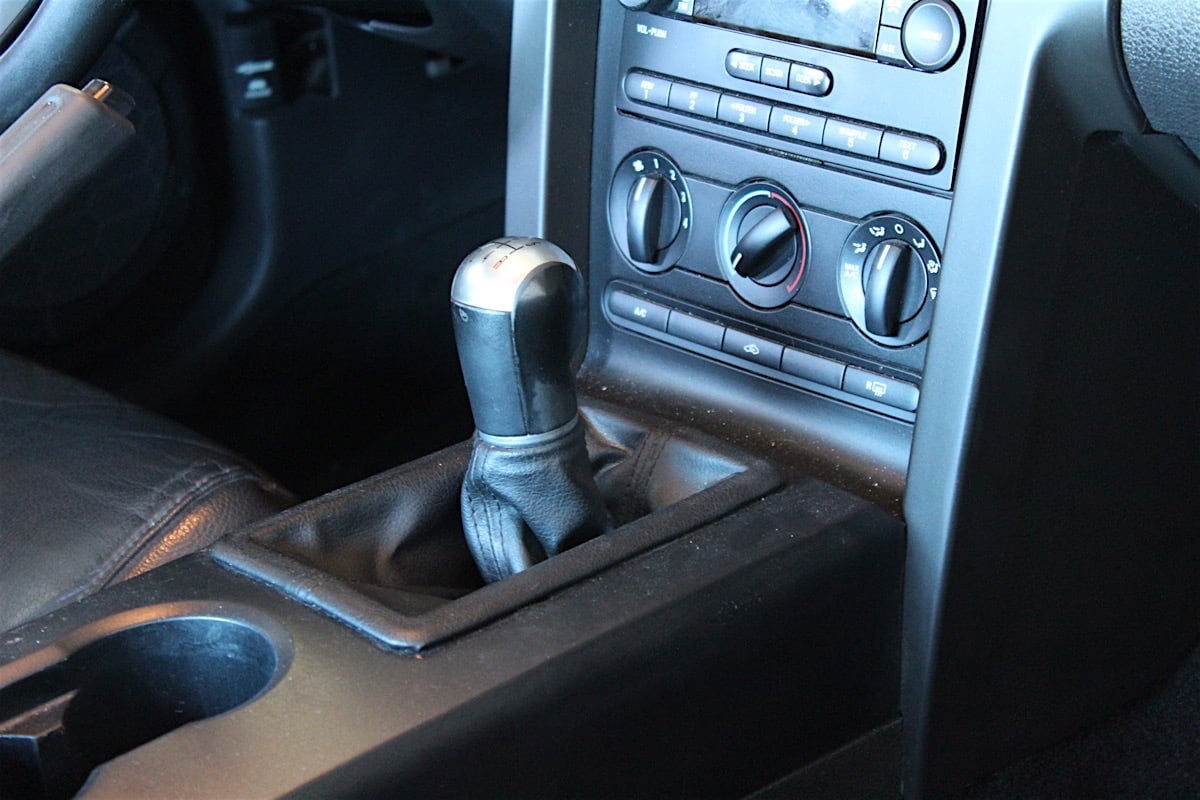
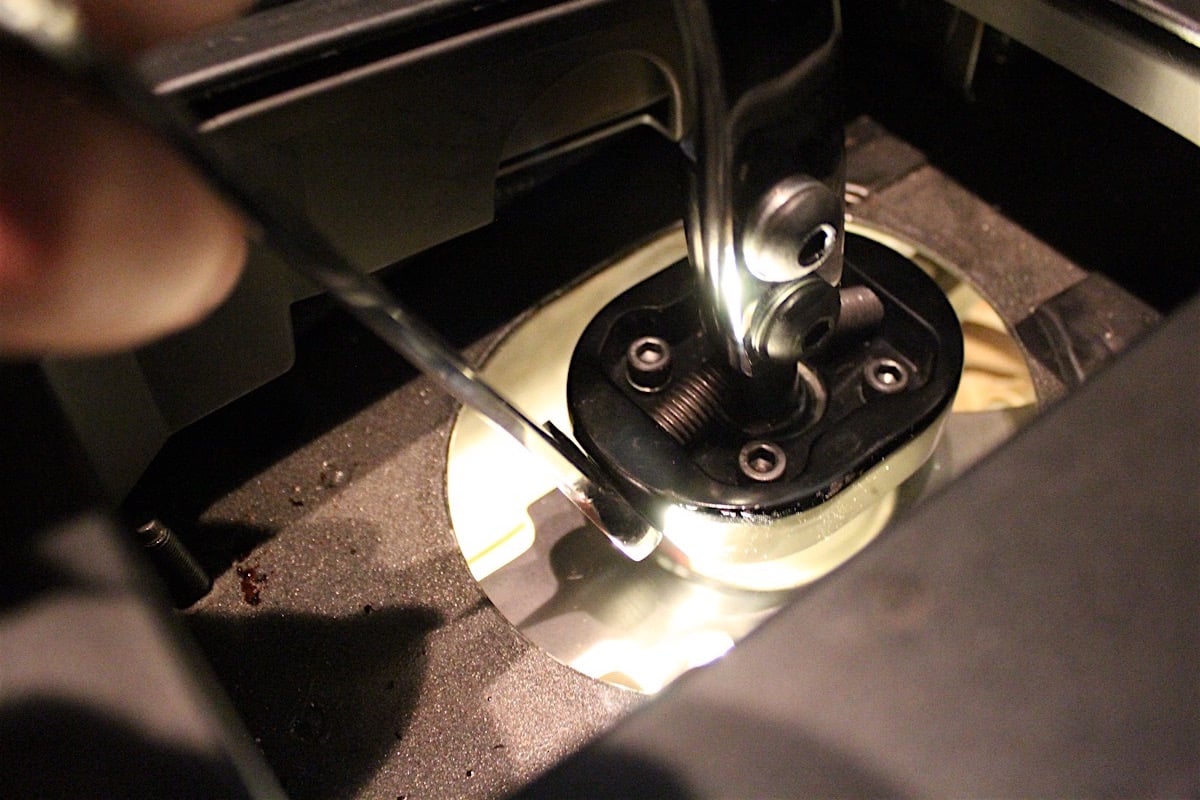
Before putting the car on jack stands; we put the parking brake up, placed the car in neutral, and removed the factory shift knob by loosening the retainer groove and sliding it down, then turned the knob counter-clockwise.
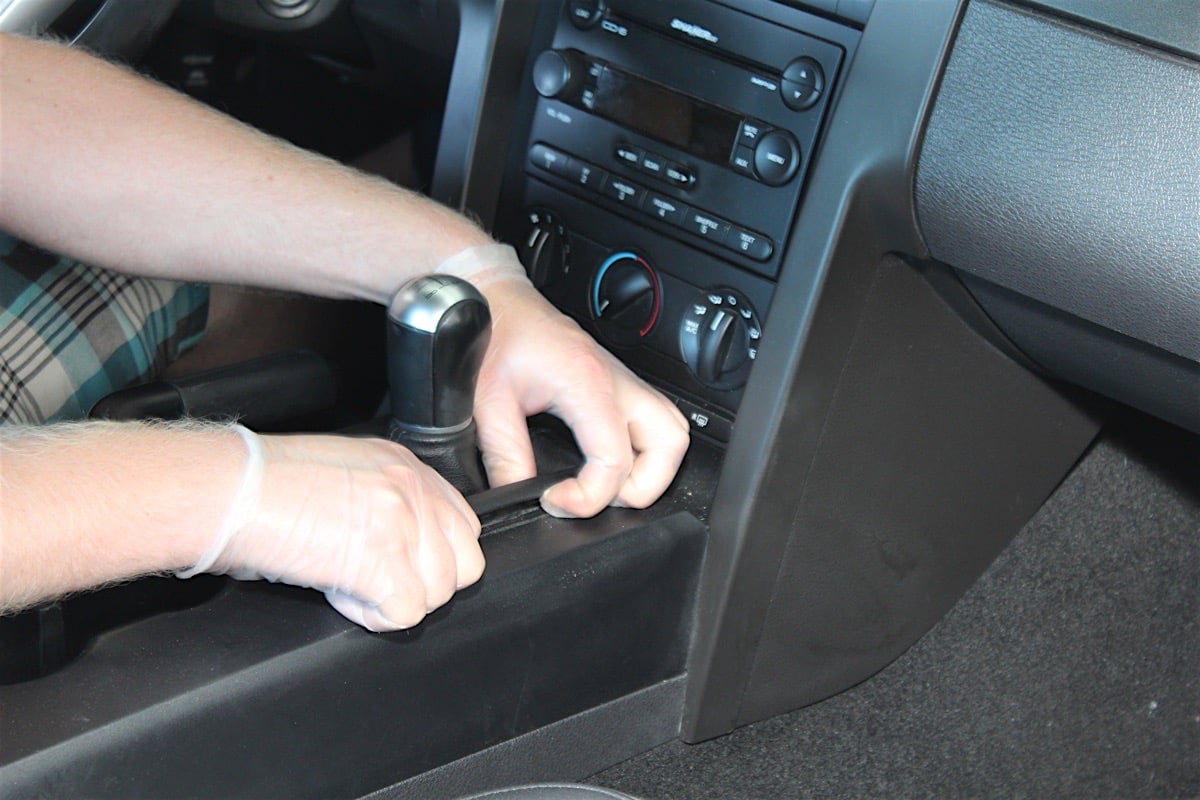
After you remove the shift knob, you can remove the shifter boot by sliding the trim piece forward toward the dashboard, then lifting up from the back. Be careful not to break the retaining tab on this step.
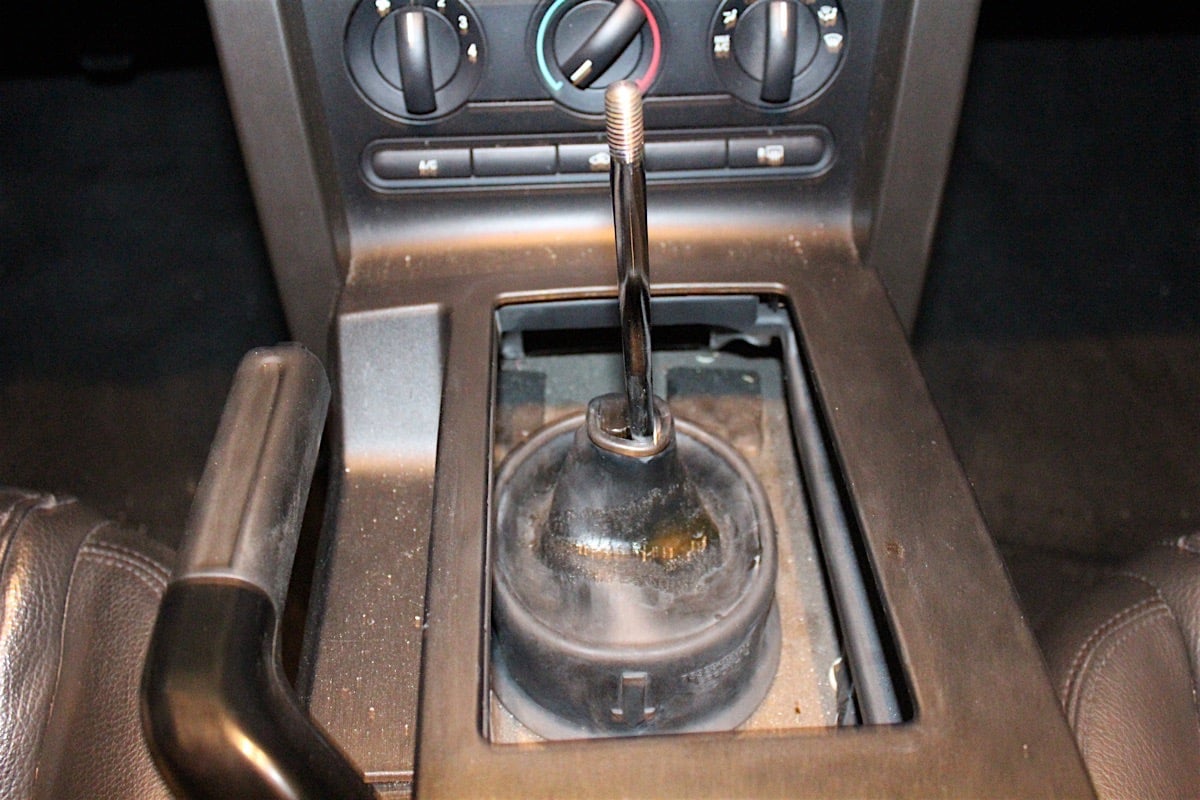
Next up, remove the rubber dust boot from the shifter by simply pulling up. Be aware, there’s probably going to be a bit of dirt and/or grease on this thing, so you may want to have a rag near by just in case.
After securing the car on jack stands using a hydraulic jack, the fun begins. Be forewarned, you’re going to be working under the car a lot from here out. If you have a crawler, now is definitely time to break that sucker out to avoid back pain and dirty clothing.
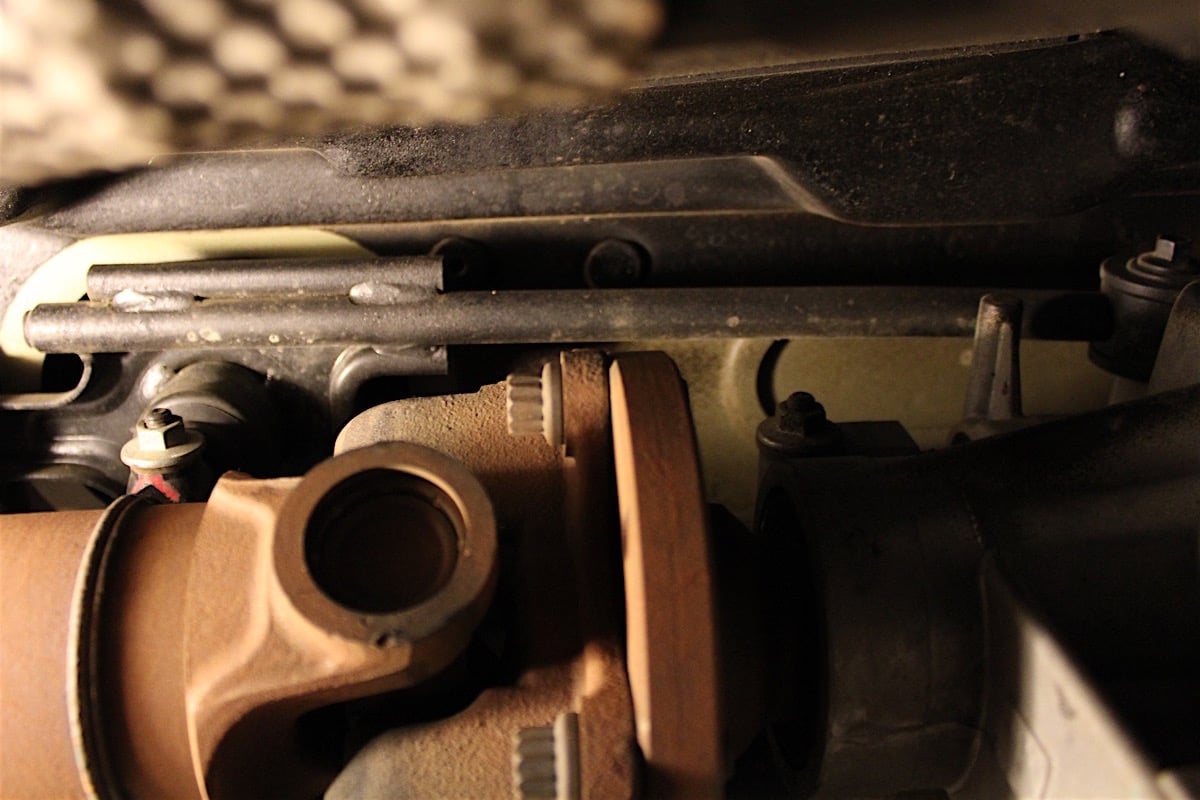
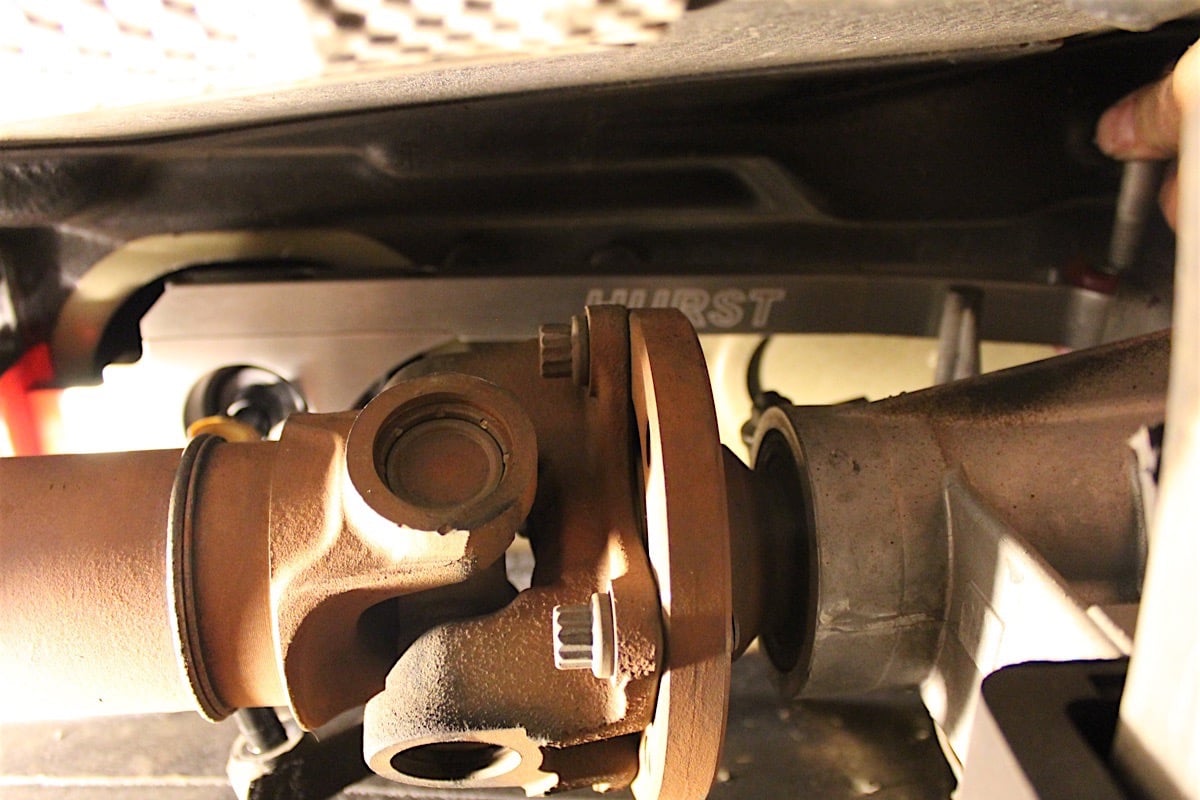
Using the 13 mm wrench, remove the nut that secures the transmission linkage rod at the bottom of the shifter. You can remove the linkage rod by pulling it out of the stock shifter while under there.
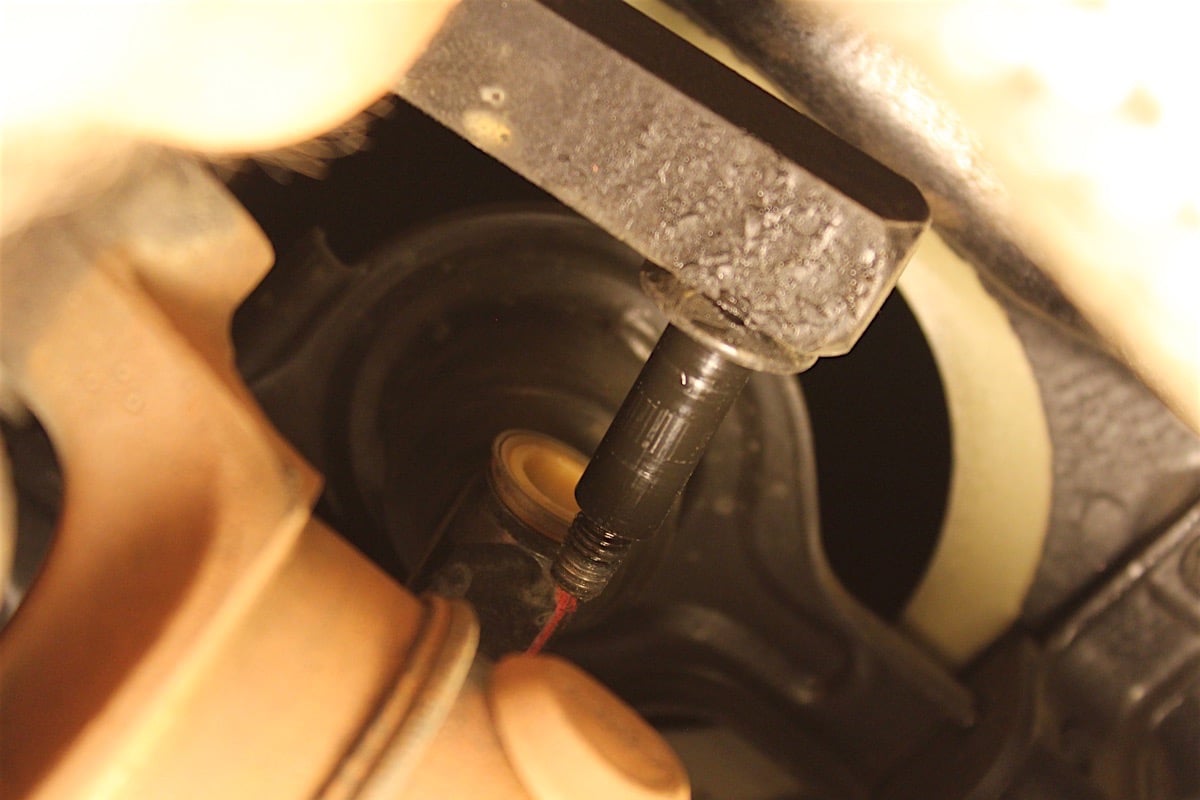
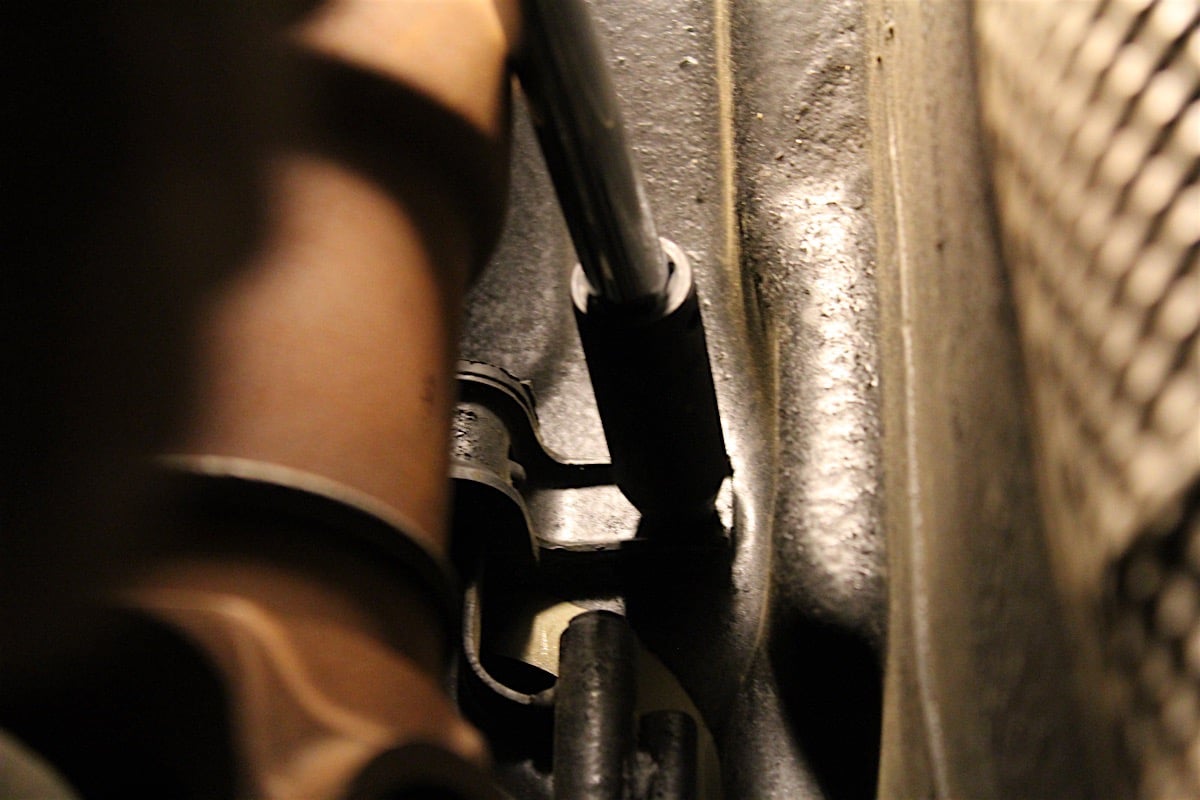
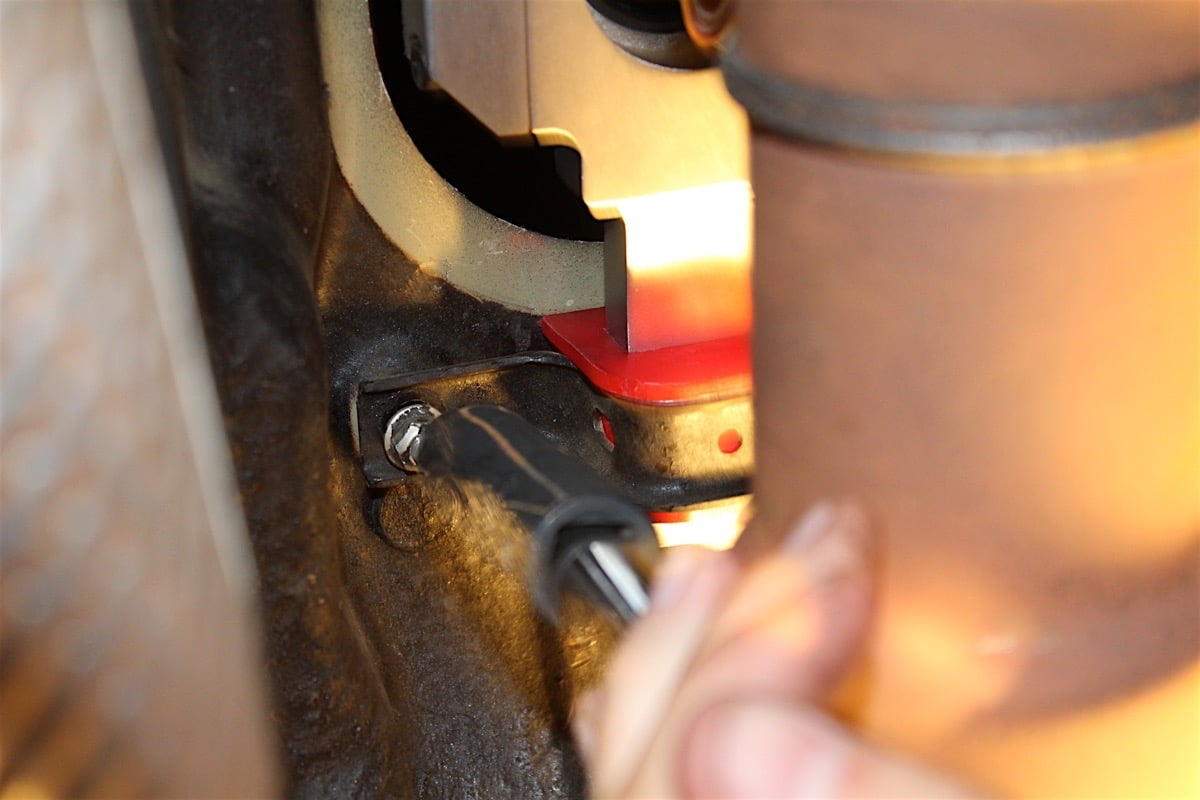
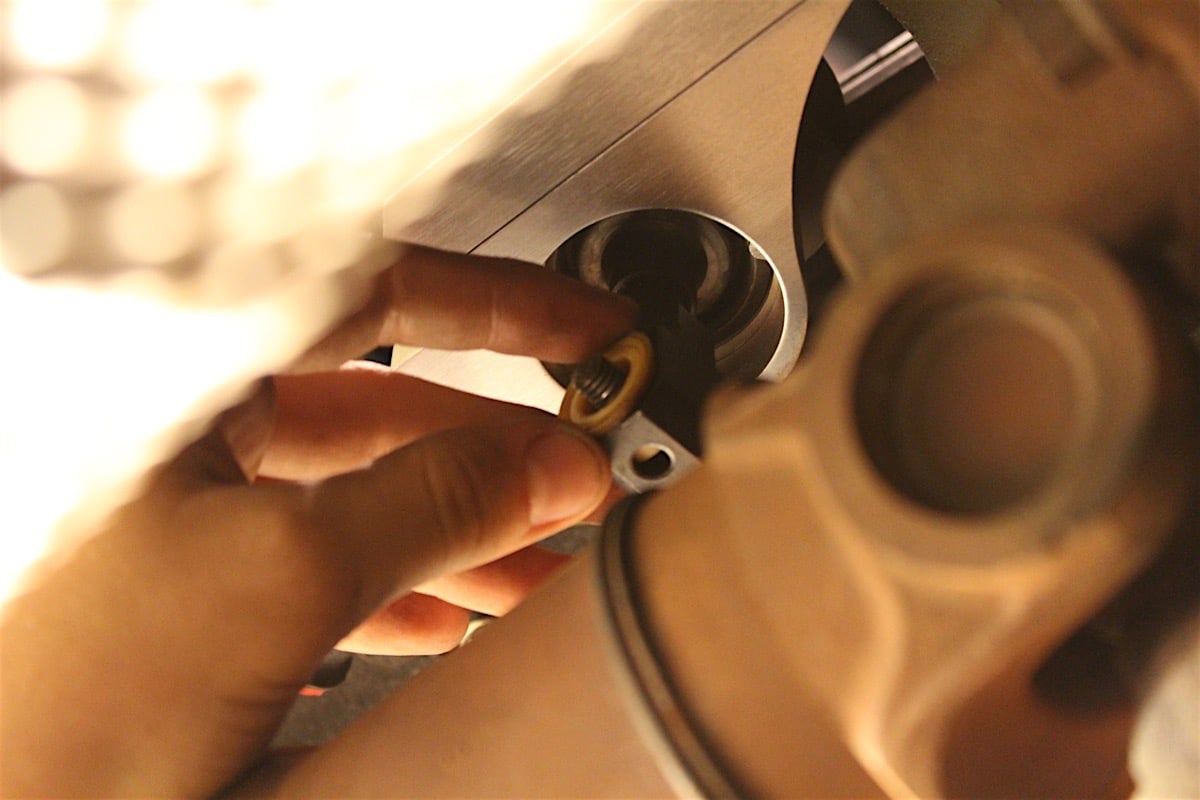
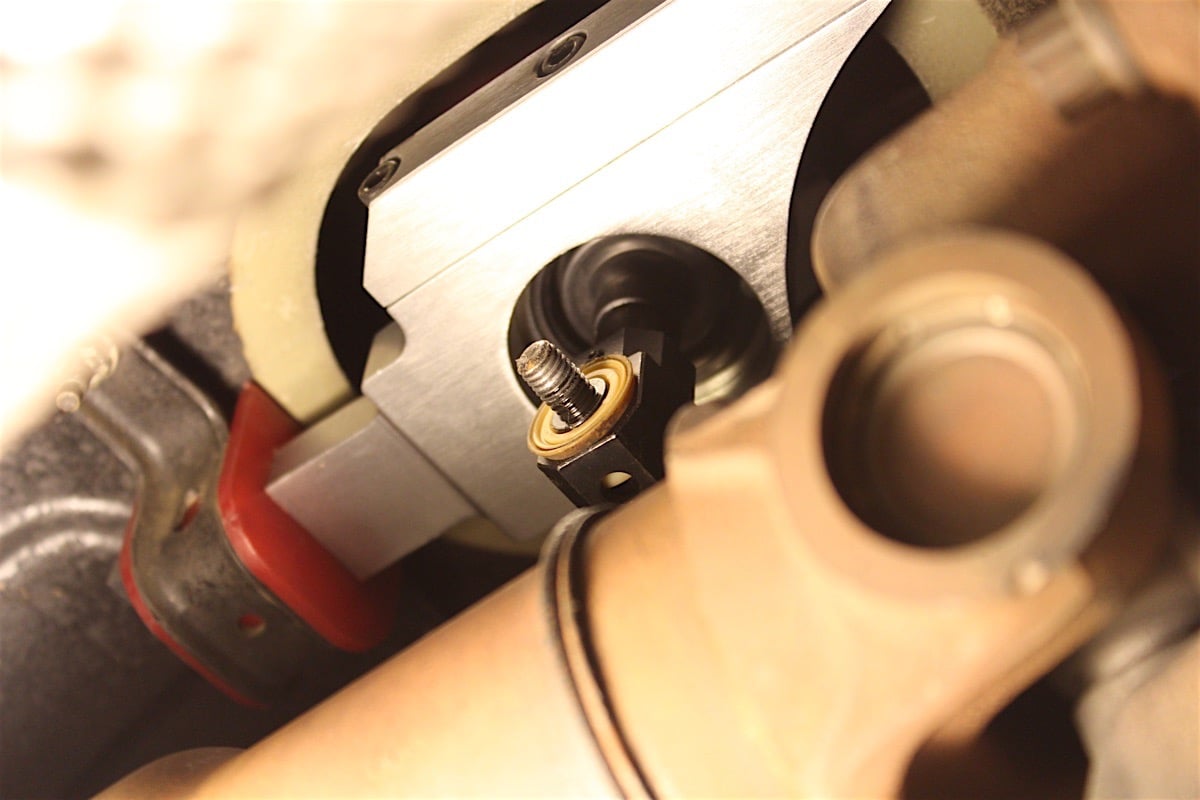
Using the 10 mm wrench, remove the front bolt that attaches the shifter arm to the transmission. Break out your 10 mm deep socket, ratchet, and extension for this bad boy, and remove the two hex nuts that hold the rear mount of the shifter setup to the floor.
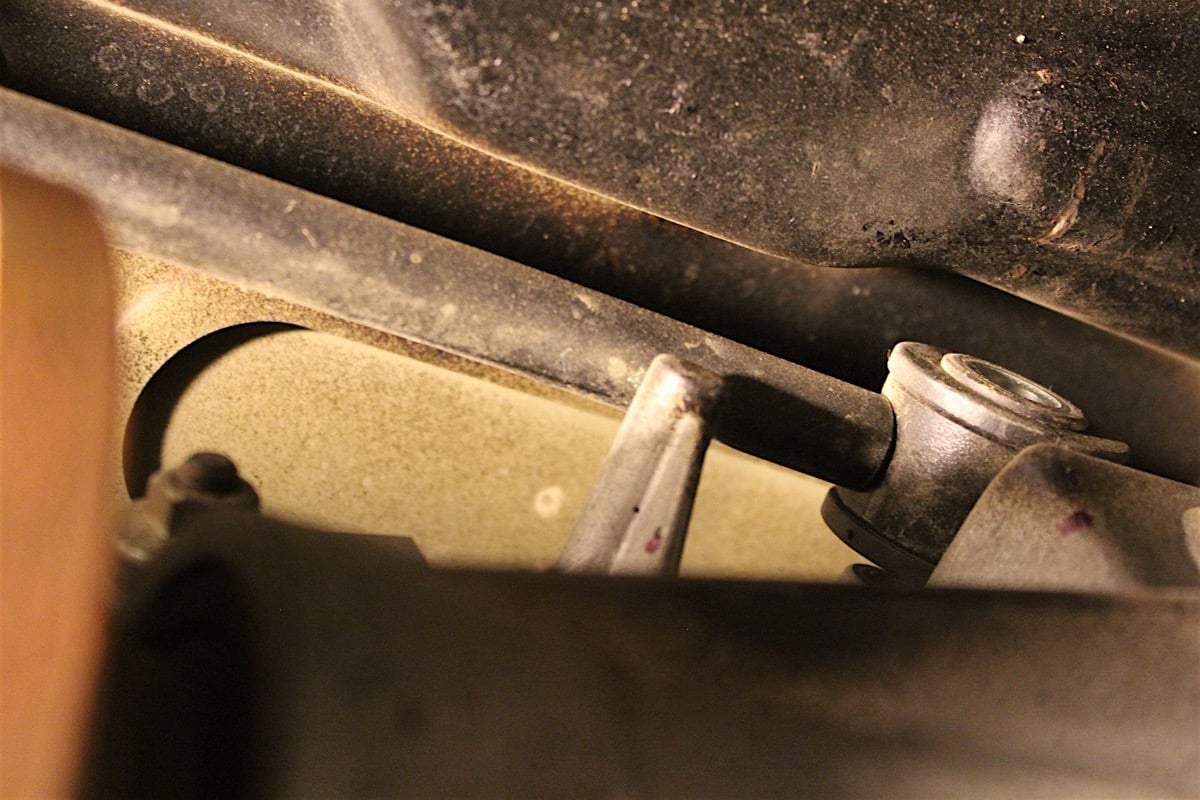
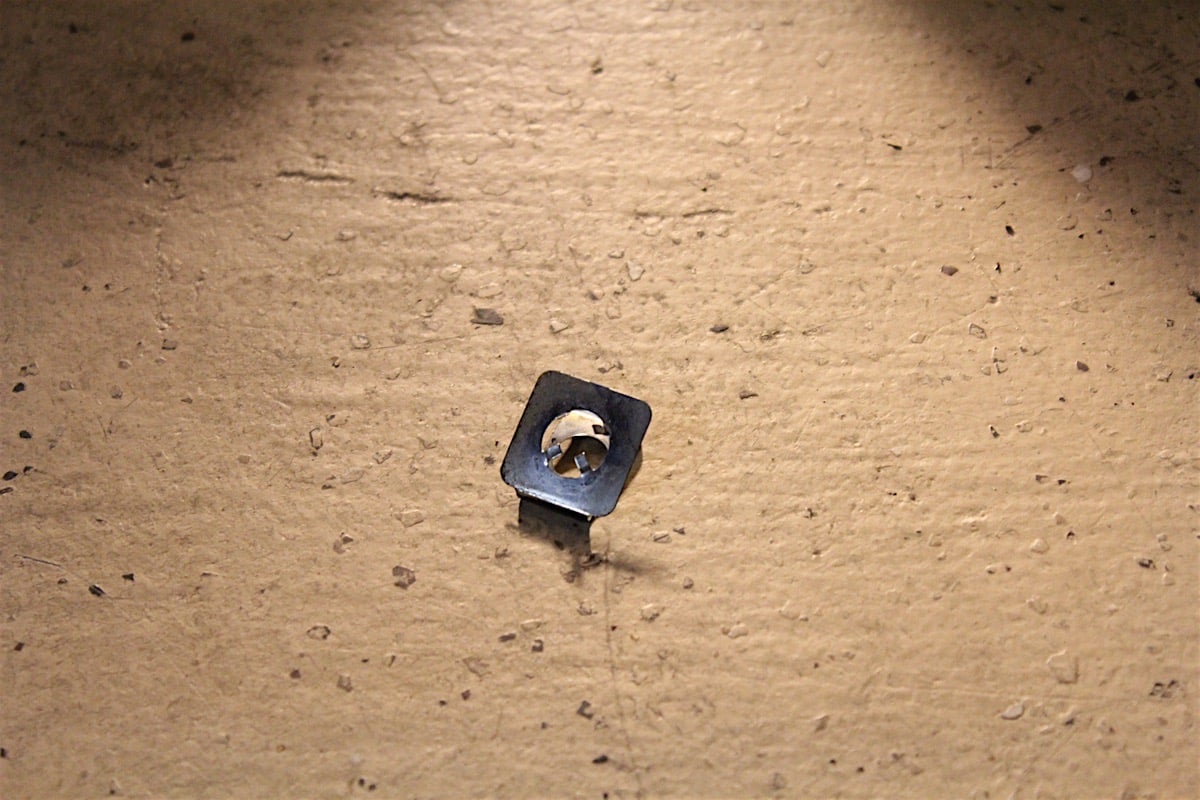
Remove the metal bracket from the rear rubber mount. Be aware, some S197 Mustangs use a clip on one or both sides of the studs.
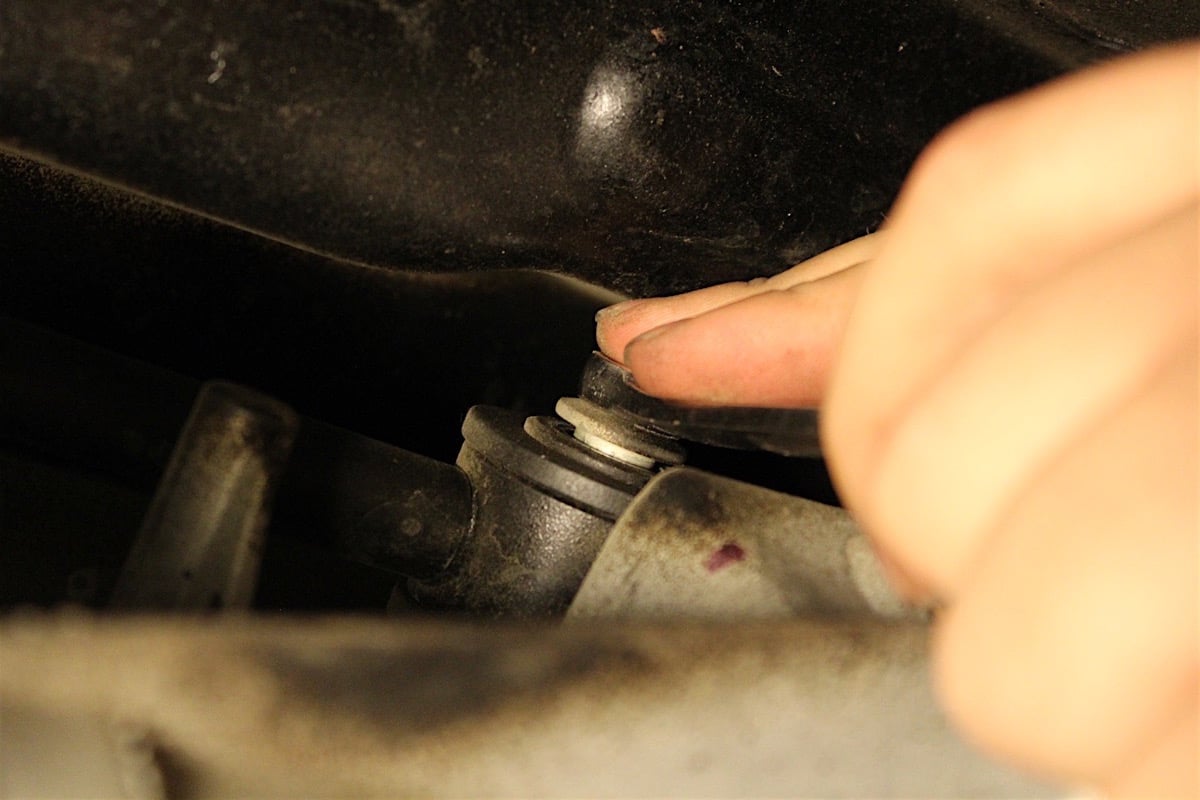
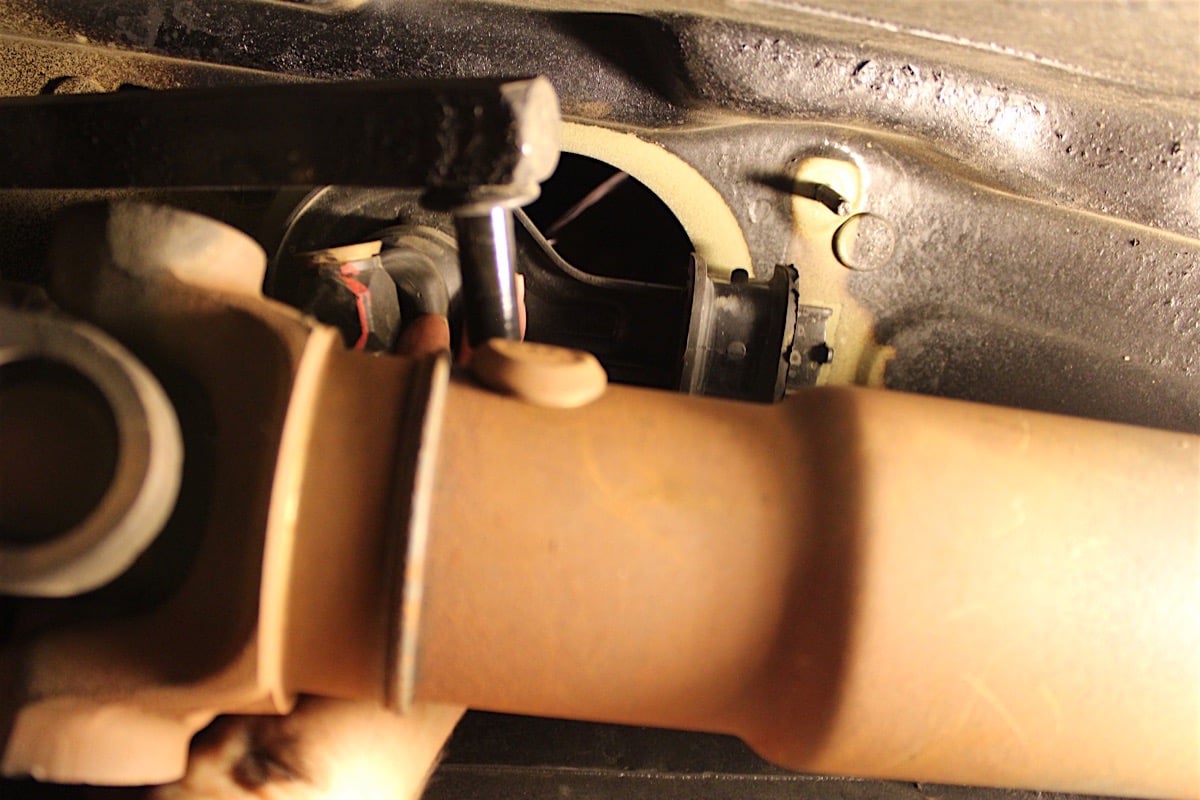
The shifter can be difficult to remove, so Hurst recommends you carefully work it from side to side until removed. Be cautious not to pull it down, as it could damage the threads.
Next up, remove the factory shifter assembly from the car.
The easiest way we found to remove the factory shifter assembly, was to move it down so that the top part of the shifter stick is inside the vehicle, then move the assembly forward so that the tail end of the shifter can be fished through the opening in the interior.
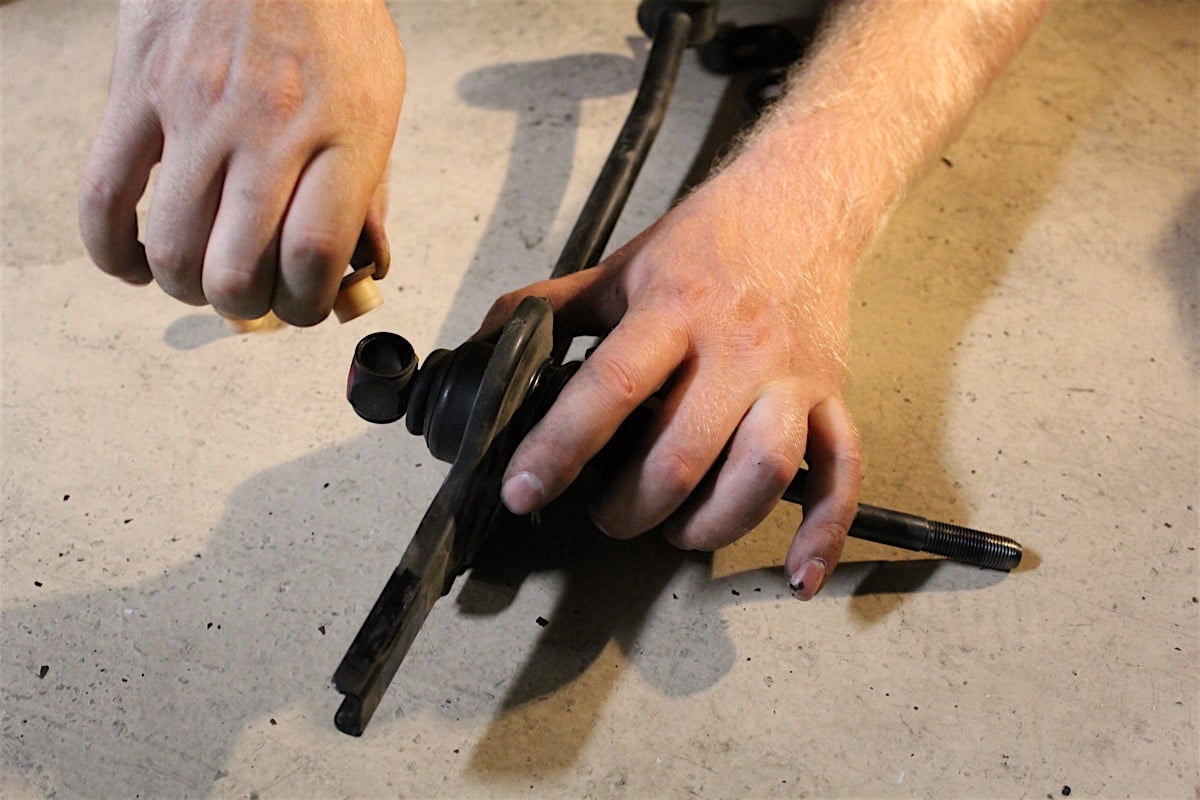
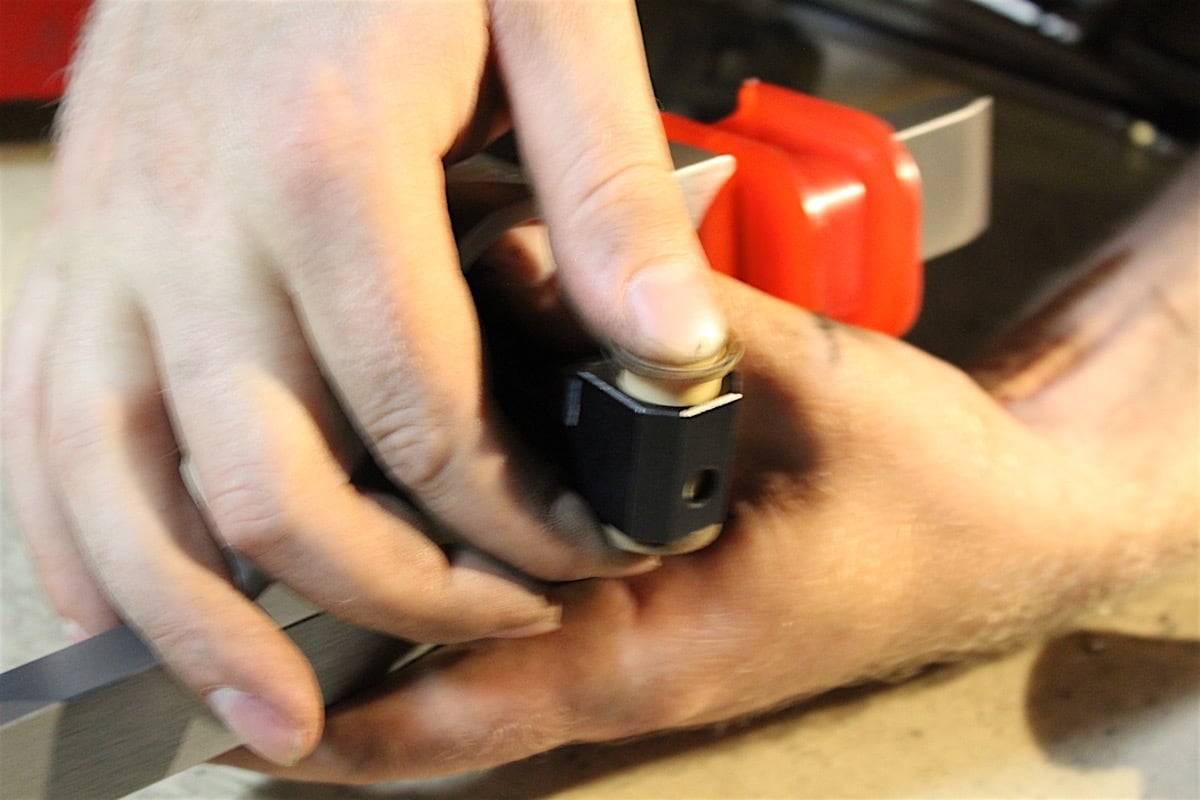
Don’t throw away that old stamped steel unit yet, because you’re going to need the two plastic bushings for the new Hurst install.
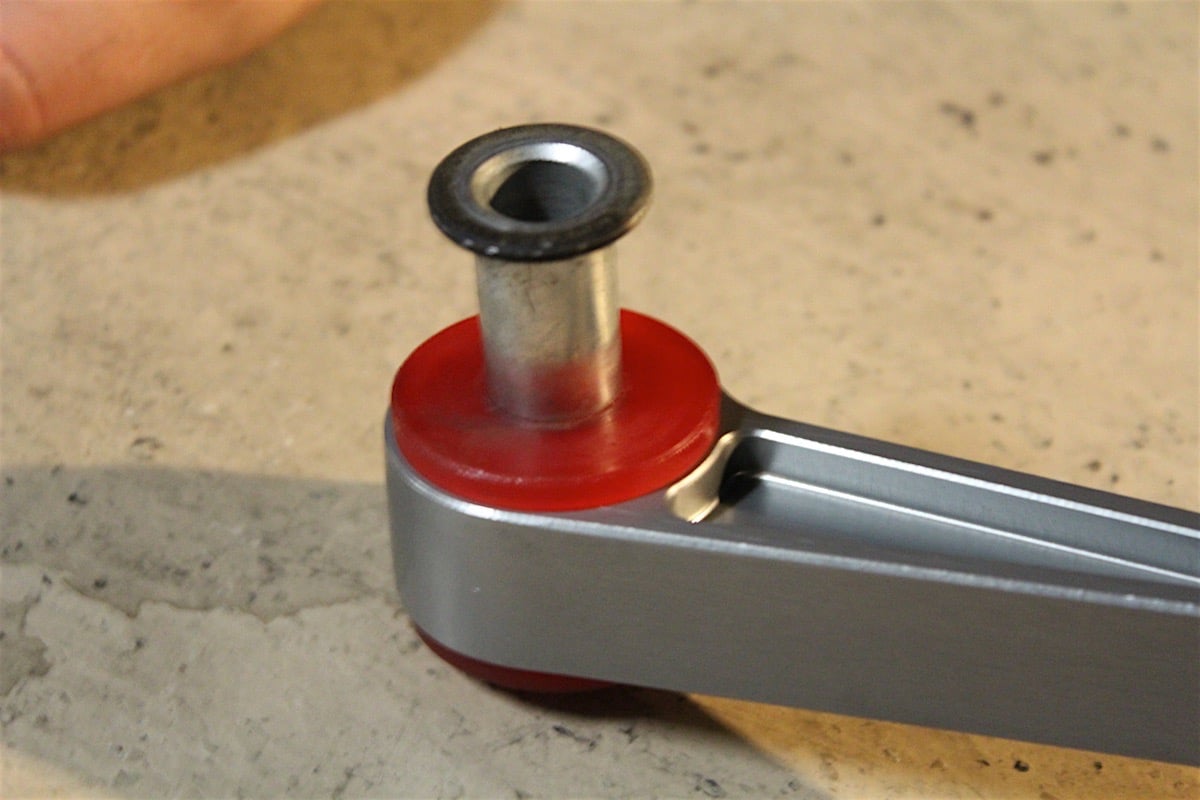
You'll also need the two metal flanged sleeves to use on the new assembly as well.
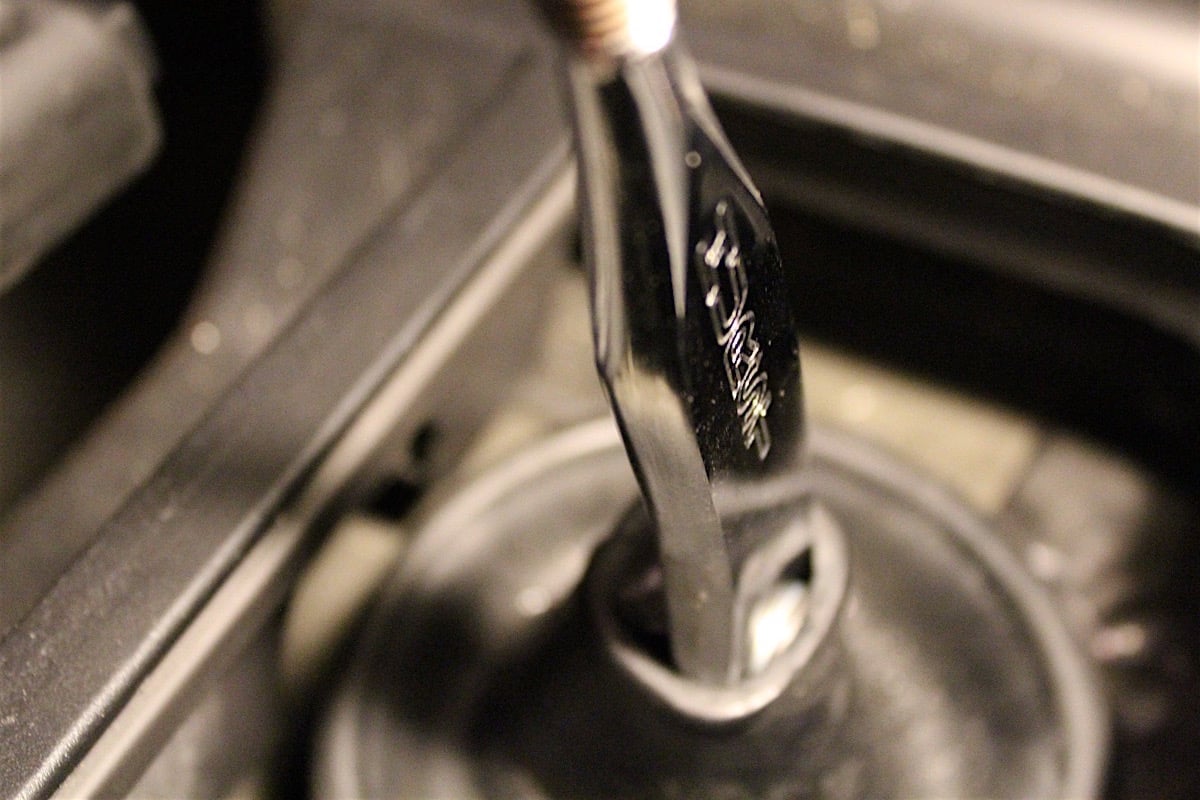
Once all of the bushings have been added to the new unit, fish the unit in the reverse order you removed it to begin installing the new unit. It’s important to note that the ridged side of the Hurst shifter stick must be on the passenger side for correct installation.
A quick comparison of the factory unit (top) and our new Hurst Billet Plus shifter (bottom) immediately revealed the massive differences in construction between the two units.
Using a 10 mm wrench, attach the front shifter arm to the transmission and insert the hex bolt you removed earlier, but do not fully tighten it yet.
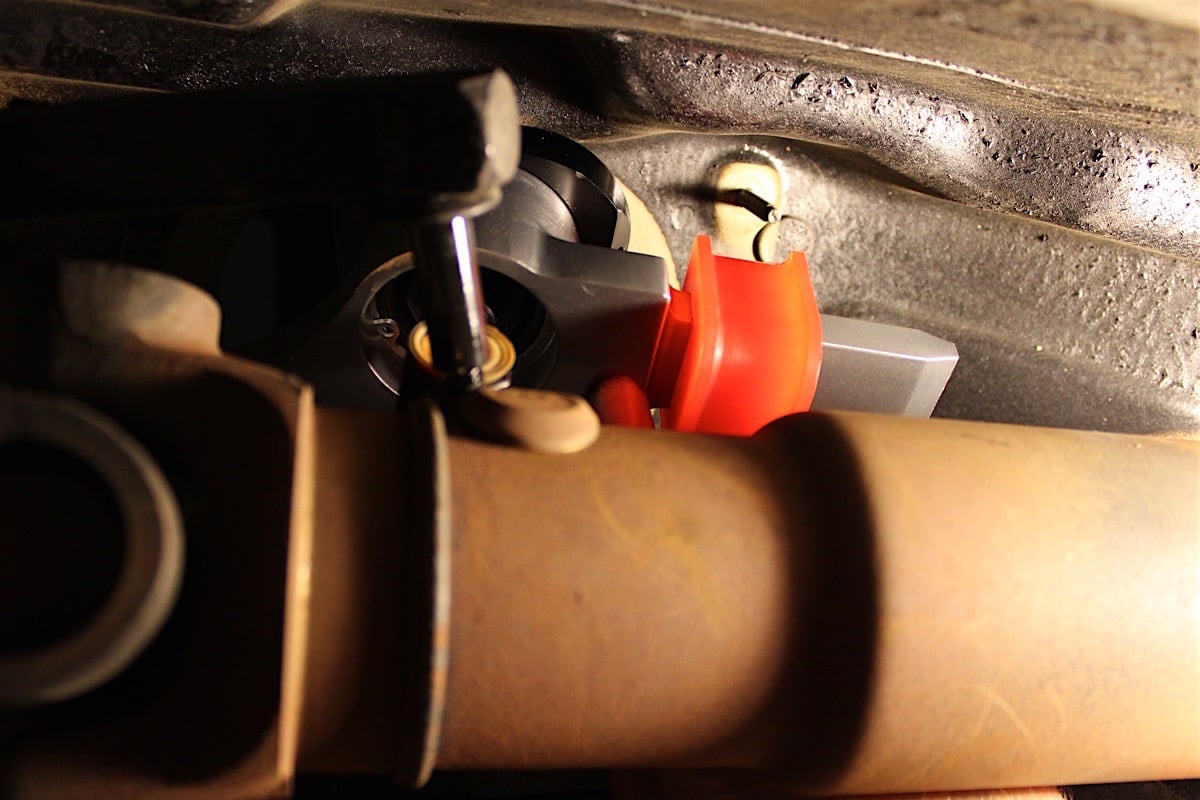
Attach the metal bracket to the new rear polyurethane mount and align the holes in the bracket with the two threaded studs from Hurst, then reinstall the two hex nuts using the 10 mm deep socket, ratchet, and extension. Another important tip is to ensure the urethane bushings hug the bracket, so they may need to be adjusted.
Using a 10 mm and a 13 mm wrench, tighten the hex bolt that secures the shifter arm to the transmission, then insert the linkage rod into the new bushings at the bottom of the shifter; reinstalling the hex nut from earlier.
Tighten securely as always. Now is the time to ensure the longer, offset side of the connector is facing toward the driver's side. Once that is complete, lower the vehicle for the interior work.
Attach the chrome Hurst upper stick to the existing lower one using the two mounting washers and two stick mounting screws, with a 7/32 hex wrench. From there, you can choose to install the included neoprene isolators or not.
The purpose of the isolators is to reduce some transmission noise that can be transmitted into the shifter, but at the cost of possibly reducing shift feel and overall strength of the system. We chose to forgo this option, but it is available if you choose.
Reinstall the rubber dust boot removed earlier by pressing down the lower lip of the boot into the car's tunnel. This is a great time to test the vehicle's shifting movement before everything is completely tightened up. Next, install the rubber boot included with the Hurst shifter kit onto the chrome handle. Reinstall the shifter boot over the new rubber boot.
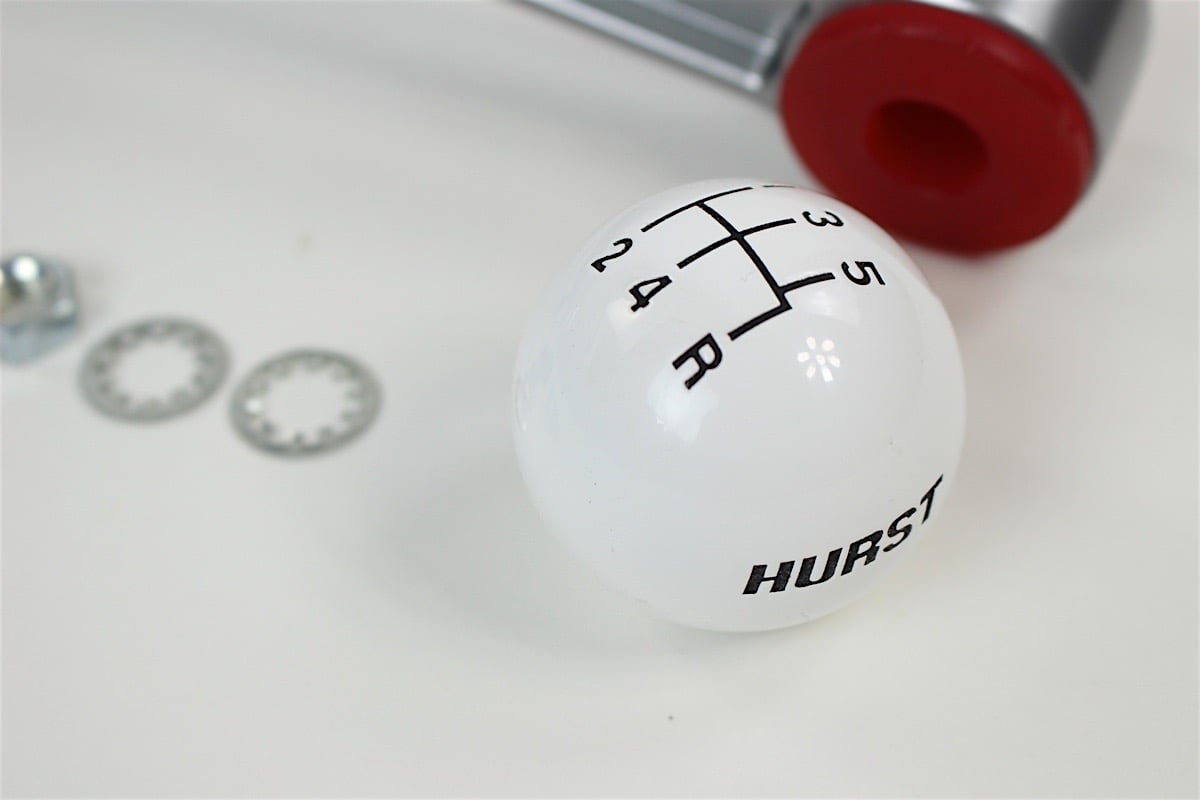
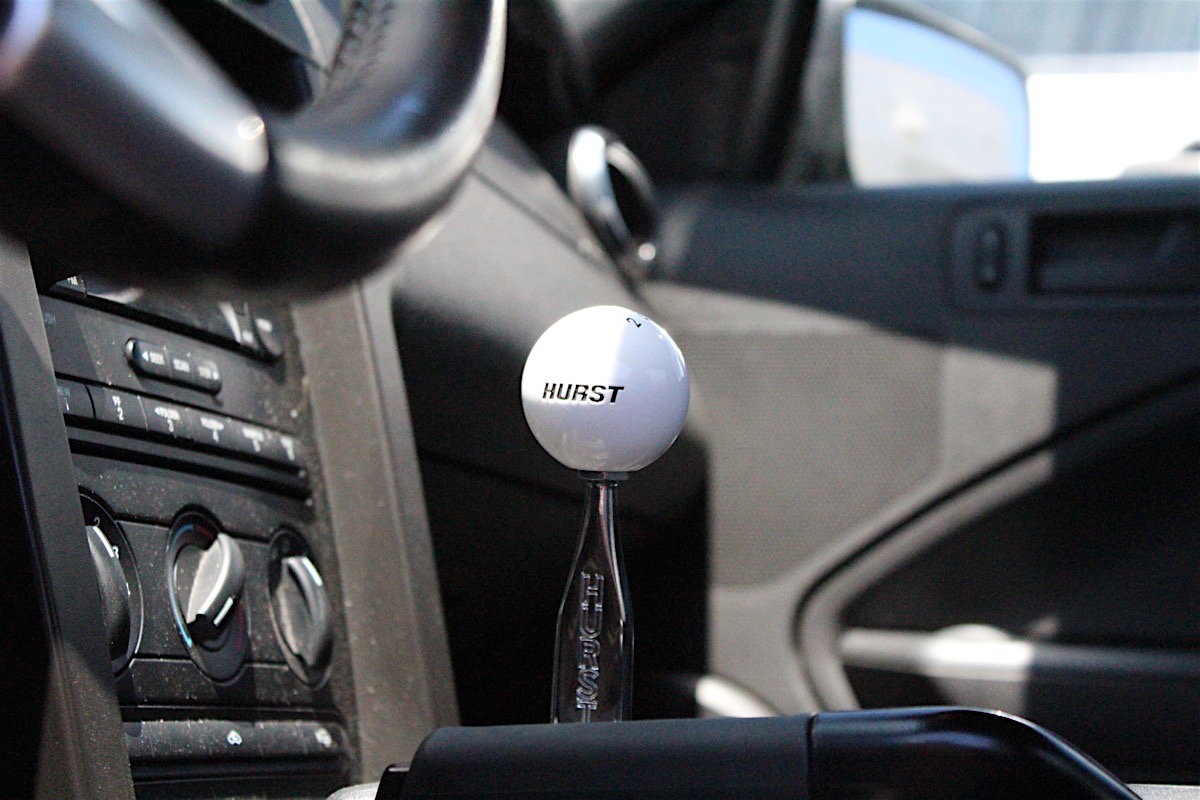
From here, attach the included shift knob nut onto the new shifter by screwing it down all the way, then thread the new Hurst white shift knob on top of it until it makes contact. Tighten the nut at the bottom to secure the new shift knob in place, and it’s a done deal.
Conclusion
Post installation of our new Hurst Billet Plus shifter, we took the car out and got a feel for the new shifting experience. To put it lightly, this shifter is one tough setup. The billet construction feels extremely durable to the touch, unlike the limp factory stamped steel piece.
In our driving experience, we rowed the gears with our new shifter over and over without any fatigue whatsoever, which we think is a fantastic testament to the construction of this unit.
Anyone with a ’05-’10 Mustang GT with the optional five-speed manual Tremec TR-3650 transmission will know that these cars don’t like the occasional first to second wide open throttle pull. However, slap one of these bulletproof Hurst Performance shifters in your Mustang, and you’ve got a solid solution that’s consistent every time. After taking some time to get to know the new setup, we really didn’t experience any added vibration at all; which is extremely impressive, seeing as the new unit uses a high durometer urethane bushing kit.
We may have noticed less vibration than before the install of the new shifter. The only increase in noise we experienced was the ‘clicking’ sound of the new shifter engaging the internal adjustable stops; though this is very minimal, and is a normal sound, according to Hurst.
One of the main reasons why we upgraded from the stock shifter assembly to our new Hurst unit was because we plan to turn our bone-stock ’05 Mustang GT into a street/strip machine. Our first trip to the drag strip rewarded us with never missing a shift (or a heartbeat for that matter) with the new setup, and left us wanting more.
“The biggest thing to remember when shifting modern transmissions is to not force the shift with a death grip and yanking gears like it’s an old ’60s transmission,” Dotson said, in regards to providing a few tips for the new shifter.
Our new Hurst shifter assembly found us coming up with any excuse possible to perform the ever-so-taunting WOT pull, as we mentioned earlier. After installing the new setup, we gave the keys to one of Dragzine’s staff writers for a second opinion. “Confidence inspiring,” Dragzine’s Justen Spencer said. “It’s an overused phrase, but it’s easy to see why. When you’re ripping through gears and shifting as fast as you can down the strip, the positive feedback you receive from every gear change really inspires you to shift faster, and harder than before.”