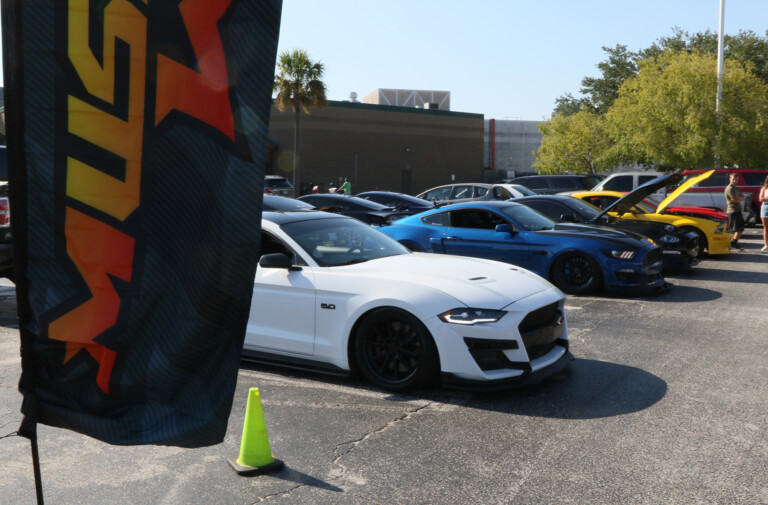
Here at powerTV we often do a really good job of teaching you how to set up a car for drag racing, but what if that is not your cup of tea? Taking turns around town… and enjoying a weekend autocross often finds a way into many an enthusiasts’ agenda. The problem is, most stock suspensions are just not optimized for serious corning. BMR not only makes serious drag suspension, but they are now offering great products for taking lefts and rights. Today we’re going to take a look at the BMR Level 1 Handling kit for S197 Mustangs.

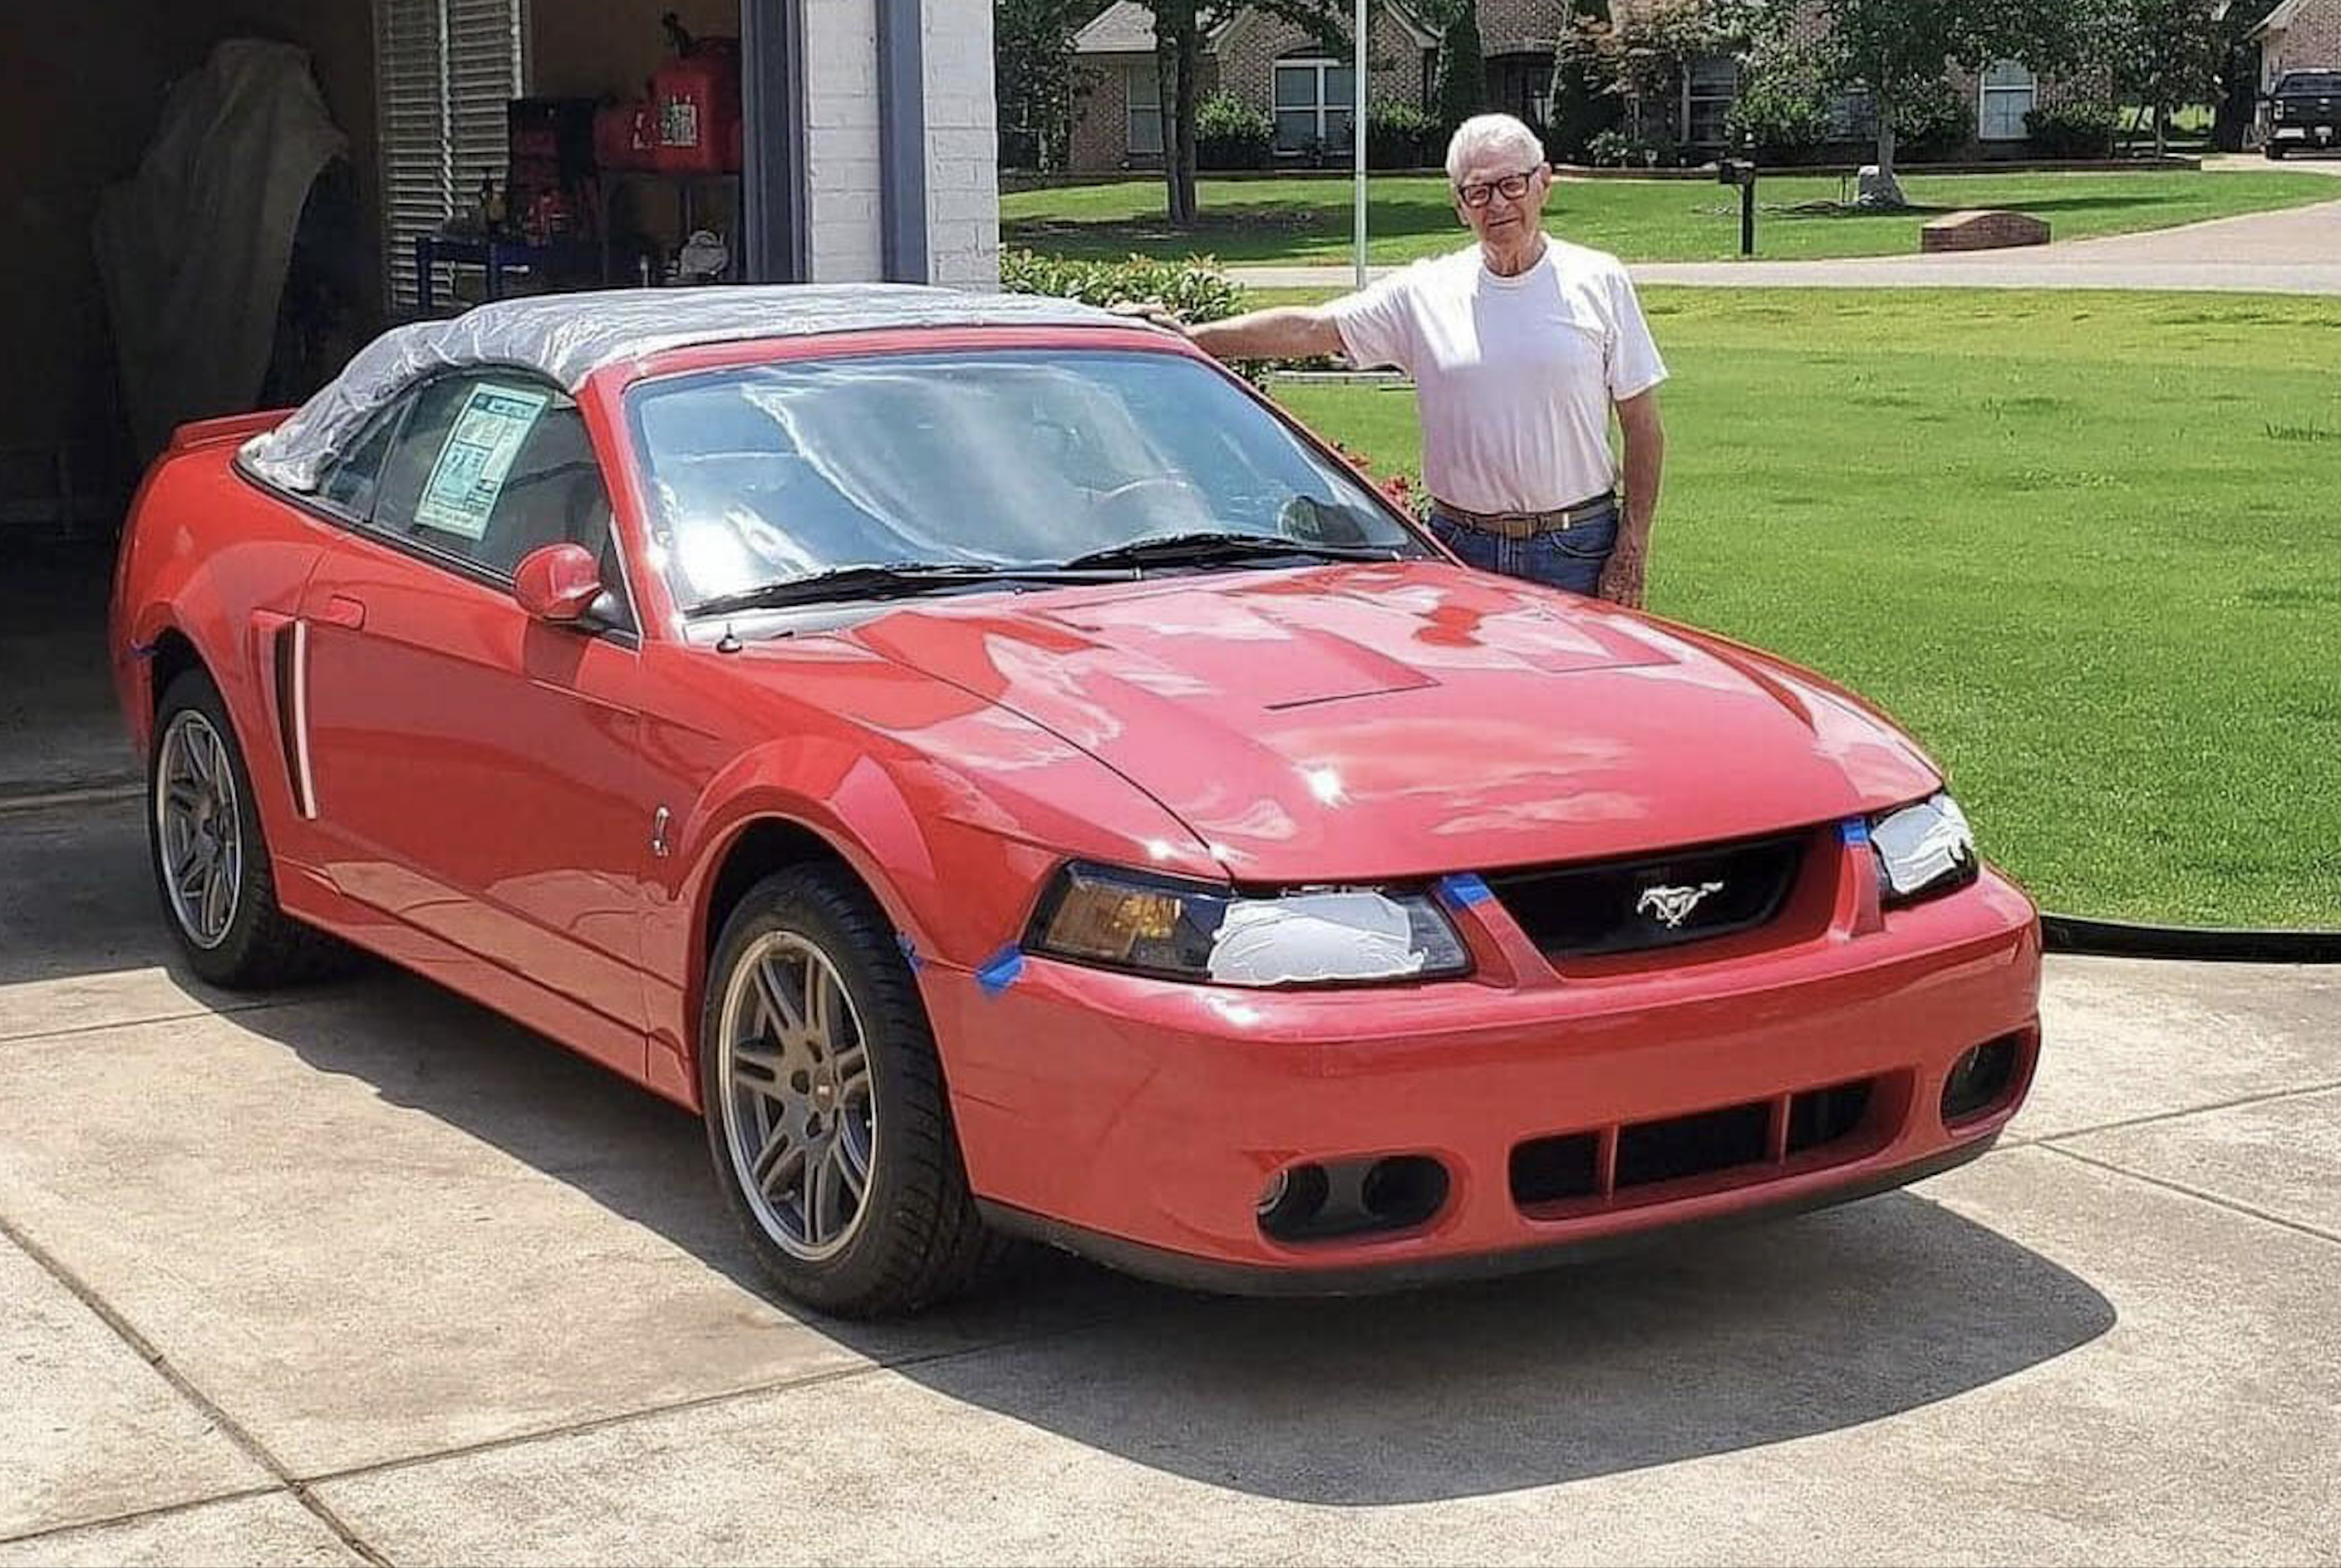
To shoot this video and article, we hopped on a plane and headed to Sunny Florida and BMR’s manufacturing facility in Tampa. The vehicle we started with was a 2005 Mustang owned by non other than Dave Patterson. It had a few bolt-ons, but no suspension work. It was bone… bone stock with he sole exception of wide Bullitt wheels wrapped in Nitto 555 tires.
Enjoy the video below, or skip it to read our driving impressions (before and after) and installation tips and tricks:
We initially took the Mustang out through some back country roads to see how it handled. The stock suspension had a hard time transitioning the weight from side-to-side while tackling tight turns. It also had a fair amount of understeer on turn-in that was not cured until accelerating out of the corner. The stock suspension lets you feel the weight of the car, which is far from nimble. Under braking makes the car want to kick out and can even play into understeer when coming into a corner with the front end loaded. Needless to say, we need to install a few basic parts to help cure this problem.

A complete overview of the Level 1 Handling Package.
The BMR Level 1 Handling Package Explained:
The idea behind the BMR Level 1 Handling Package was to provide an important selection of handling parts while keeping the cost low. “The package is based around the lowering springs, sway bars and struts, which is a good entry level package for handling. The rest of the components are for correcting geometry,” explained BMR’s Allan Miller.
BMR Lowering Springs
Lowering springs provide the most noticeable difference in performance when it comes to upgrading your suspension. BMR designs their lowering springs to provide optimal handling, while keeping the reduction in ride quality to a minimum. The progressive rate front springs will keep the car from being bouncy on small bumps and will increase in stiffness on compression.
The rear springs are linear, single rate springs. According to Miller, “We went with this design because we wanted to maintain factory specs on the springs, but designed to sit lower and stiffer. Also, maintaining the stock ‘Coke bottle’ rear spring shape helps reduce rear suspension harmonics.”
After a few days of settling, the springs will give us a total drop of 1.25” in the front and 1.5” in the rear.
Tokico D-Spec Adjustable Struts and Shocks
Probably the second most important part of a suspension system is the car’s ability to control proper dampening through the shocks. “When we were looking at shock choices, the Tokico’s offered us the best ‘Bang for the Buck’, keeping performance high and cost low,” Miller said. The D-specs are single dampening adjustable with a variable aperture bypass. For a wide range of dampening options, all you do is ‘click’ the upper strut-dampening valve with the supplied tool.
BMR Panhard Rod
Lowering a vehicle can cause the rear end to shift to one side as the factory panhard angle changes, and will do so up to 3/8”. The BMR panhard included in the kit is adjustable with double poly ends, not only to help strengthen it, but also to help combat harmonics that can be associated with rod ends. It comes in 1.25” DOM tubing with a thick wall. The adjusters are made from CNC machined 4130 chromemoly that can be adjusted while on the car.

The front suspension consisting of springs, shocks, camber bolts, upper strut mounts, and front sway bar.
BMR Rear Lower Control Arm Relocation Brackets
This is yet another part that will help correct rear suspension geometry on a lowered vehicle. After being lowered, the instant center is compromised and the control arm location will change. This will decrease traction to the rear wheels, especially under braking. Miller remarks, “When you’re lowering a car, you are lowering the body, but the rear end maintains the same height, angling the control arm towards the ground. Changing this instant center has the same impact on a drag car as it does a handling car, even much more under braking. Moving the instant center back to the optimal (straight) position will improve rear traction significantly.”
The multi-hole brackets will allow you to tune the control arm angle depending on how much the vehicle is lowered. BMR recommends welding the top part of these brackets for extra rigidity.
BMR Front and Rear Sway Bars
Another important part of creating a vehicle that handles well is upgrading the sway bars. The sway bars tie the corners of your car together to keep the body roll at a minimum. The nice part about the BMR 1 3/8” hollow bar is that it is adjustable. Meaning, you have three different holes on the bar for different levels of stiffness – the farther forward the end link is on the sway bar, the stiffer the front sway bar will be.
The front and rear bars are both mounted in by poly bushings, while the rear bar comes with billet end links and is a solid 7/8” design. Ever seen a car corner so hard that it pulls a wheel off the ground? This is the sway bar doing its job by keeping the suspension flat.

The rear suspension consisting of a rear sway bar, panhard bar, rear shocks, springs, and control arm relocation brackets.
BMR Front Camber Bolts
The S197 does not come with factory camber adjustment, and negative camber will increase as you lower your car. While negative camber will drastically increase front grip and tire contact to the road while cornering, it will decrease the overall tire life.
BMR camber bolts have a ‘bump’ in the bolt that moves the control arm angle either inward or outward. Using one pair will allow for two degrees of adjustment, while using two pairs will allow for four degrees of adjustment. The question then becomes, which would you rather have – better cornering or longer tire life? Being an avid road racer, I prefer to replace tires a bit more often and gain the extra handling with around -2 to -2.5 degrees of camber, but the choice is up to you.
Ford Upper Strut Mounts
The final parts on the list are the upper strut mounts for the front end. BMR saw that when the factory upper mounts were removed, they were generally damaged and the roller bearings that turn with steering would fall out. The upper strut mounts will not improve your handling. Rather, they are meant to replace parts that are not typically reusable.
Installing the Level 1 Handling Package on the S197

The Mustang on the lift at BMR, ready for surgery
When installing the suspension on your S197, you will need either a lift or a jack and around four jack stands. You will also need a spring compressor in order to get the front springs on the shocks. It’s also a good idea to have a welder on hand to use for the relocation brackets, although you can drive it over to a welder after assembly as long as you avoid doing any hard driving. It is easier if you start with either the front or rear, and complete all the suspension parts in that area before moving.
The complete install should take anywhere from five to eight hours, depending on your level of experience.
Front End Removal and Installation
We started by removing the stock springs and shocks to make way for the BMR springs and Tokico D spec shocks. There are three upper strut mount bolts, a sway bar end link, brake line, and two lower spindle bolts that hold the stock shock assembly in.
Note the direction that the indicator arrow is pointing on the upper strut mount when you remove it. It will rotate independently and does not need to be clocked on installation.

Slide the control arm forward off the strut to remove it.

The end links and two bushings (pictured above) hold in the front sway bar.
The front sway bar drops out by removing the two bushing bracket bolts on either side of the front frame as well as the end links that connect to the strut. We recommend removing the stock springs do use the bump stop and dust cover. You will need to compress the front springs before removing the upper strut mount or you might just rip a hole in something, hopefully not your head! Take the yellow bump stop and cut it in half to compensate for the shorter shock piston design.
Next, compress the front BMR springs on each side with the spring compressor until there is enough space to mount the upper strut mount. Slide the cut bump stop and dust cover on the Tokico shock and install the upper strut mount. Note that the spring needs to sit in the upper and lower recess correctly, so rotate the top hat so it fits flush to the end of the coil. Then tighten the upper strut mount bolt securely and remove the spring compressor.
Reinstall the front struts in reverse, making sure that you have the upper strut indicator arrow pointing in the right direction. Next, put the BMR camber bolt on the top bolt of the control arm, and set both bolts facing the same direction.
An alignment will be needed to correctly dial in the front camber.

The cut bump stop and factory dust boot will fit perfectly on the Tokico D-spec.

You will need a spring compressor to install the BMR springs onto the Tokico front shocks.

The factory end link is used and we opted for the middle setting on the sway bar stiffness
The BMR front sway bar will be reinstalled using the supplied front bushings. Make sure that you grease them with waterproof grease before reinstalling. The front sway bar has ends that can be adjusted, depending on how stiff you want the front bar. We recommend installing the end link on the center bar and seeing how you like it.
Rear Suspension Removal and Installation
When doing a rear suspension upgrade, you want to support the axle tubes with jack stands to prevent damaging any parts. Start the rear suspension modification by removing the puny stock rear sway bar to make way for the solid BMR 7/8” rear bar and billet end links. There is one bolt on each end link and there are two bolts on each outer bushing.
From there, remove the single bolt that holds the stock lower control arm to the rear end housing and install the BMR relocation brackets with the supplied hardware. We cleaned both the top part of the bracket and the rear end bracket to allow for a clean weld.

Welding in the top of the control arm relocation brackets will make them more rigid.

The rear springs will come out with a slight bit of persuasion.
Next, remove the two bolts that hold the panhard rod on, then make your way to the shocks. Pull back the liner inside of the trunk to gain access to the single upper strut mount, followed by the single rear bolt. From this point, you will need to either raise the body of the car or lower the rear end so the rear springs can be removed.
Swapping springs requires no special tools and they will come out with a small tug. Now install the BMR linear rear springs with the logo facing right side up and load the rear end back up to allow for the Tokico rear shock installation.

The Tokico rear shock installs just like the factory shock. Pictured below that is the rear sway bar mounting plate and above is the panhard mounting bracket.

There is no comparing the stock rear sway bar end links to the BMR billet versions.
You’re almost done. The next to last step is to install BMR’s on-car adjustable panhard rod, making sure that the rear end is centered side-to-side in the chassis. The stock panhard rod is made of smaller tubing and rubber bushings, versus the BMR’s DOM tubing and poly bushings. It’s also larger at 1.25 inches. By nature, a panhard rod will alter rear end position as ride height changes. We initially set the bar at the stock length and measured tire to fender clearance until we were satisfied with the alignment. You will need to unload the rear tires to adjust the panhard.

The completed rear end suspension is ready to hit the roads.
Finishing up the installation was the addition of the BMR rear sway bar. Install the 7/8” solid rear bar with the beefy, billet end links first. Finish the installation with the poly outer mounts and use some water resistant rear grease.
Installation is Done – Time to Hit the Road
With the shocks set to medium, we made our way back to the same twisty roads that we had driven when the car was in stock form. The weight transitioned from left to right much more smoothly while going around corners, making the Mustang more predictable because it wasn’t falling victim to understeer or oversteer.
Steering into turns became a lot easier, as the car did not understeer anymore, and actually transitioned to a slight bit of oversteer, which made it handle much better. In the end, we were able to take corners faster and the steering was much more predictable. The Mustang stayed relatively flat when underbraking, keeping the weight settled for hard straight line braking as well as setting up for turns.
All of the parts fit on the Mustang without any modification, making this a true bolt and go upgrade that you can do in your driveway in less than a day. The kit from BMR includes all of the components needed for a good entry to mid-level build.
We know you have always had a lot of choices in handling suspension, from Hotchkis, Steeda.. to Maximum Motorsports. You can add BMR to the list to strongly consider. With this kit, BMR carefully selected a combination of upgrade parts designed to run for the street, making the BMR Level 1 Handling Package a good bang for the buck and allowing enthusiasts to significantly increase the handling response of their S197 while doing so on a budget.