
 Our Fox body project car, Project Rehab, was in dire need of a suspension overall. We wanted to upgrade the suspension to a street/strip friendly setup while remaining in our modest budget. We had a few goals in mind; we wanted some adjustabilty for the track, a lower stance, parts that were stronger than stock, and drop some weight in the process. For all of this we turned to LateModelRestoration.com and QA1. These two companies outfitted us with a variety of components to make a solid street/strip suspension and give us a better foundation to build on for Project Rehab. “With Fox body Mustangs you’re now running into deteriorated bushings, aging hardware, weak springs, worn out shocks, and damaged or deteriorated suspension components. Replacing those parts improves how the car drives and handles, as well as overall safety,” says LateModelRestoration.com’s Jeff Jimenez.
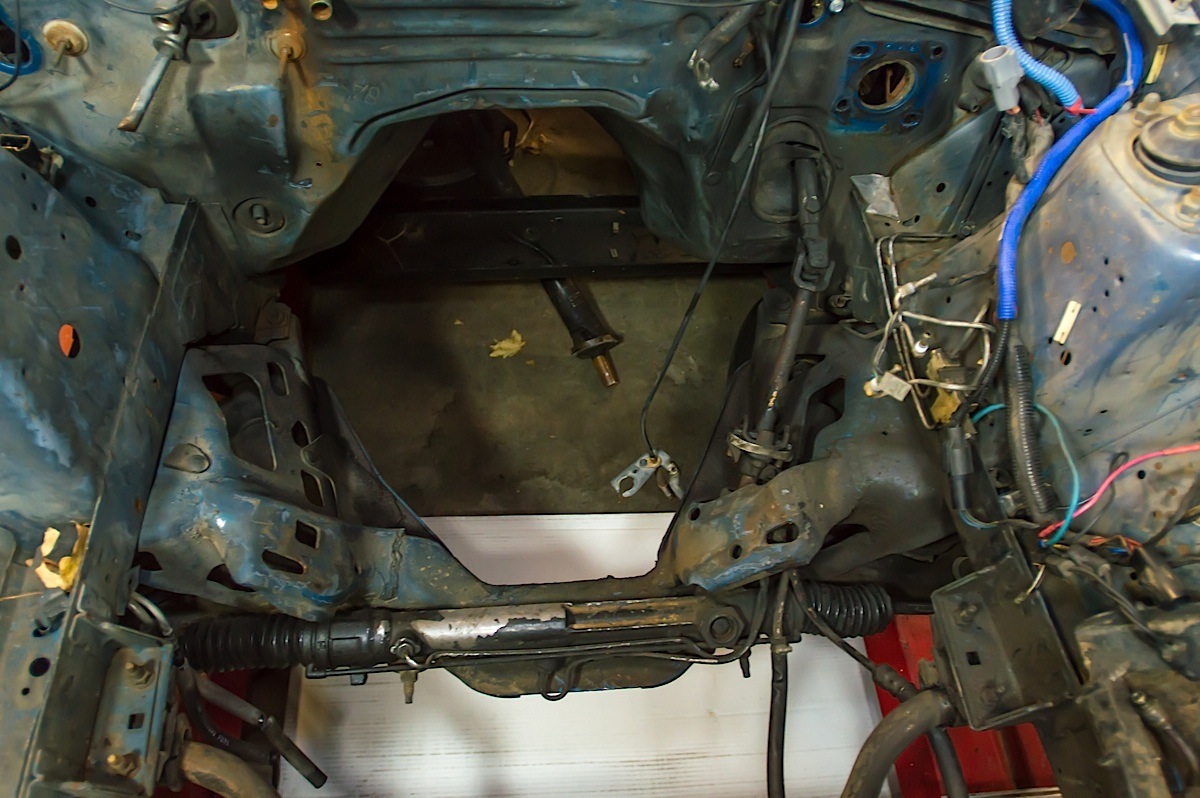
Only when viewed from above do you realize how much room a stock K-member wastes.
Up Front
We knew right off hand that we wanted to install a tubular K-member. The bulky, stock K-member was not only adding weight to the car, but it also made working underneath it troublesome, especially when dealing with our exhaust.
We chose a QA1 steel K-member for our project, part number MU2TK. This K-member allows us to dump 28 pounds off the front end of the car – something every Mustang needs help with. It’s tubular steel construction and improved design also makes it structurally stronger than the factory stamped steel piece. Like all their components, this K-member is designed, engineered, and built entirely in-house by QA1. This process ensures QA1 has total control of the quality of the part from the design and prototyping phases, to each piece that is welded together and finished for shipping to the customer.
The QA1 K-member also changes the front suspension geometry to be more drag race oriented. According to QA1’s Dave Kass, “Our K-member is recommended for drag racing applications. It moves the front wheel base forward, and out. This increases the forward caster and width giving a car more straight-line stability.”
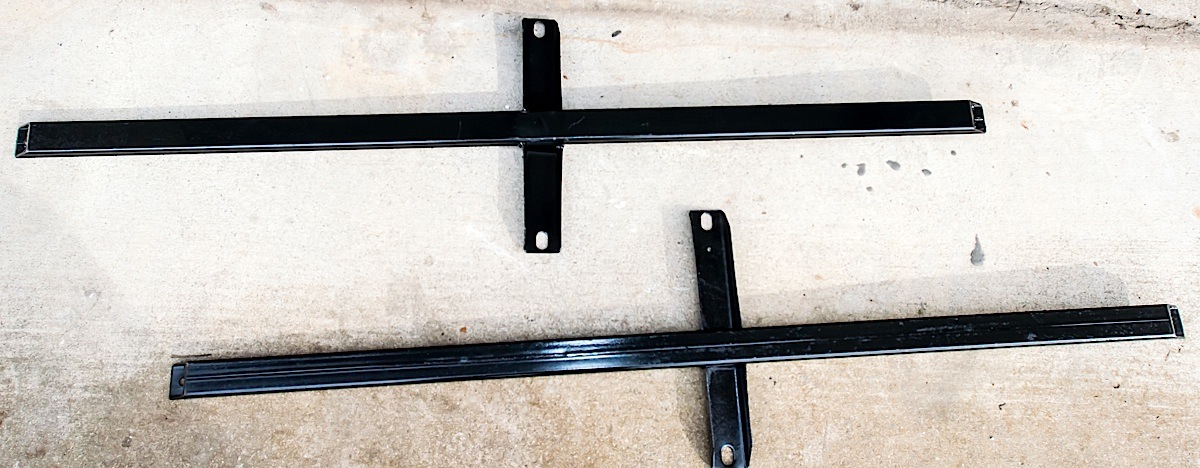
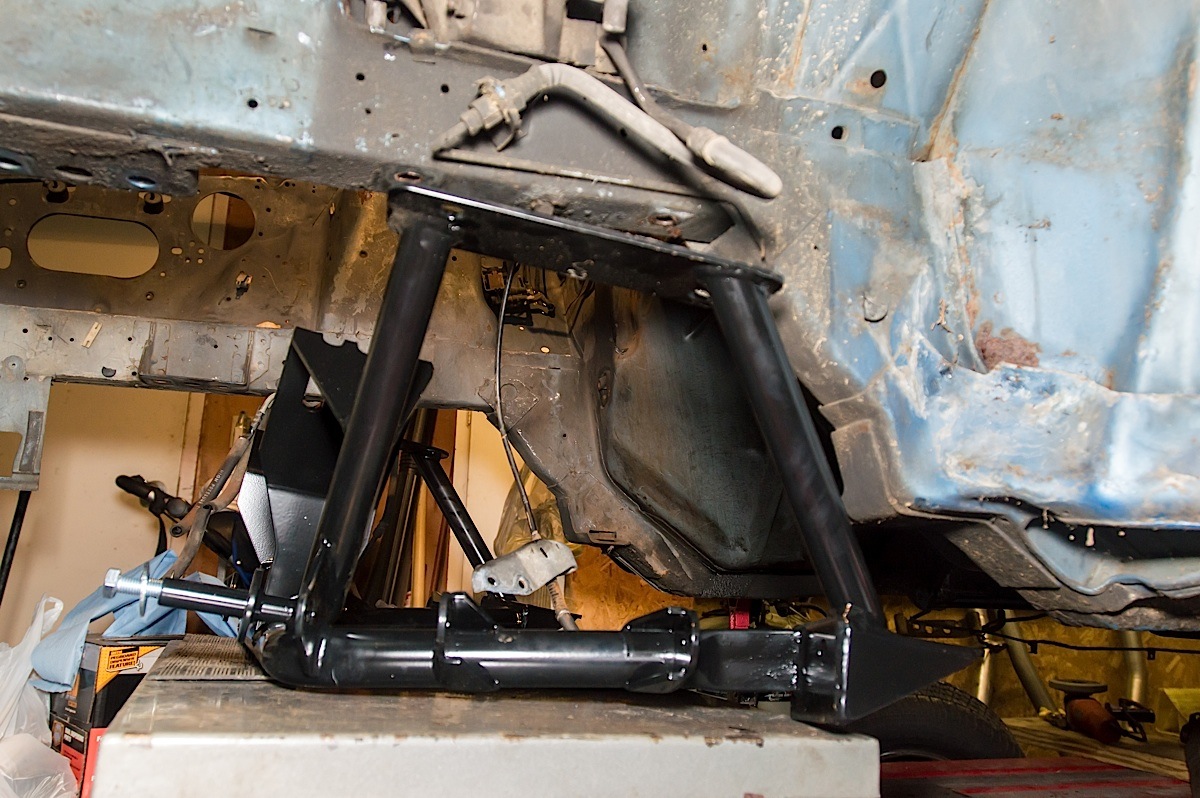
Before we began disassembly, we strengthened Rehab’s structure by welding in a set of SVE subframe connectors from LateModelRestoration.com
We’re also using the stock lower control arms with this K-member. We refurbished our stock arms with new Prothane bushings from LateModelRestoration.com, part number PT-6209BL. This is a time consuming process, although we did find a method that worked well for removing and installing these tricky bushings. We’ve outlined that method in our captions with the installation story.
LateModelRestoration.com also provided us with a set of their SVE lowering springs, which will drop the suspension all the way around the car by up to 1.5 inches. They’re also a fixed rate, meaning they won’t get progressively stiffer as they compress; this typically allows for a more comfortable ride. The springs are part of a kit from LateModelRestoration.com that included their caster/camber plates as well as new spring isolators, this can be ordered together as part number SVE-5300KA.


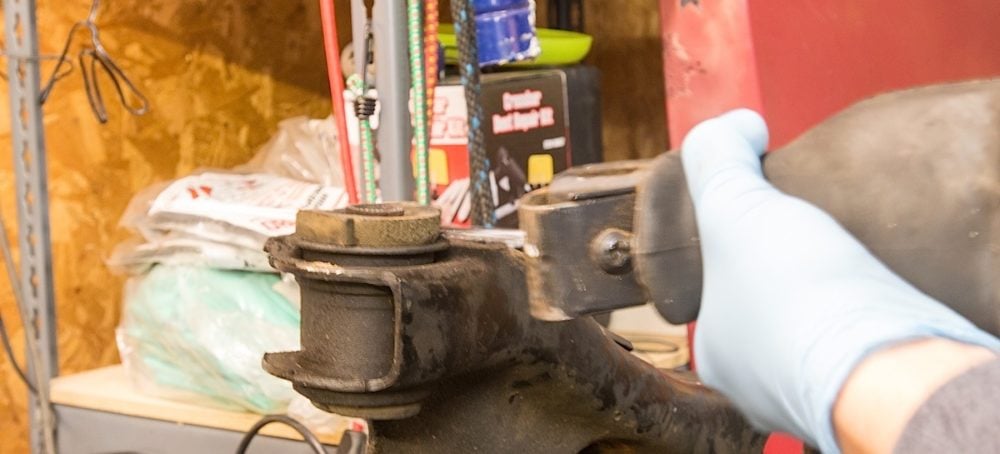
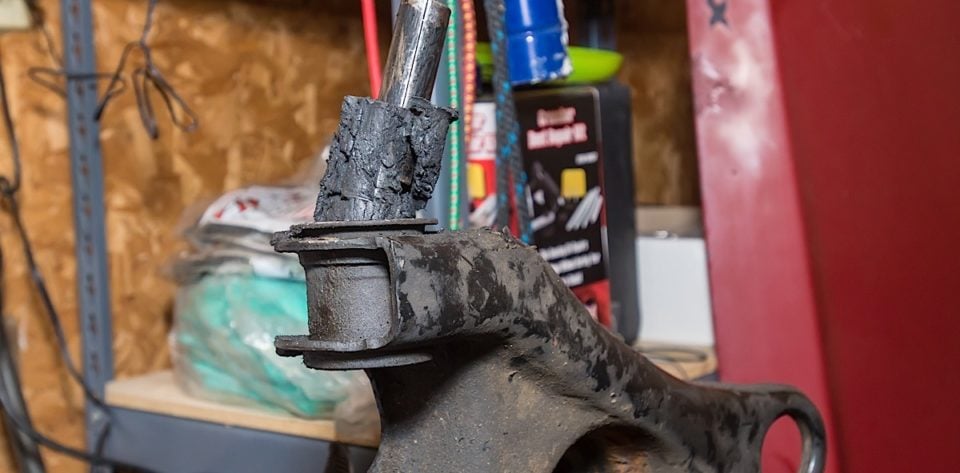
Left: The front brakes, springs, and struts were removed first. Right: Two of our K-member bolts looked like this one, years of dirt and moisture trapped inside the framerail had caused the bolts to deteriorate making replacement mandatory.
With Fox body Mustangs you’re now running into deteriorated bushings, aging hardware, weak springs, worn out shocks, and damaged or deteriorated suspension components. -Jeff Jimenez

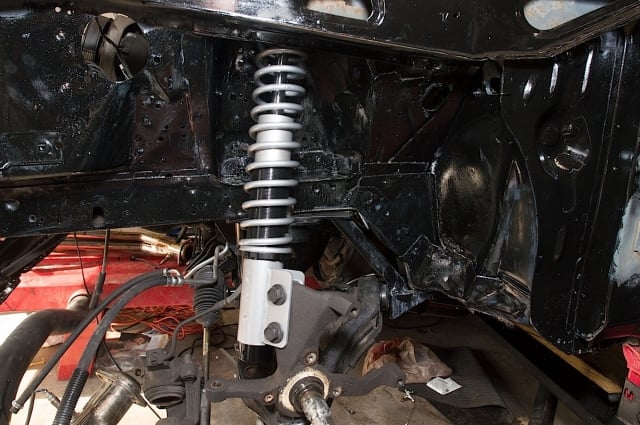
For damping the front end we went with a new set of single adjustable front struts from QA1, part number HS601S. These will let us simultaneously adjust rebound and compression from a single knob and are compatible with QA1’s coil-over systems, so when we change to coil-over we won’t have to source new struts.
The struts adjust from a very loose drag-oriented setting to firm enough to handle autocross or open track duty. At the track we’ll loosen these up to close to the 90/10 mark if not all the way there to get the best traction and make a pass. Before we head home, we can crank the setting back a few clicks towards firmer and not feel like we’re about to roll the car over every time we go around a corner.
Up on top of the strut tower, we’re installing a set of SVE caster/camber plates from LateModelRestoration.com. These not only allow for more adjustment in the front suspension, they also eliminate the flimsy stock stamped-steel and rubber front strut mounts, while the spherical rod ends will not deflect under heavy loads. Once we have our project car on the road we’ll have our local alignment shop set caster and camber correctly for us.
Completing the picture up front is a new QA1 front sway bar part number 52891. This will keep Rehab stable in the corners and replaces the heavy and tired stock unit, which has probably seen far more miles and years of service than it was ever intended to.

After pressing in new ball joints we set to work replacing the bushings in the stock front control arms. Top Row: Left: The large ear needs to be cut from the top of each rubber bushing. We used a sawz-all. Center: We then used a sharp drill bit to drill several holes in the rubber bushing. That was followed by tracing the perimeter of the rubber portion of the bushing with a drill bit pulsign the trigger to separate the rubber from the metal sleeve. Right: If done correctly this pulls the rubber out of the bushing sleeve. Bottom Row: Left: The sawz-all was called upon again to cut a slit in the old metal bushing sleeve. Center: The new bushings are made using polyurethane, this reduces their deflection. Right: We used a ball-joint press to install the new bushings into the control arms. Once the ball joint press would take the bushings no further a large hammer was used to drive them the rest of the way.
Stiffer Chassis
Since they first began rolling off the assembly line, Mustangs have had some type of issue with flex. This is inevitable with a unibody car, configured for rear wheel drive, and a powerful engine. To keep twist at bay, LateModelRestoration.com sent us a set of their tubular steel, weld-in subframe connectors. The connectors not only reinforce the frame, but also the rear seat mount which is another area prone to problems on Fox body Mustangs. These connectors are part of a suspension upgrade kit that included a new set of SVE rear upper and lower control arms, part number SVE-5649AT-K. “We package the control arms and subframe connectors together because they’re such a popular upgrade that many of our customers normally purchase at the same time. Together they replace the worn rear bushings and helps stiffen up the rear of the car, improving handling, and safety,” says Jimenez.
We welded the subframe connectors to the front and rear subframes of the car. The tubular steel construction connects both the front and rear subframe assemblies together. This also allows the suspension to work better, and power to be applied to the wheels, rather than wasted twisting up the body.
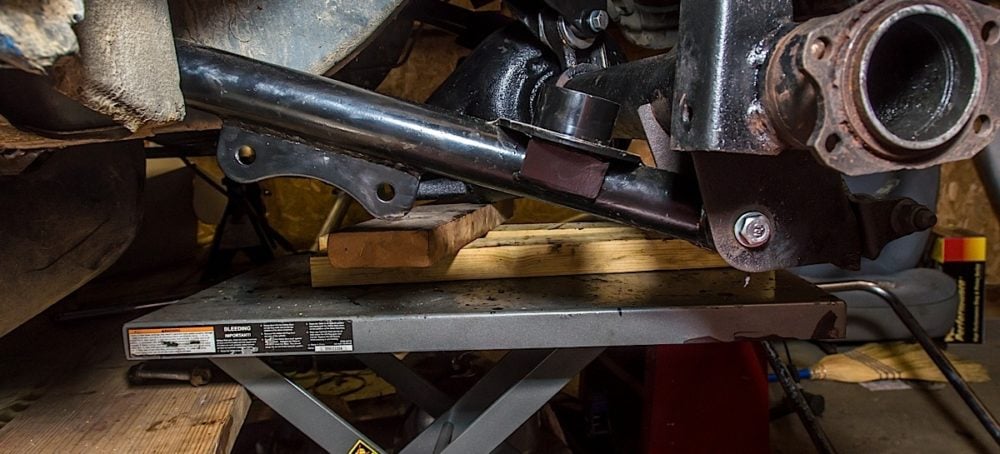
Using a platform jack we carefully guided the new QA1 K-member into position.
In The Rear
QA1 designs, tests, and manufactures all of our suspension components in-house, in the USA. -Dave Kass, QA1
With the front suspension and the car’s mid-section handled we set our sites on the rear suspension. Once again we turned to LateModelRestoration.com to provide us with most of the parts we used back there. They sent us a set of their SVE tubular steel upper and lower control arms to replace the weak, stamped steel factory units. These included upgraded bushings and new grade 8 bolts packaged with the control arms for a complete overhaul.
We also installed the SVE springs that came with our front set to the rear of the car, this will give us the stance we want, and stiffen up the back of the car slightly. “The springs are high quality, American made parts, that perform equal to or better than competing springs on the market,” says Jimenez.
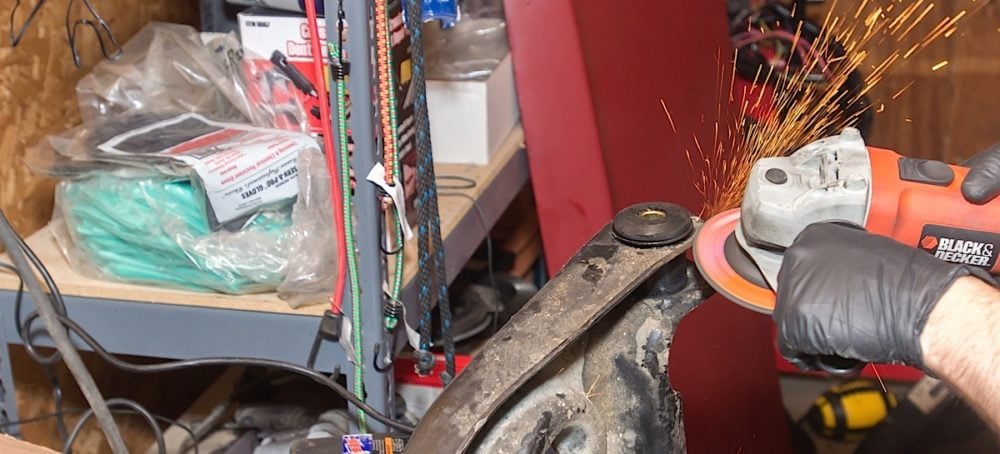
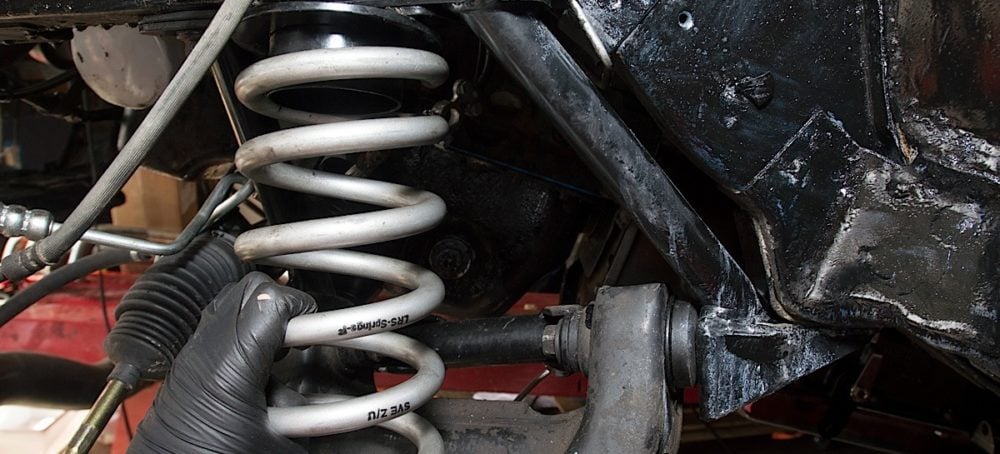
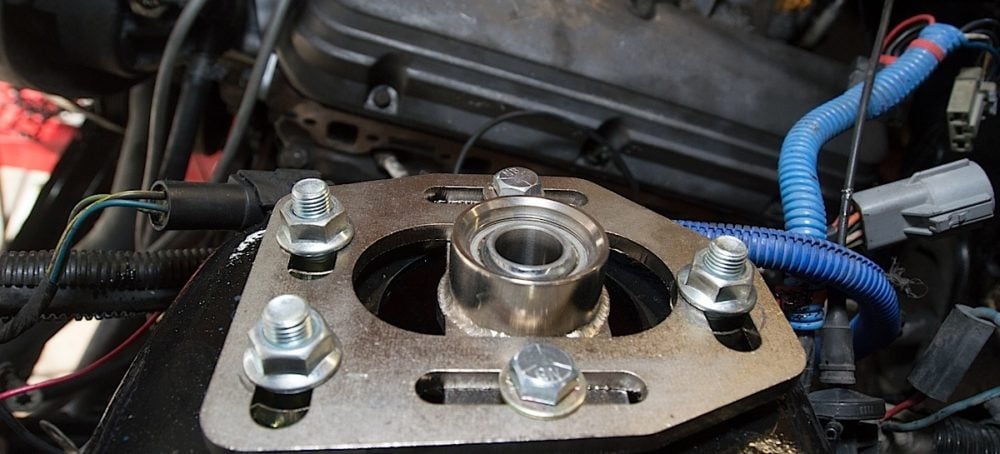
Left: Using the stock control arms with the QA1 K-member requires grinding the tabs on the ears of each control arm. Center: The stock style SVE front springs are installed by hand then the control arm is put in place using a jack before securing the strut. Right: We also installed the SVE caster/camber plates to replace the worn stock strut mounting plate and bushing as well as allow for increased adjustment in our alignment.
Coiled-over
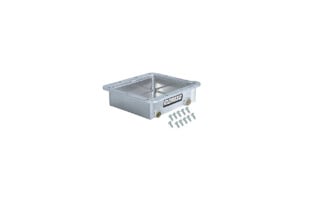
We opted to go ahead and upgrade to a front coil-over spring arrangement after installing our SVE front springs. We turned to QA1 for a set of their 14-inch 150 pounds front springs, part number 14-150. We also ordered a coil over conversion kit, part number COK103. This in conjunction with our front struts should give us plenty of weight transfer to get traction at the track.
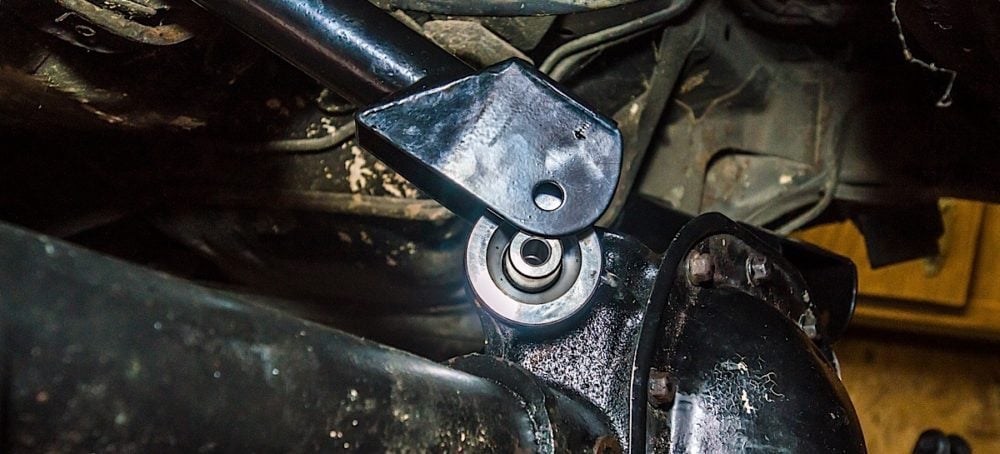
QA1 provided us with a pair of their Stocker Star non-adjustable shocks for the rear suspension, part number TN706. Kass says these shocks are valved to provide better ride quality and handling than a stock replacement.
We also installed a QA1 rear sway bar to match our front, part number 52885. Much like the front bar, the new rear sway bar will help us in cornering stability and keep the axle straight when we launch. Matched to the front we can expect more consistent performance in the way the front and rear suspension handle together. According to Kass, “The sway bars are made from tubular steel and provide a dramatic improvement in handling that is noticeable right away.”
Suspending Our Project
Replacing the entire suspension can be done over the course of a weekend, or on a very long day working non-stop. We’ve hit a few of the highlights here, and the rest you can find in the captions. All of these components were a bolt-on affair, with the only fabrication required in overhauling the stock front control arms.
We began work with our front suspension. Since Rehab 2.0 did not have the engine installed at the time, this made work fairly simple. Chances are most of our readers will have their engine in place when doing this type of job. If the engine is in the car, it must be supported carefully using either an engine hoist or engine support beam to keep it in position when the K-member is removed.
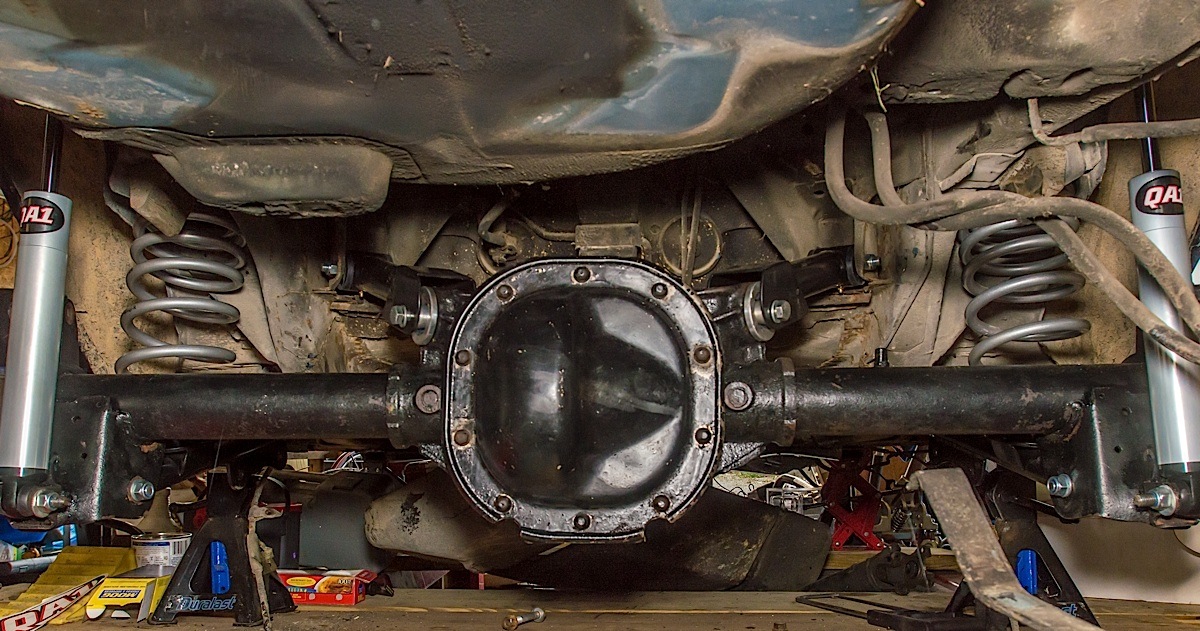
Top Row: Left: With the old control arms out of the way, we began by installing the new upper control arms. Center: With the upper arms attached to the car, we then used our platform jack to raise the rear axle housing into position and attach the control arms to the housing. Right: The lower control arms went in much the same way, if the car has exhaust installed, the mufflers will need to be dropped or removed entirely to access the forward mounting bolts. Bottom Row: Left: With the control arms installed the springs go into place next. Center: We then slid the new QA1 Stocker Star shocks into place along with their supplied bushings and hardware, and tightened them to the body using an impact gun. Right: Last the shocks are bolted to the rearend housing. 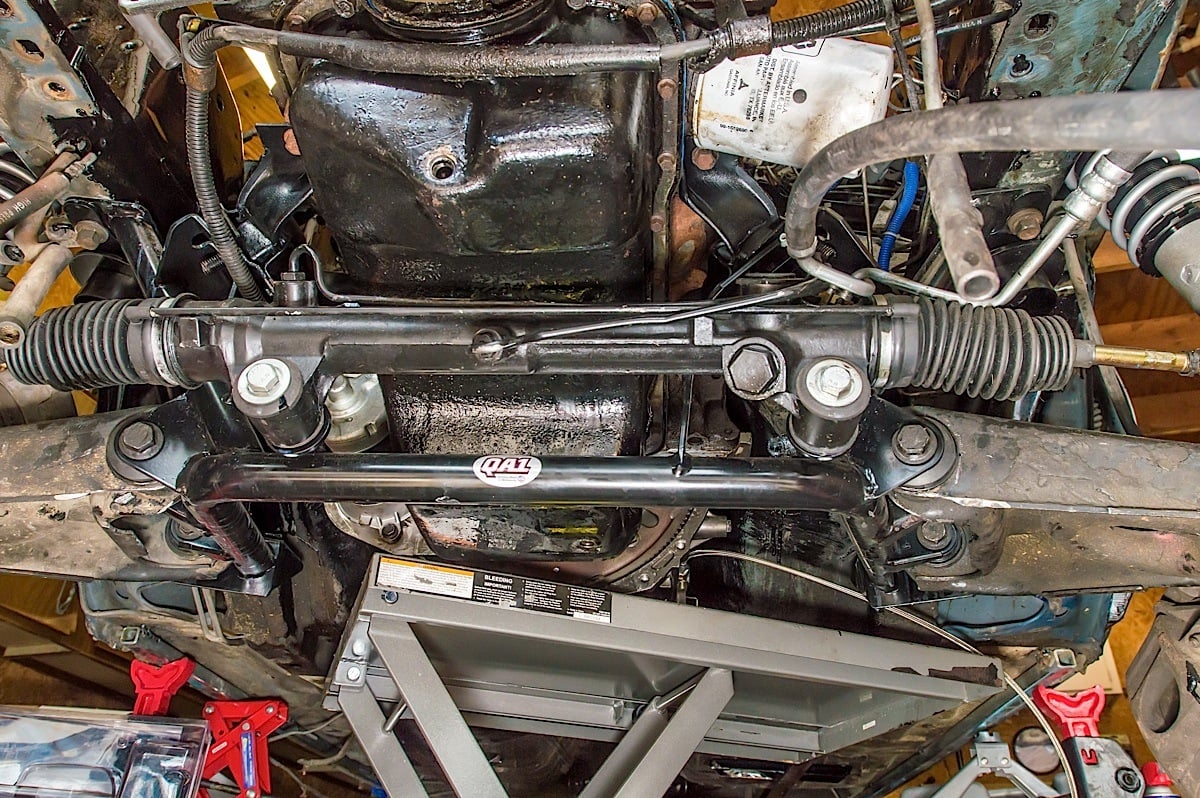

Once the K-member was out, we used a combination of a breaker bar and impact gun to remove the front control arms. We also inspected our K-member bolts and found that at least one of the long through-frame bolts on each side were in poor condition, with much of their bodies lost to corrosion over the years. This is the time to replace these bolts, and we can’s stress enough how important that is. K-member hardware can be bought for under $30, and replacing those bolts with new ones could quite literally save a life.

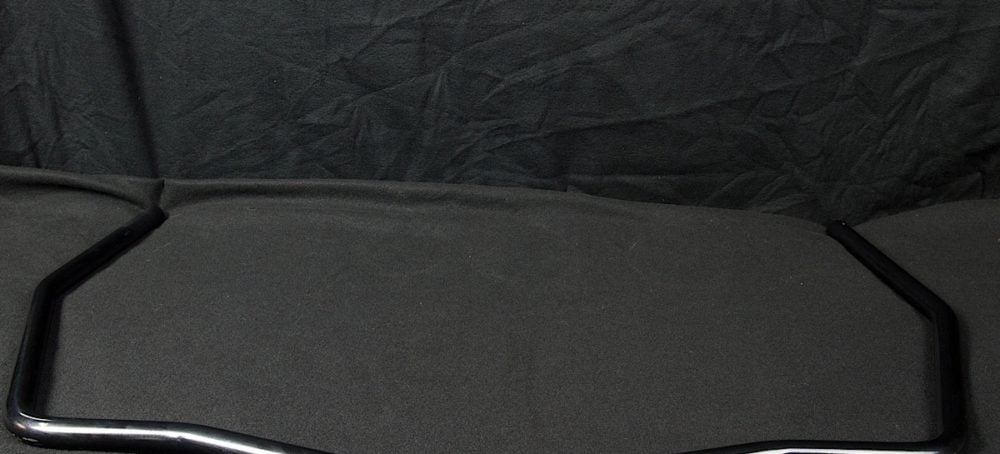
QA1 also sent us their front and rear sway bar kits which will help keep the car stable on the street and track.
Parts List
LateModelRestoration.com
- SVE Front Spring And Caster/Camber Kit, part number SVE-5300KA
- SVE subframe connectors and rear control arm set, part number SVE-5649AT-K
- Prothane front control arm bushings, part number PT-6209BL
- 50Resto Front spindle to strut hardware set, part number HDW-3105A
QA1
- K-member, part number MU2TK
- Front Sway bar, part number 52891
- Rear Sway bar, part number 52885
- Single adjustable front sturts, part number HS601S
- Stocker Star rear shocks, part number TN706
- Front coil-over kit, part number COK103
- Front coil-over springs, 14-inch, 150 lbs, part number 14-150


